Smart Page Builder Plugin is a nopCommerce plugin that lets administrators create custom pages visually with a drag-and-drop designer, no coding required. It offers ready-made templates, SEO fields, widget zones, scheduling, and customer or product conditions, making it ideal for landing pages, promotions, and targeted campaigns that are professional, searchable, and quick to build.
PRE-REQUISITES
- The plugin requires you to install the Nop-Station Core plugin first.
INSTALLATION
- Download the Smart Page Builder Plugin from our stor
- Go to Administration → Configuration → Local plugins
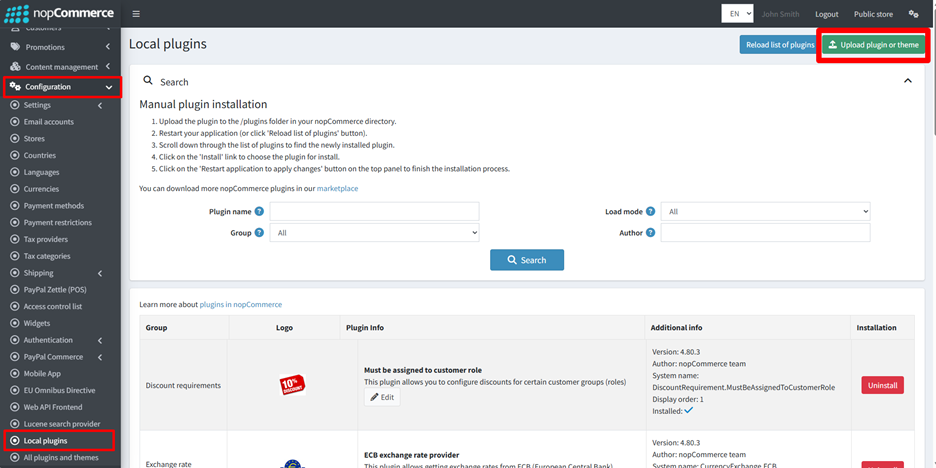
- Upload the .zip file using the "Upload plugin or theme" button
- Then click on 'Reload list of plugins'
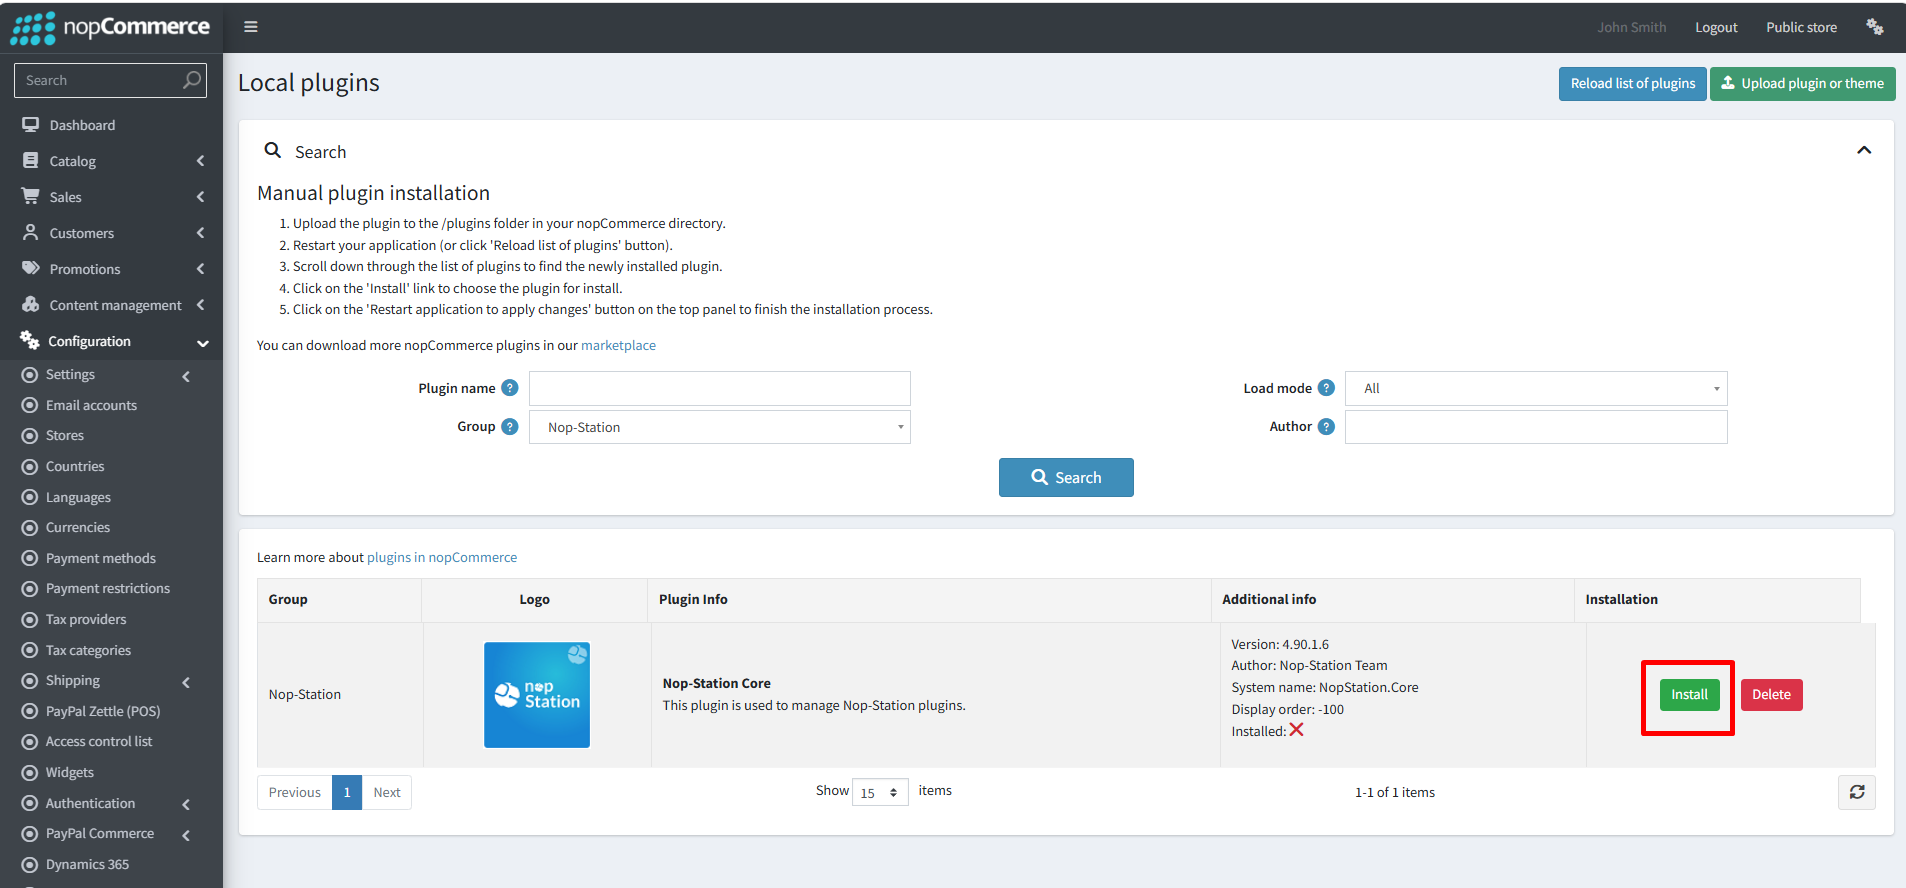
- Go to Administration and reload the list of plugins. Install the 'Nop-Station Core' Plugin first
- Select the NopStation.Plugin.Widgets.SmartPageBuilder.zip file
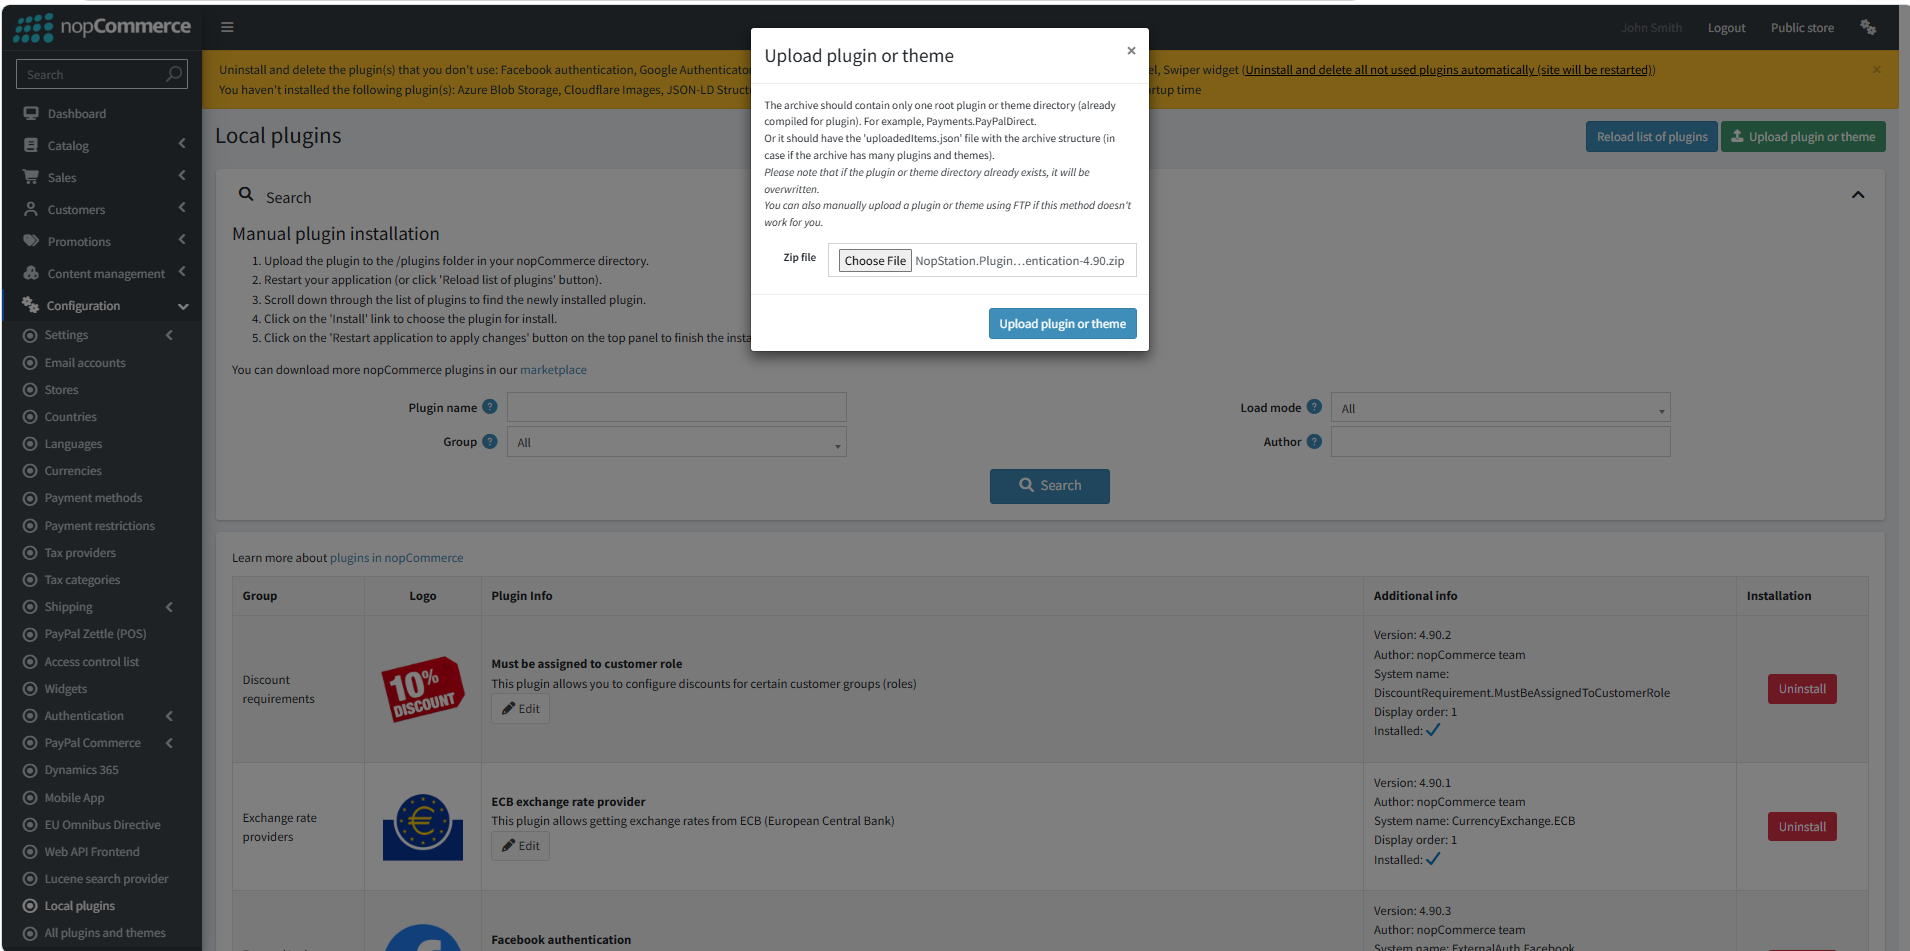
- Upload the file using the 'Upload plugin or theme' button
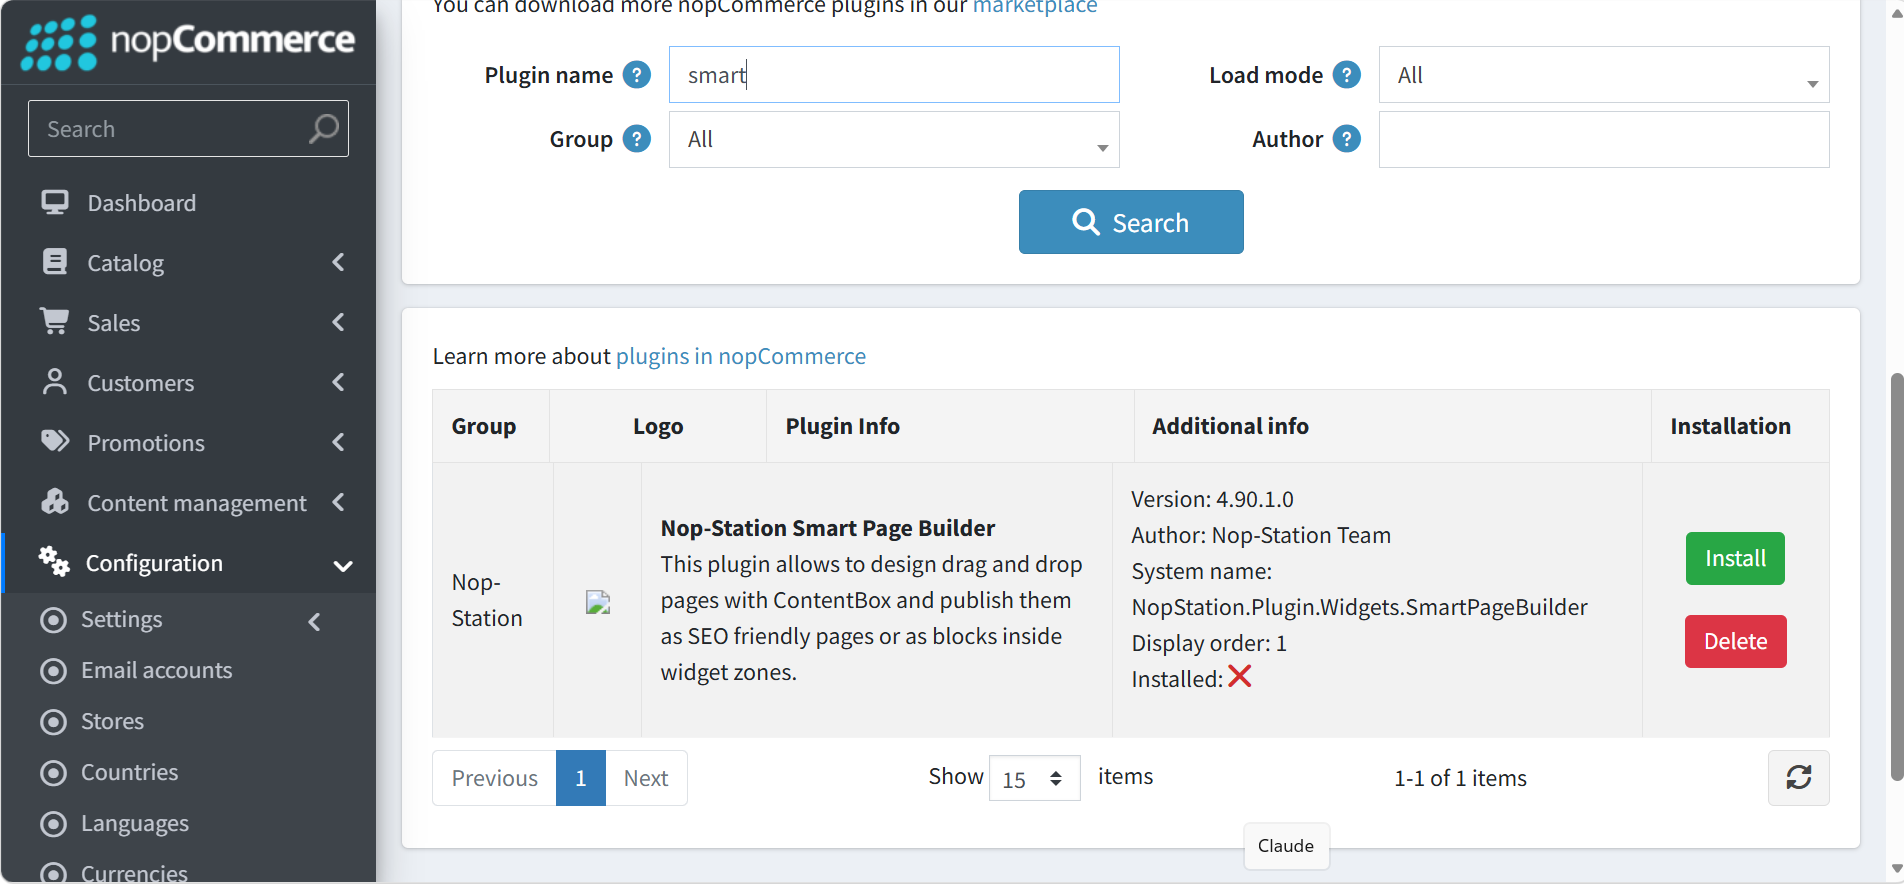
- After uploading the plugin, go to Administration and install the 'Smart Page Builder' plugin
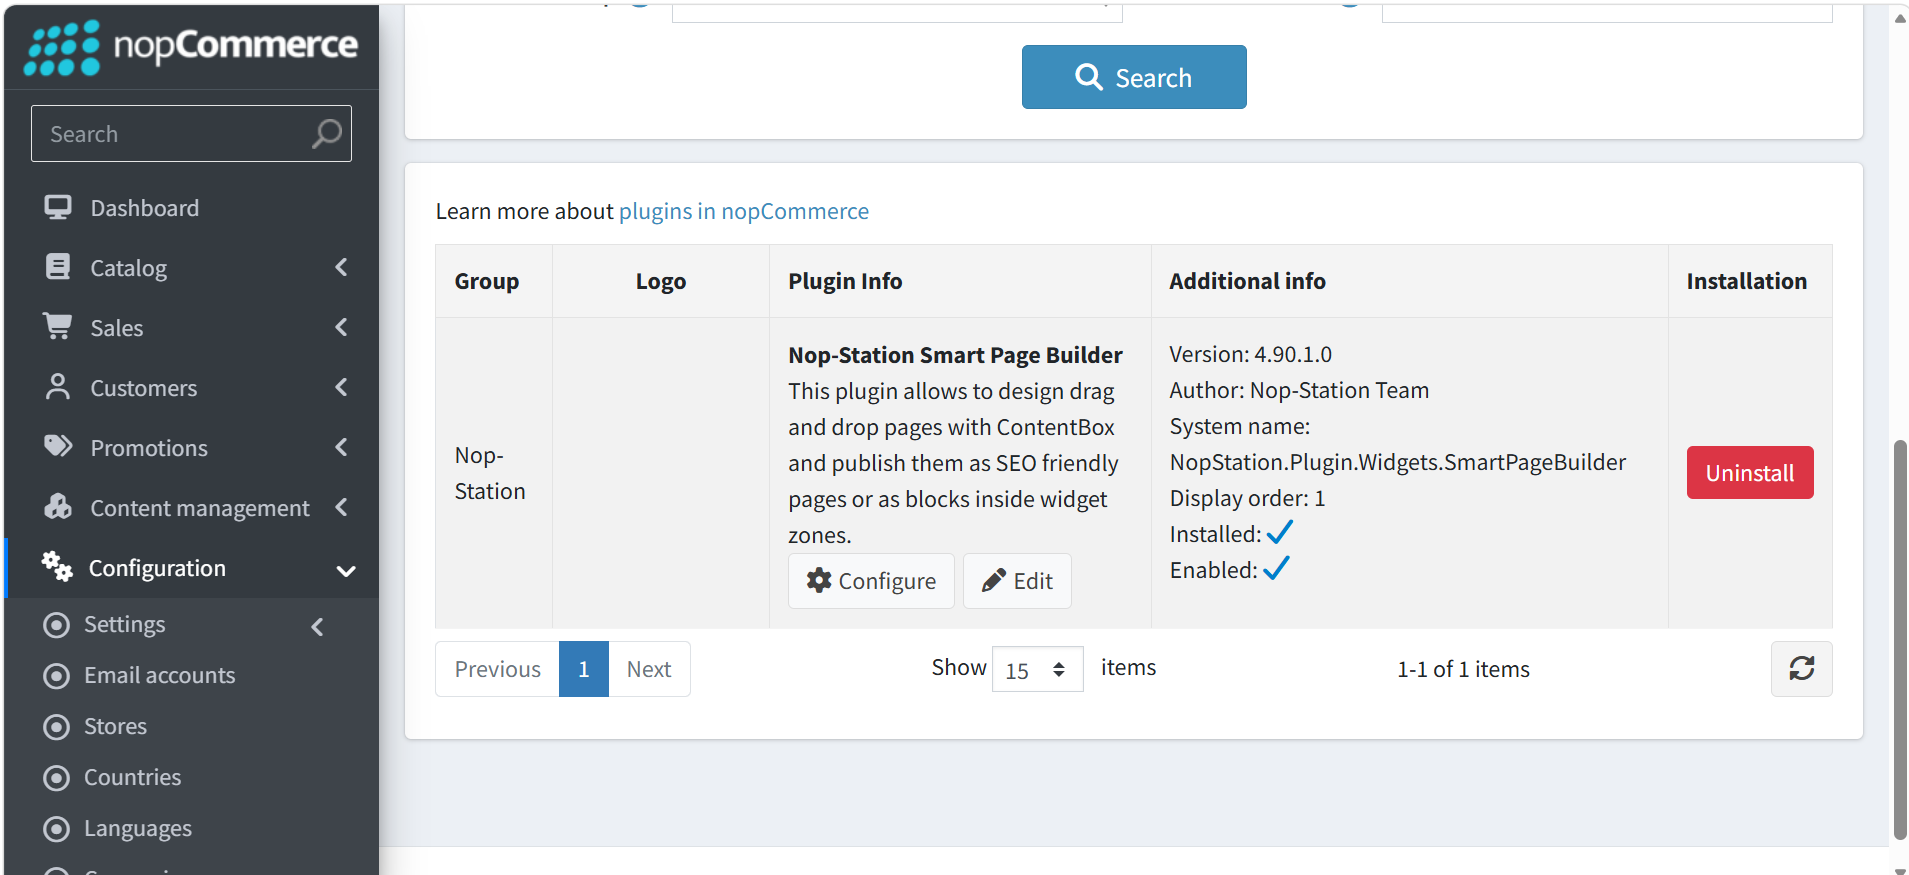
- To make the plugins functional, restart the application
CONFIGURATION
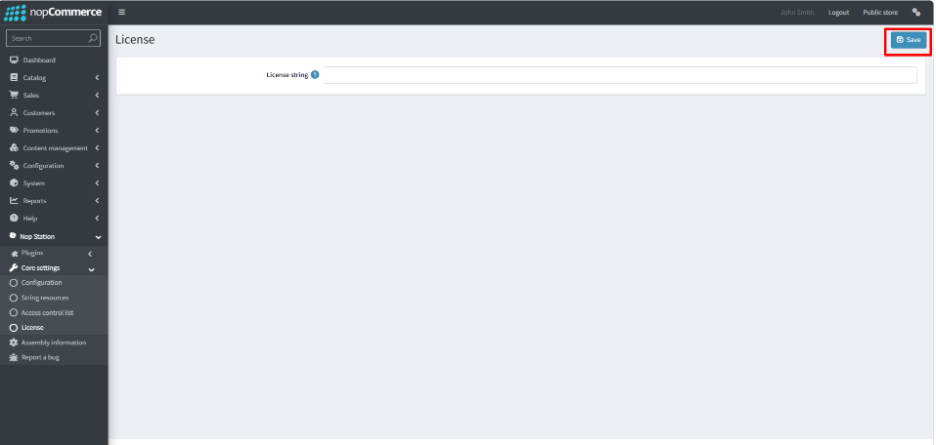
- Go to NopStation → Plugins → Smart Page Builder
- You will be automatically redirected to Core settings → License tab
- Enter the license string and click Save
- Now go to Smart Page Builder → Configuration
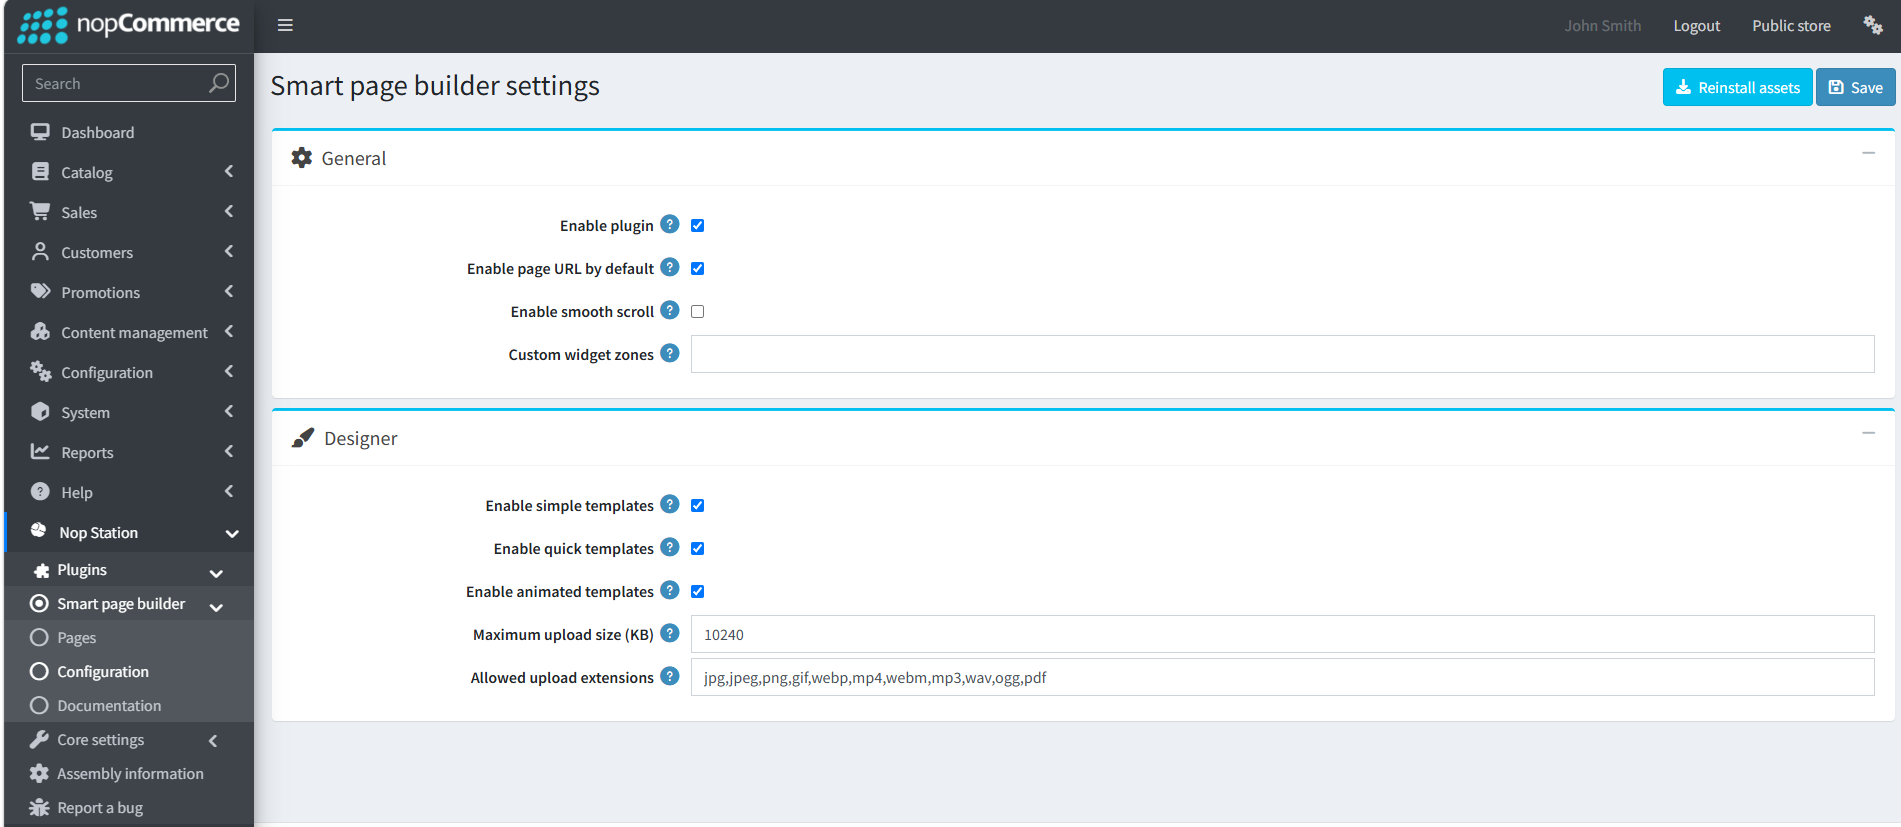
Action Buttons
- Reinstall assets: Reinstalls the plugin's required assets (scripts, styles, and templates). Use it if the designer fails to load correctly after an update.
- Save: Saves all changes made on the configuration page.
General Settings
- Enable plugin: Turns the Smart Page Builder on or off. When unchecked, pages built with it are not rendered on the public store.
- Enable page URL by default: Automatically gives newly created pages their own URL so they are directly accessible.
- Enable smooth scroll: Enables smooth scrolling animation on pages, such as when jumping to anchors or sections.
- Custom widget zones: Defines additional widget zones where Smart Page Builder content can be displayed. Enter zone names as a comma-separated list, or leave blank to use only the default zones.
Designer Settings
- Enable simple templates: Makes the basic, ready-to-use page templates available in the designer.
- Enable quick templates: Makes predefined sections and blocks available so pages can be built faster.
- Enable animated templates: Makes templates with animation effects available in the designer.
- Maximum upload size (KB): Sets the maximum file size allowed for uploads in the designer. For example, 10240 KB equals 10 MB.
- Allowed upload extensions: Comma-separated list of file types that can be uploaded. Default: jpg, jpeg, png, gif, webp, mp4, webm, mp3, wav, ogg, pdf. Other file types are rejected.
CREATING & MANAGING PAGES
- Go to Content management → Pages → Add new
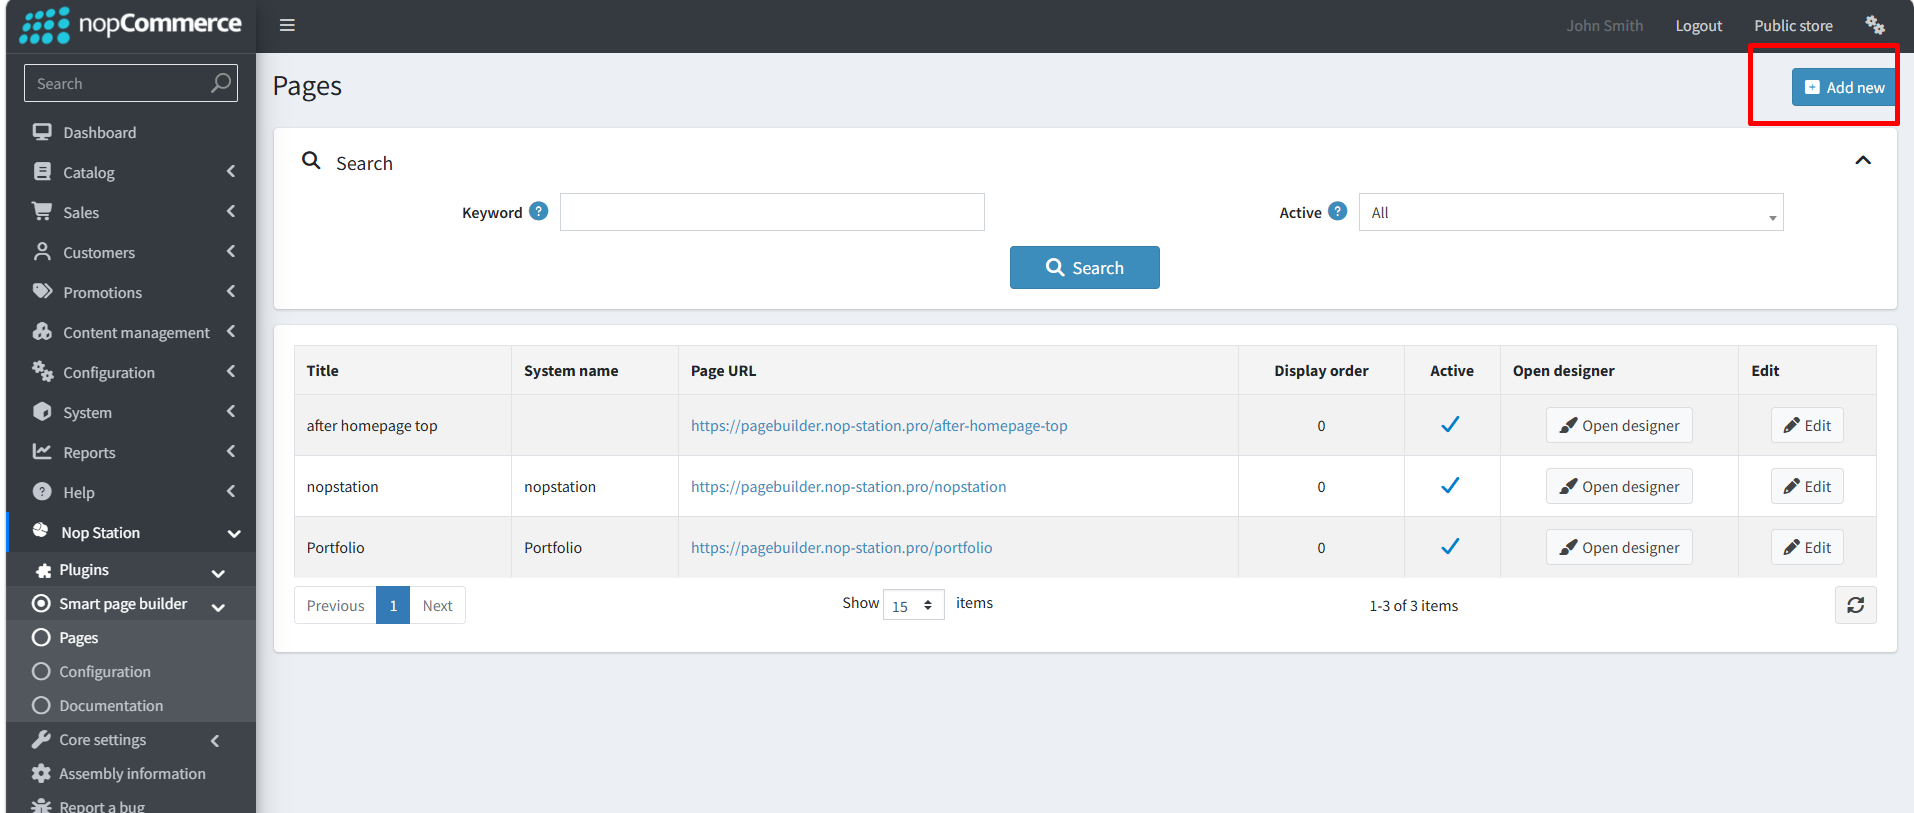
- Add valid data for creating the page in the builder
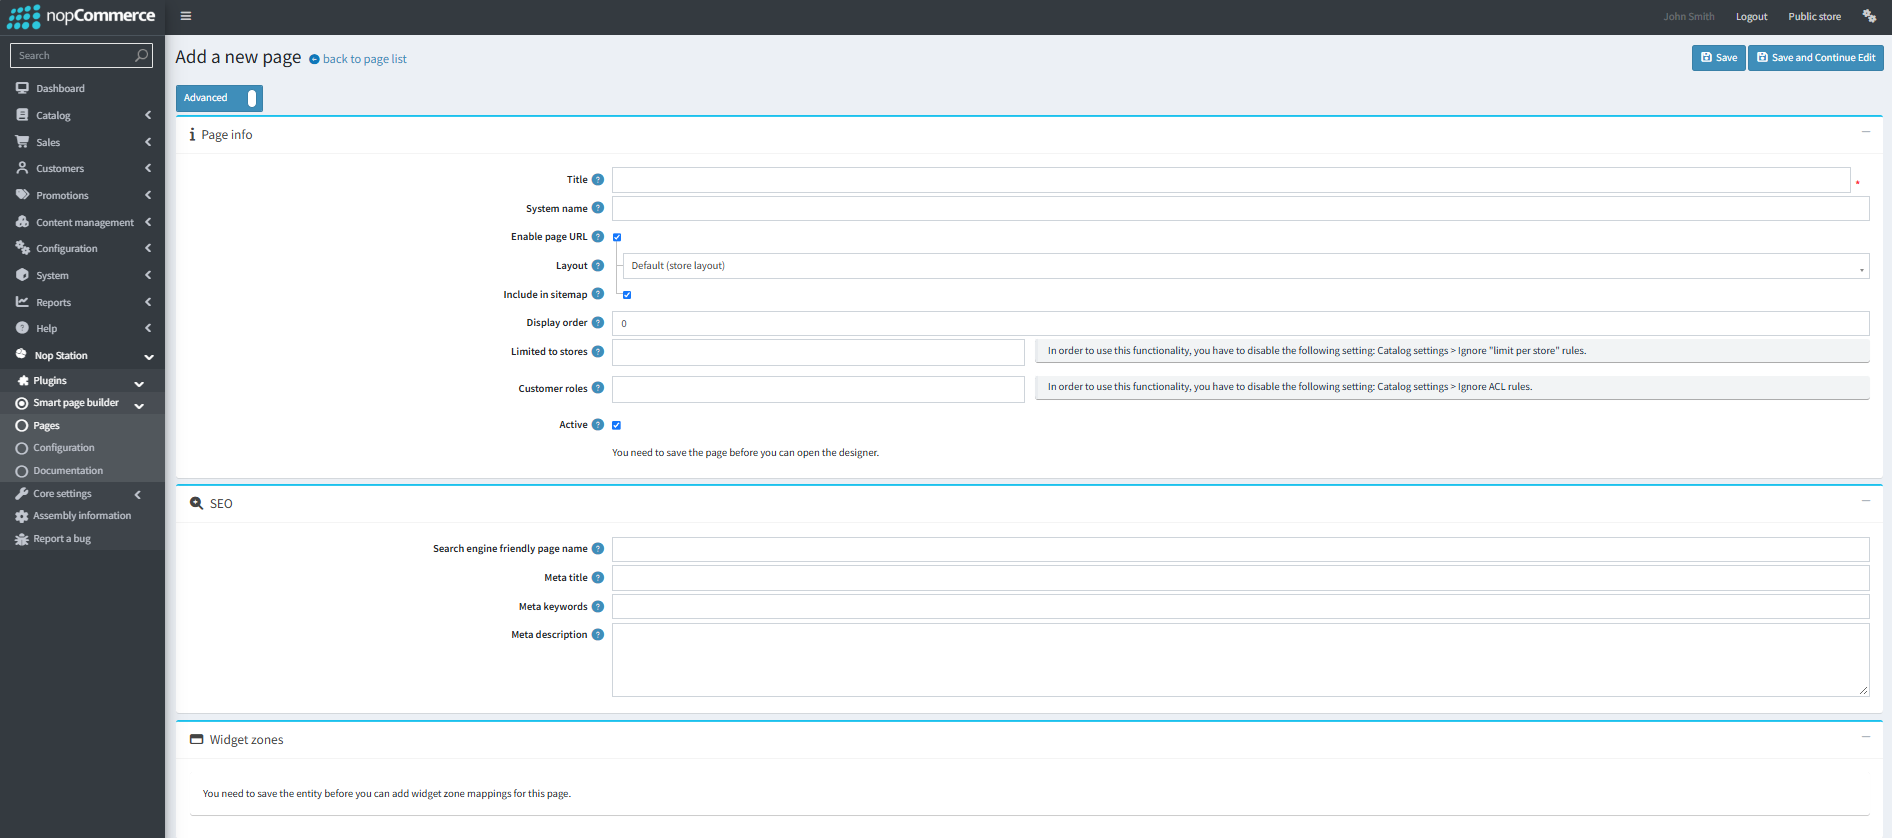
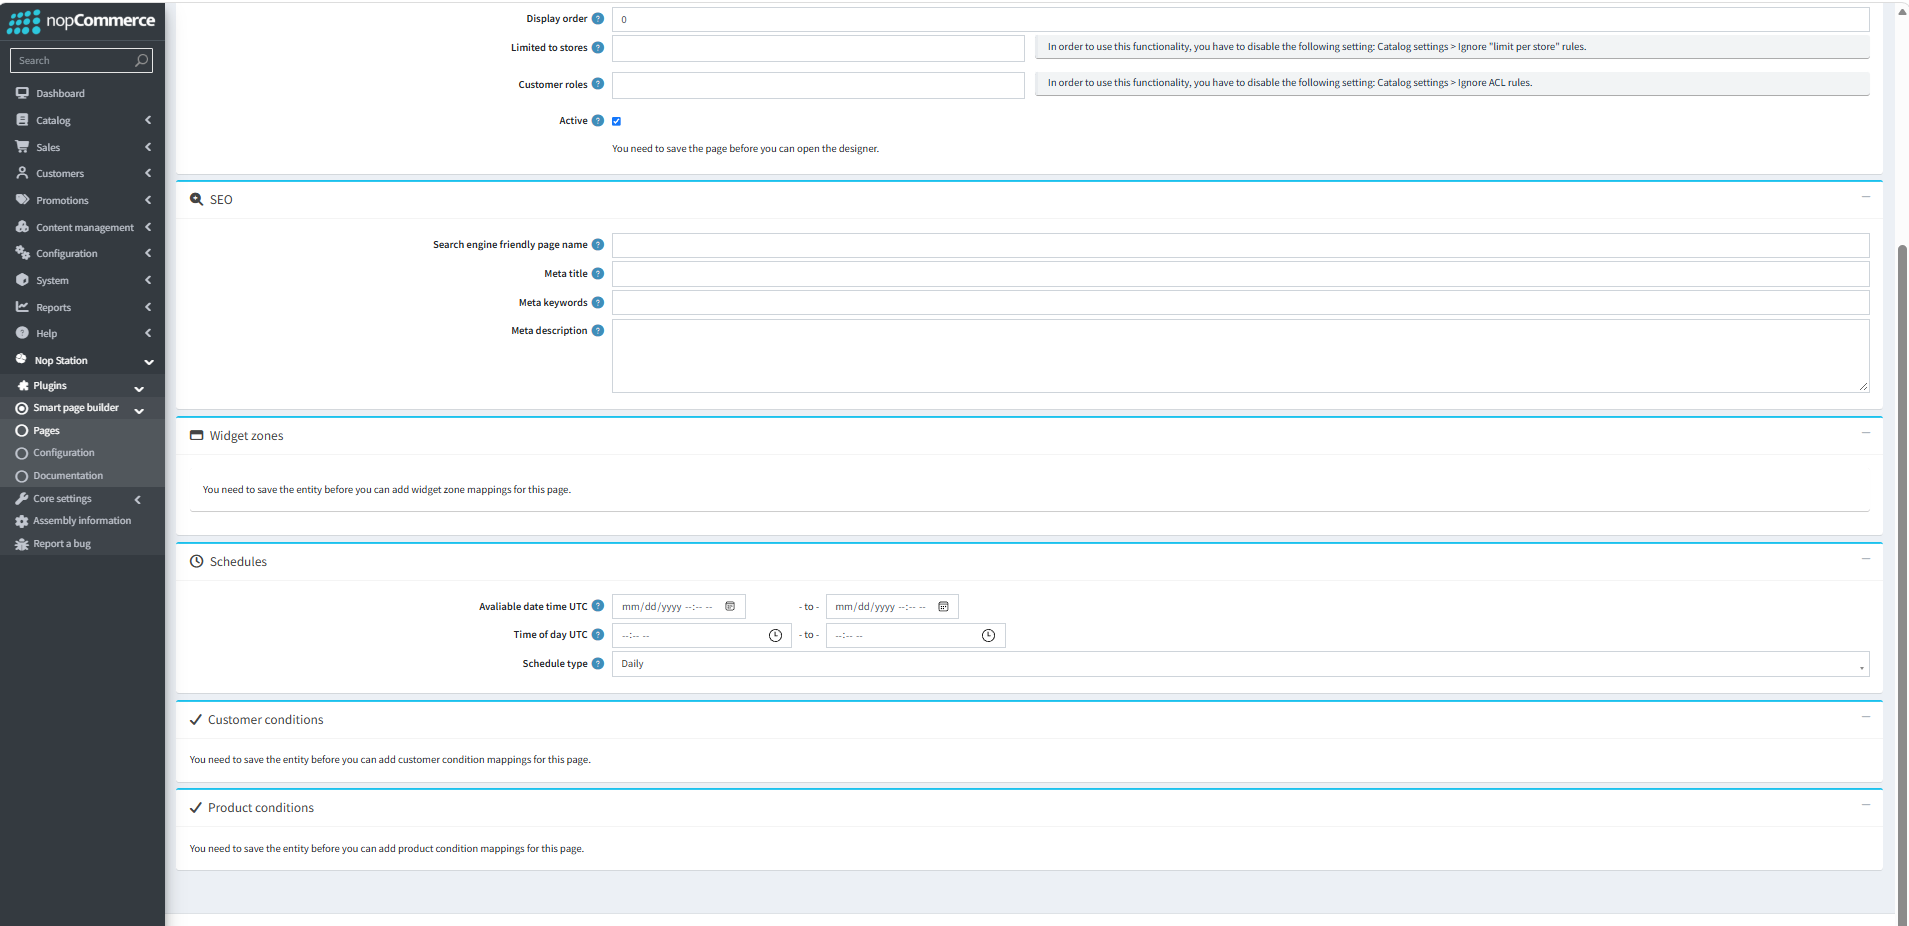
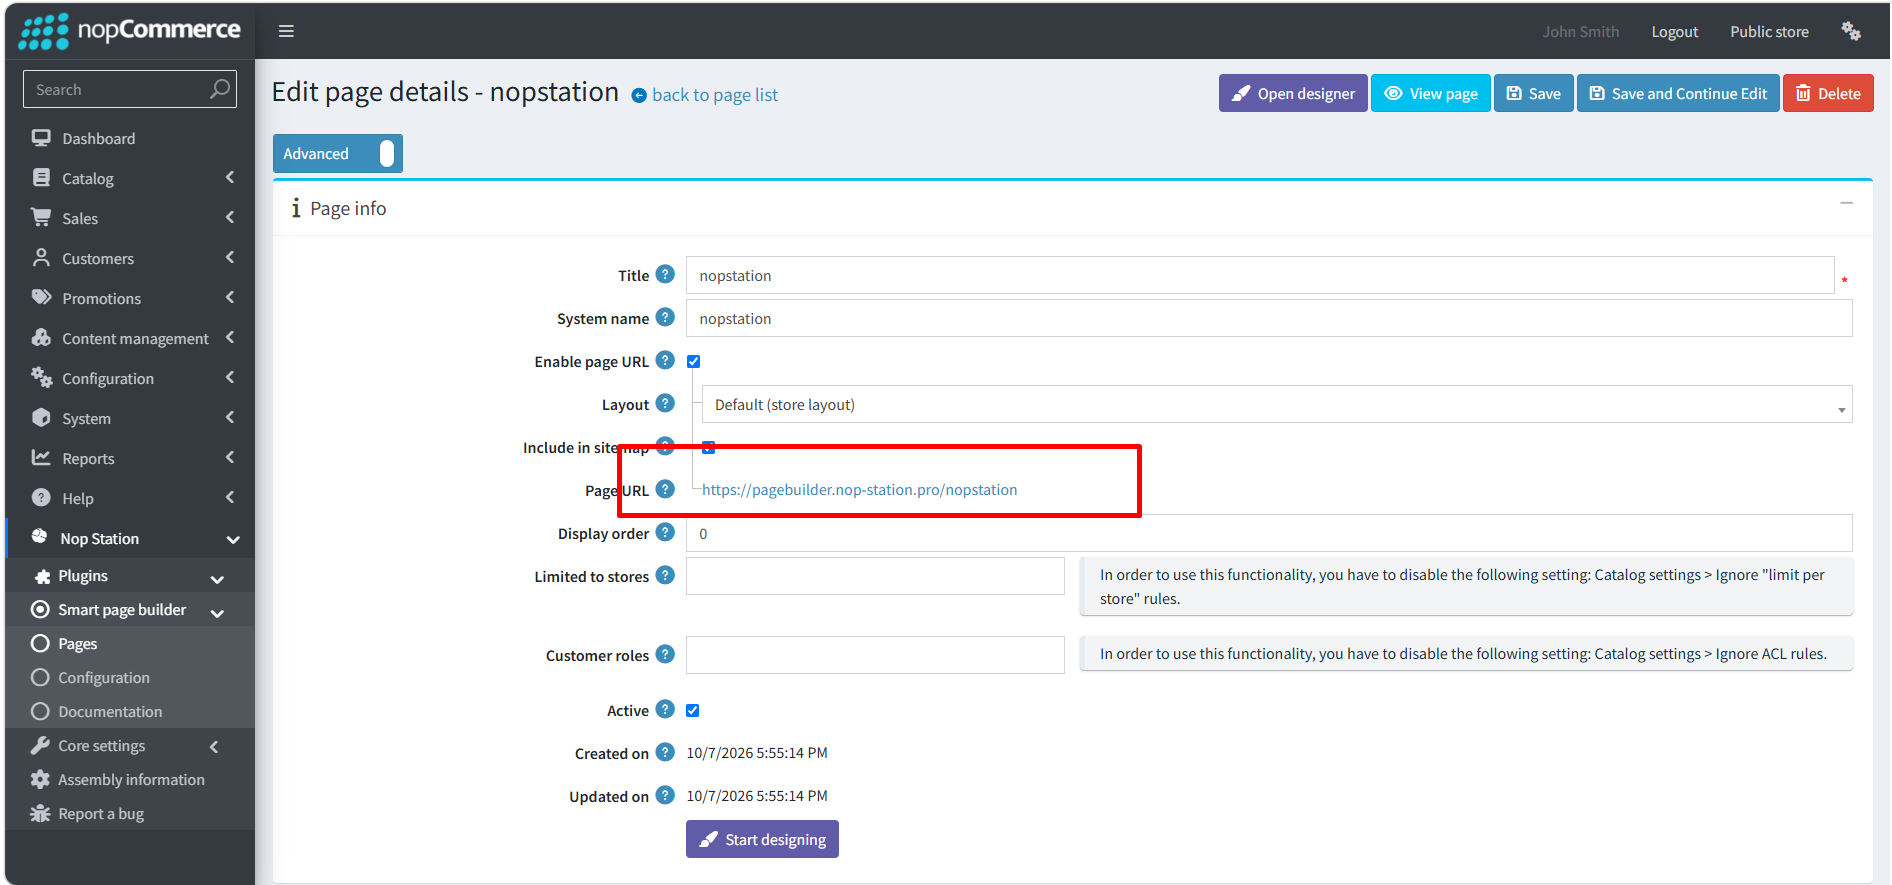
Page Info
- Title: The display name of the page (required).
- System name: A unique internal name used to identify the page in the system.
- Enable page URL: When checked, the page gets its own public URL and can be opened directly.
- Layout: Selects the layout used to render the page. The default is the store layout.
- Include in sitemap: When checked, the page is added to the store's XML sitemap so search engines can find it.
- Display order: Sets the position of the page when pages are listed. Lower numbers appear first.
- Limited to stores: Restricts the page to selected stores. Leave blank to show it in all stores. This requires disabling the catalog setting "Ignore 'limit per store' rules."
- Customer roles: Restricts the page to selected customer roles. Leave blank to make it available to everyone. This requires disabling the catalog setting "Ignore ACL rules."
- Active: Turns the page on or off. Inactive pages are not shown on the public store.
- Note: The page must be saved before the designer can be opened.
SEO
- Search engine friendly page name: The URL slug of the page (for example, about-us).
- Meta title: The title shown in browser tabs and search engine results.
- Meta keywords: Keywords related to the page content.
- Meta description: A short summary of the page shown in search engine results.
Widget Zones
Lets you map the page to specific widget zones so its content appears in chosen locations on the store. (Available only after the page has been saved.)
Schedules
- Available date time UTC: Sets the start and end date and time during which the page is available.
- Time of day UTC: Sets the daily time window during which the page is shown.
- Schedule type: Defines how the schedule repeats (for example, Daily).
Customer Conditions
Lets you show the page only to customers who meet certain conditions. (Available only after the page has been saved.)
Product Conditions
Lets you show the page only when certain product-related conditions are met. (Available only after the page has been saved.)
DESIGNING PAGES WITH SMART PAGE BUILDER
- Click on the Start designing button to open the page builder designer
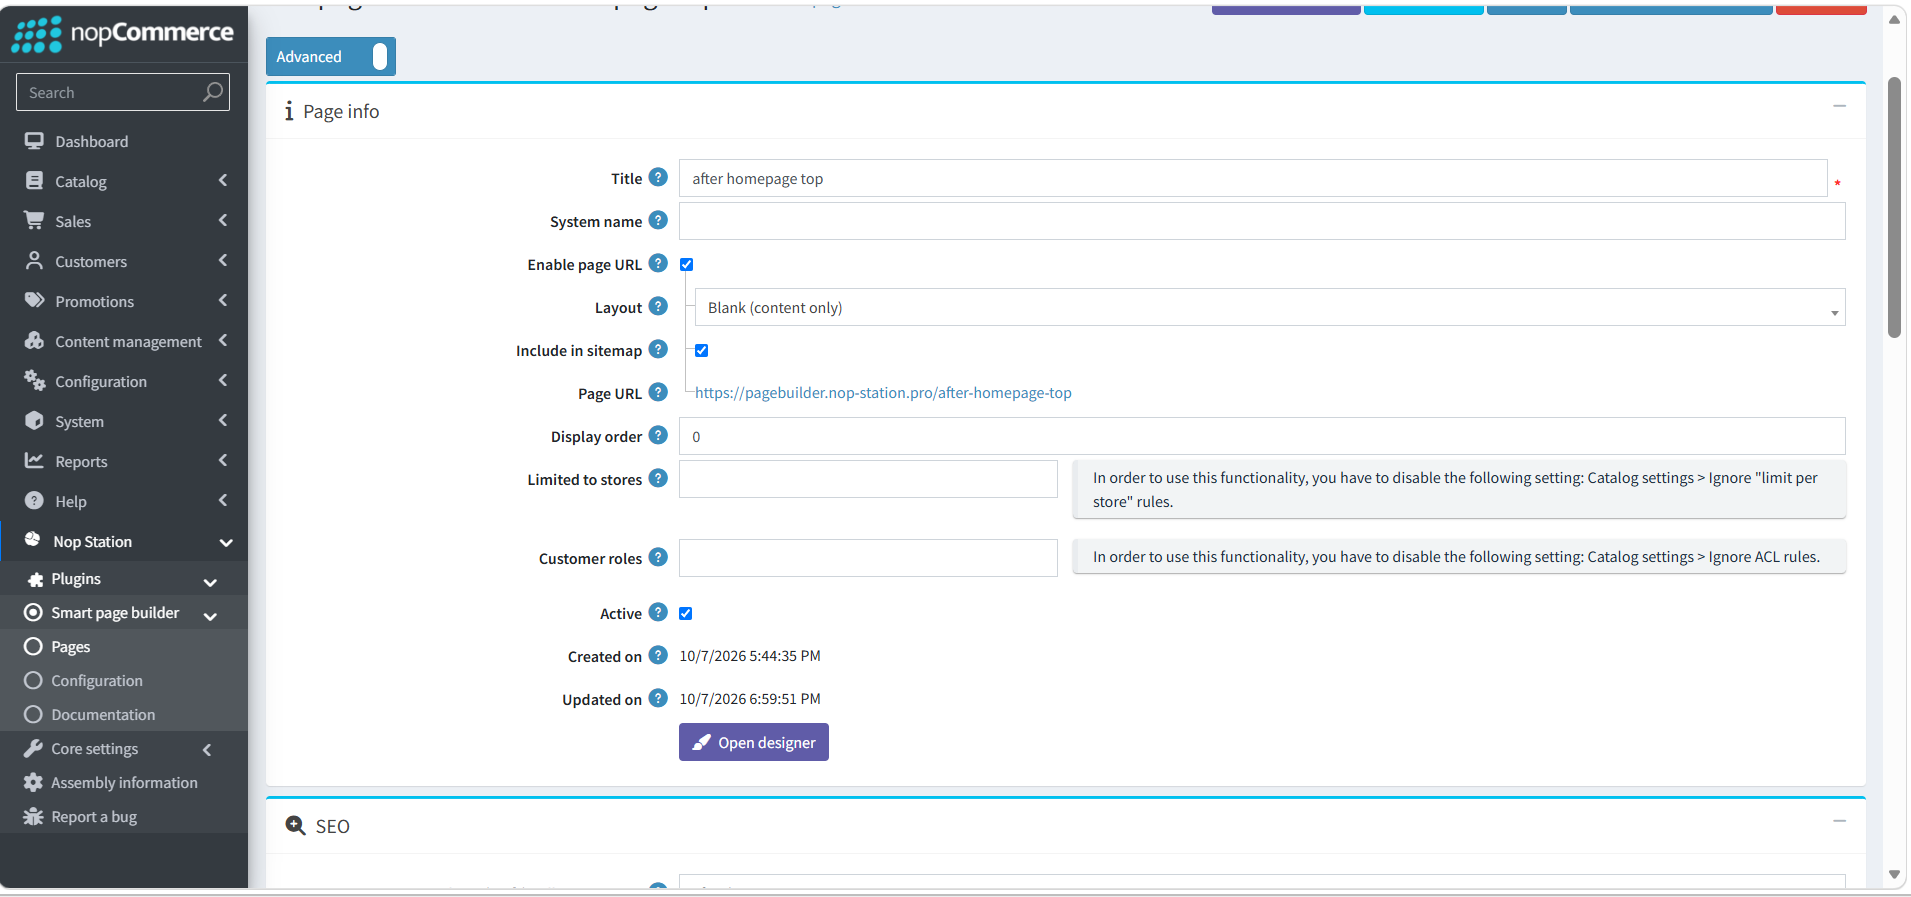
- You will be redirected to the Page Builder interface
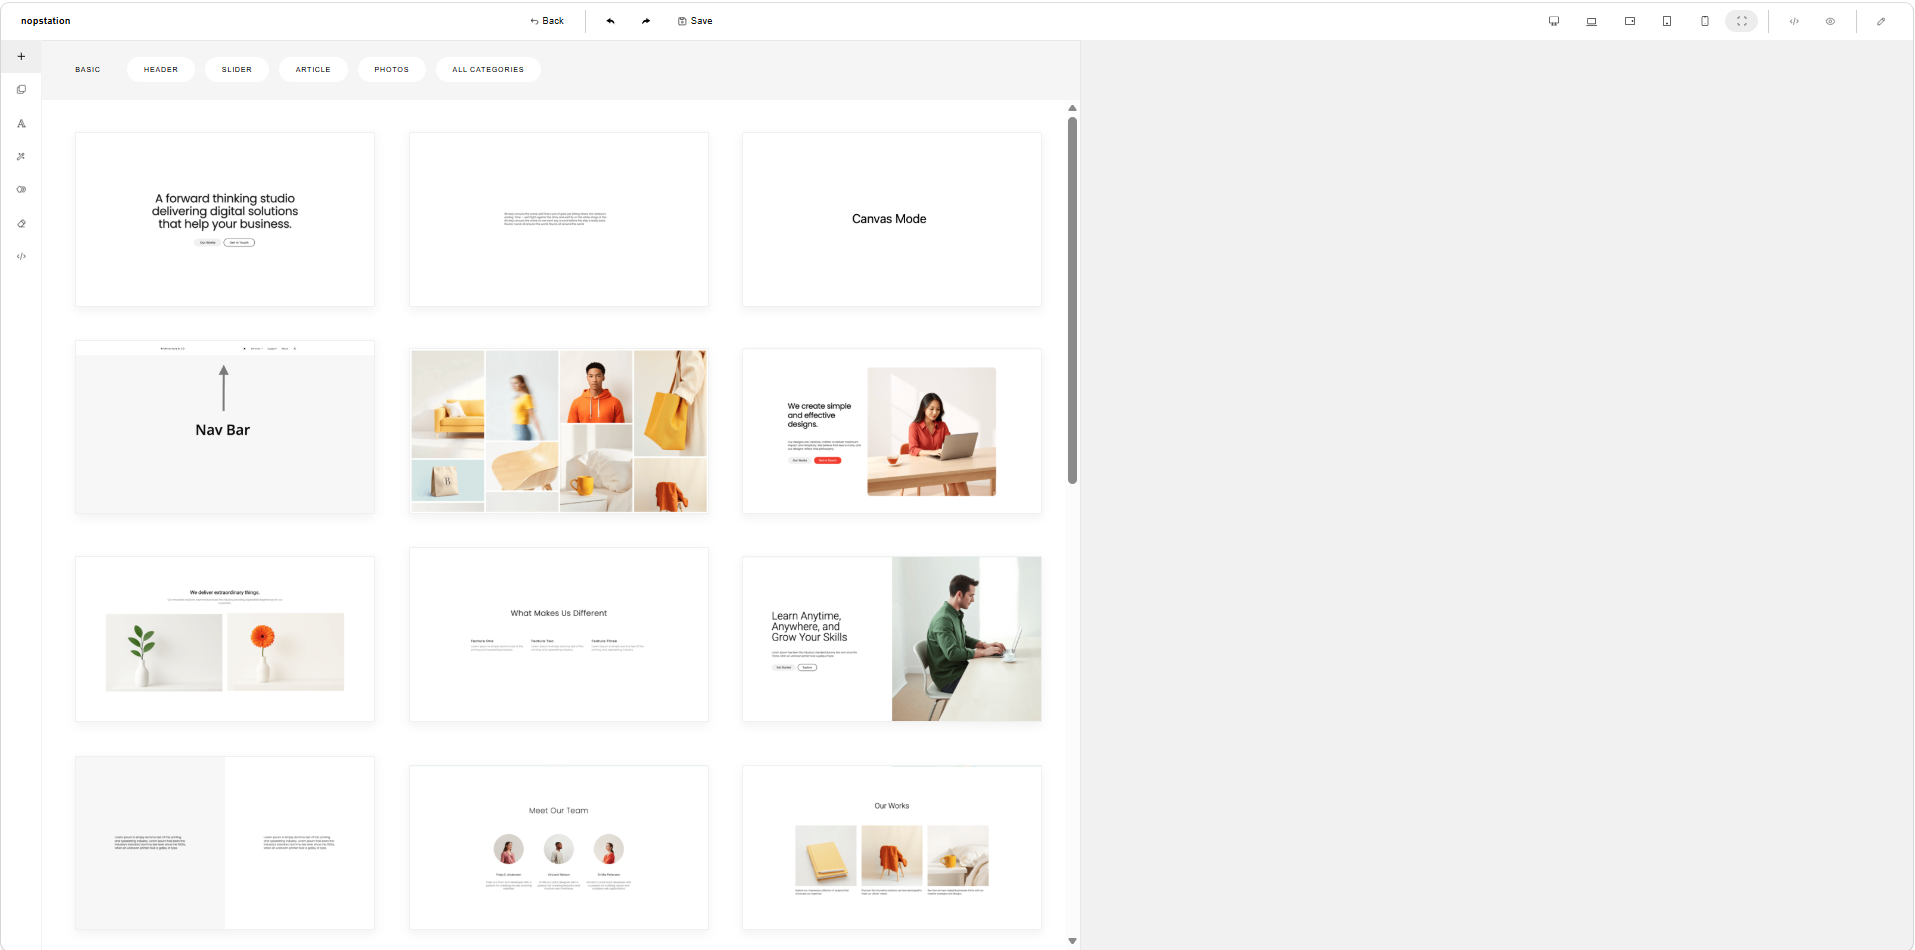
- Design the page based on your requirements using drag-and-drop elements and templates
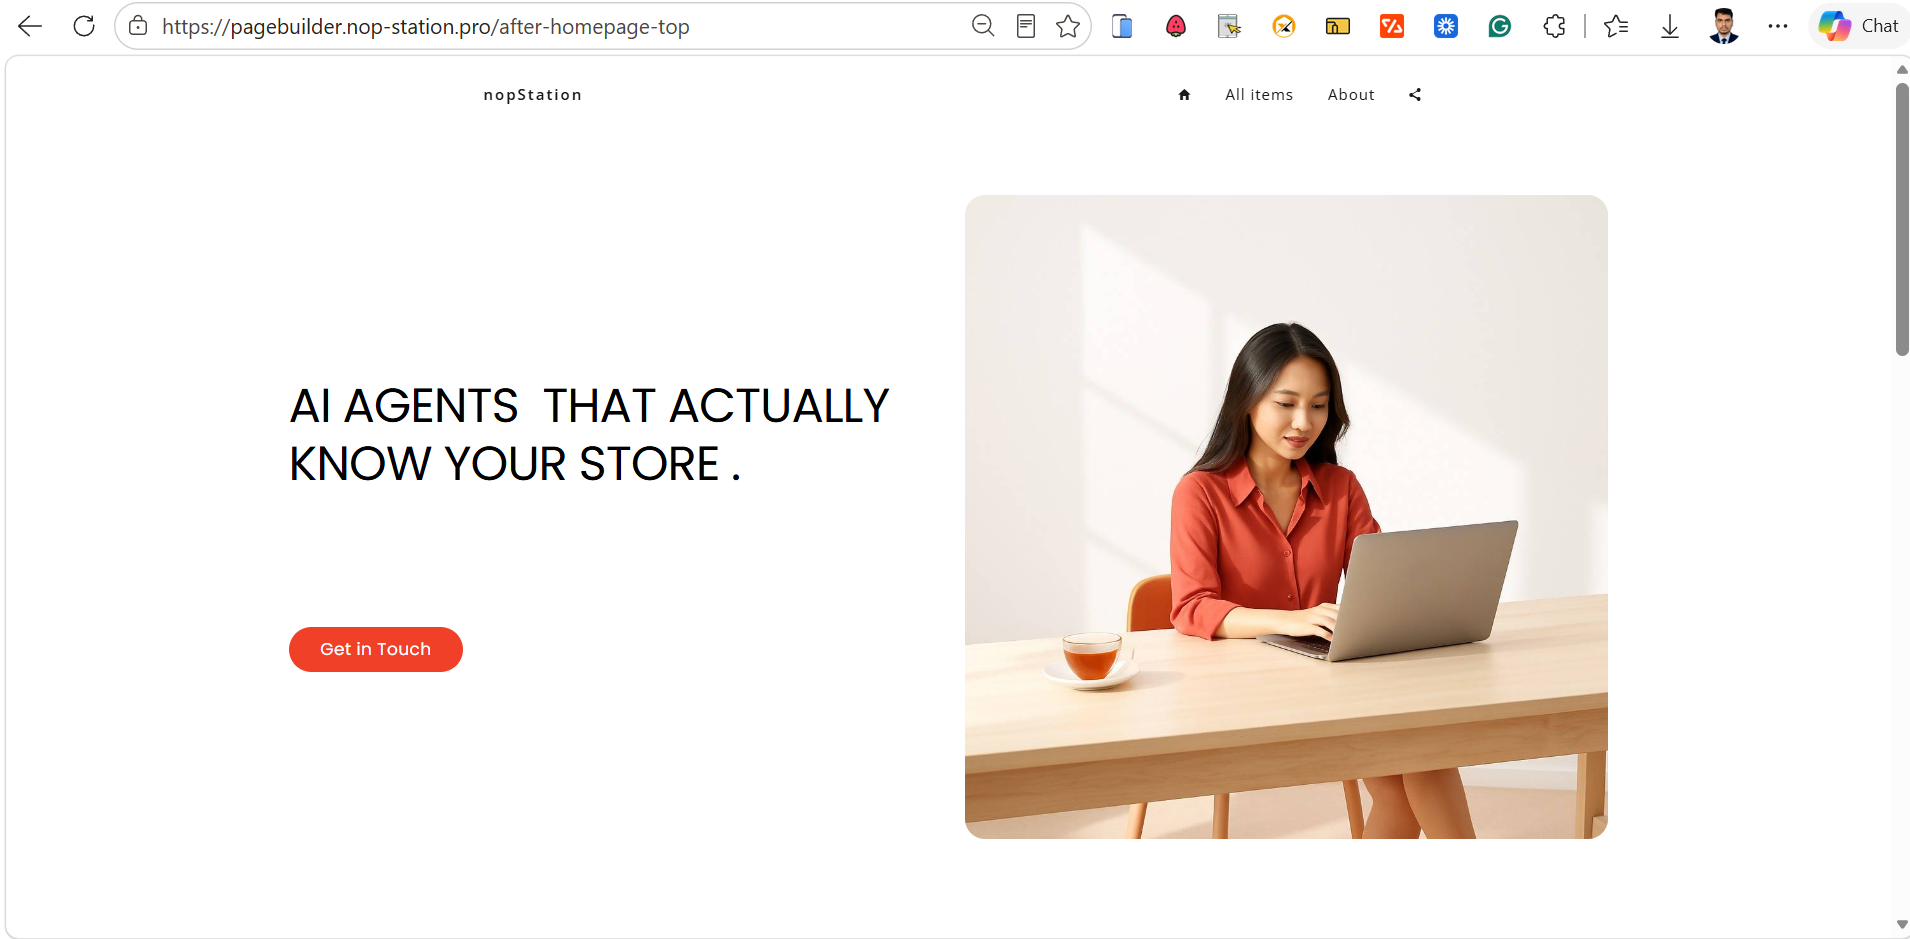
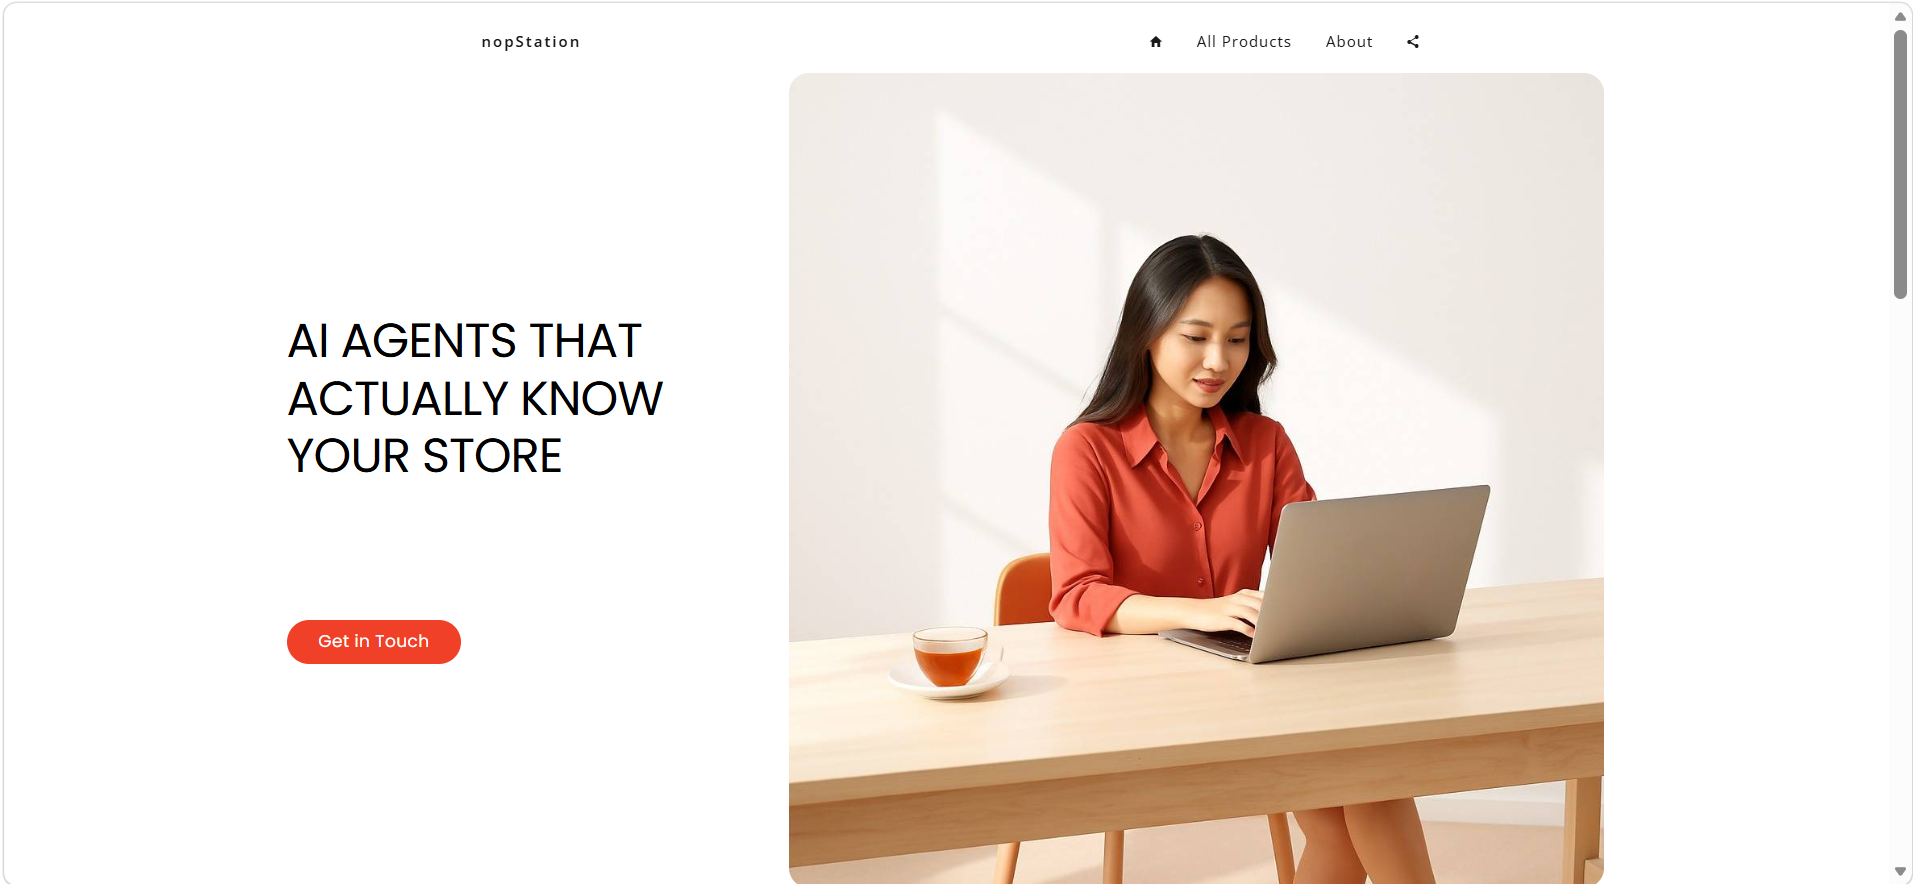
- Save your design and click on the page link to view the live page on your storefront