PRE-REQUISITES
- The plugin requires you to install the Nop-Station Core plugin and Nop-Station Progressive Web App first.
INSTALLATION
- Download the NopStation PushNop Plugin from our store https://nop-station.com/customer/downloadableproducts
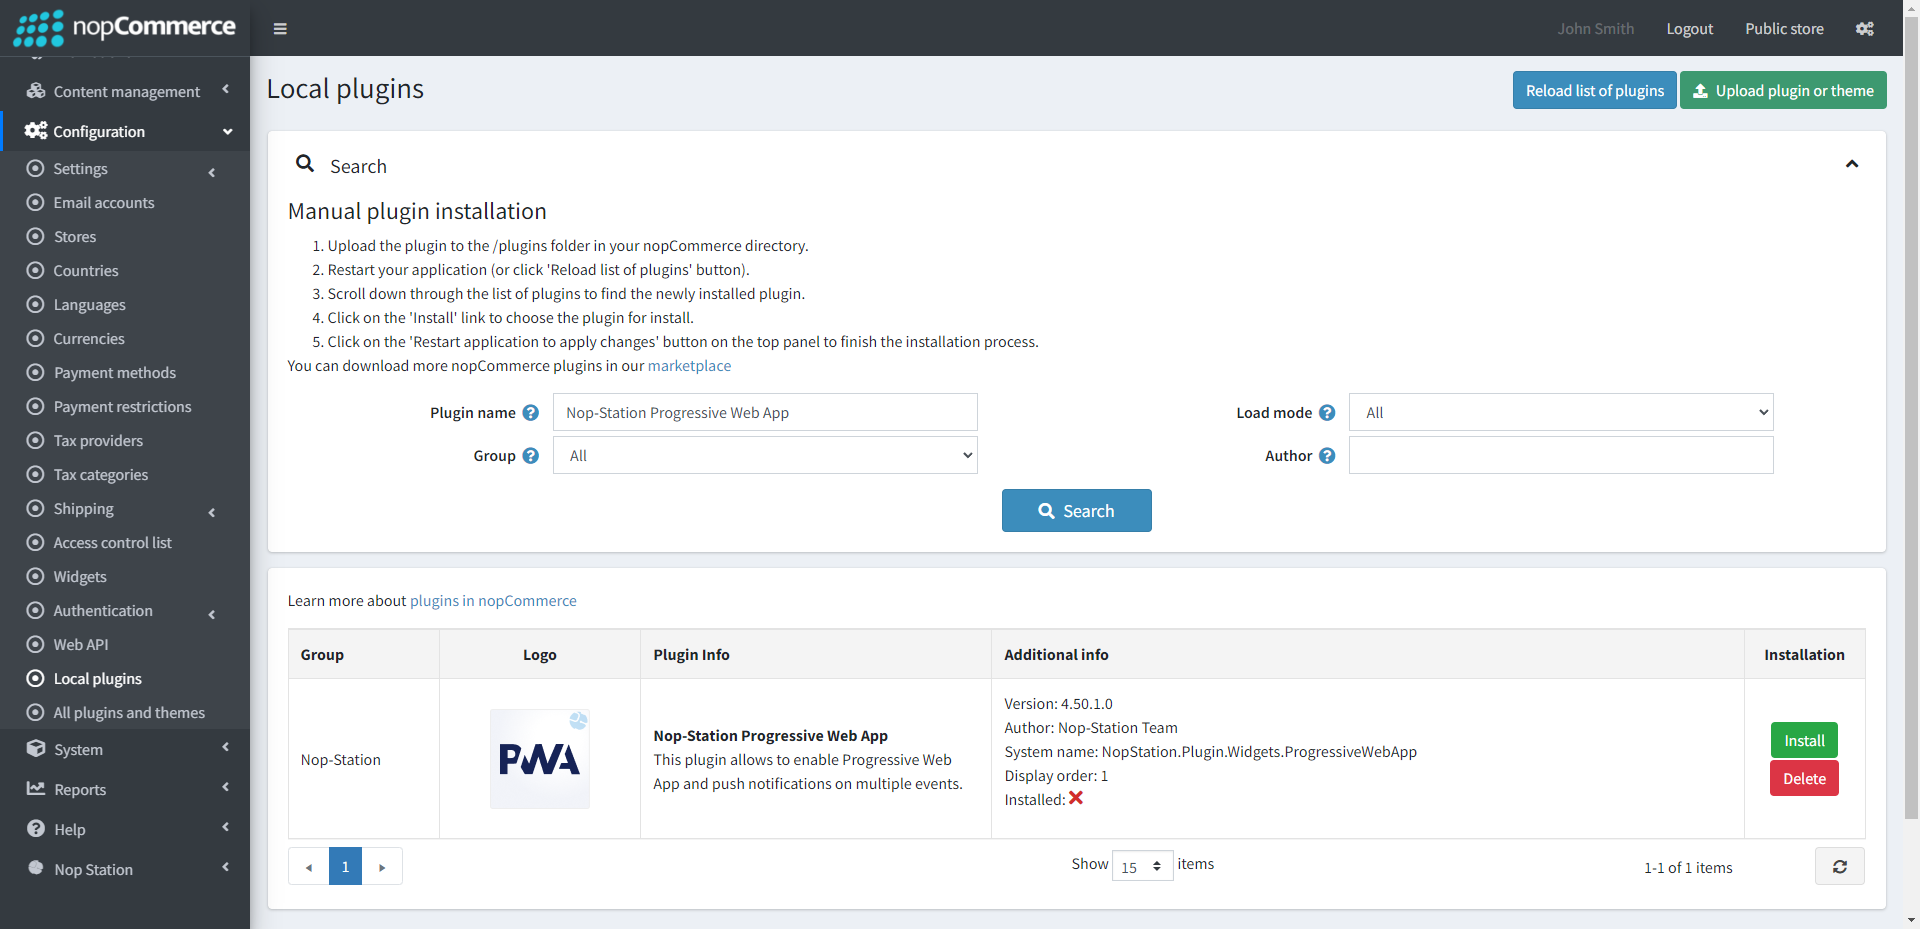
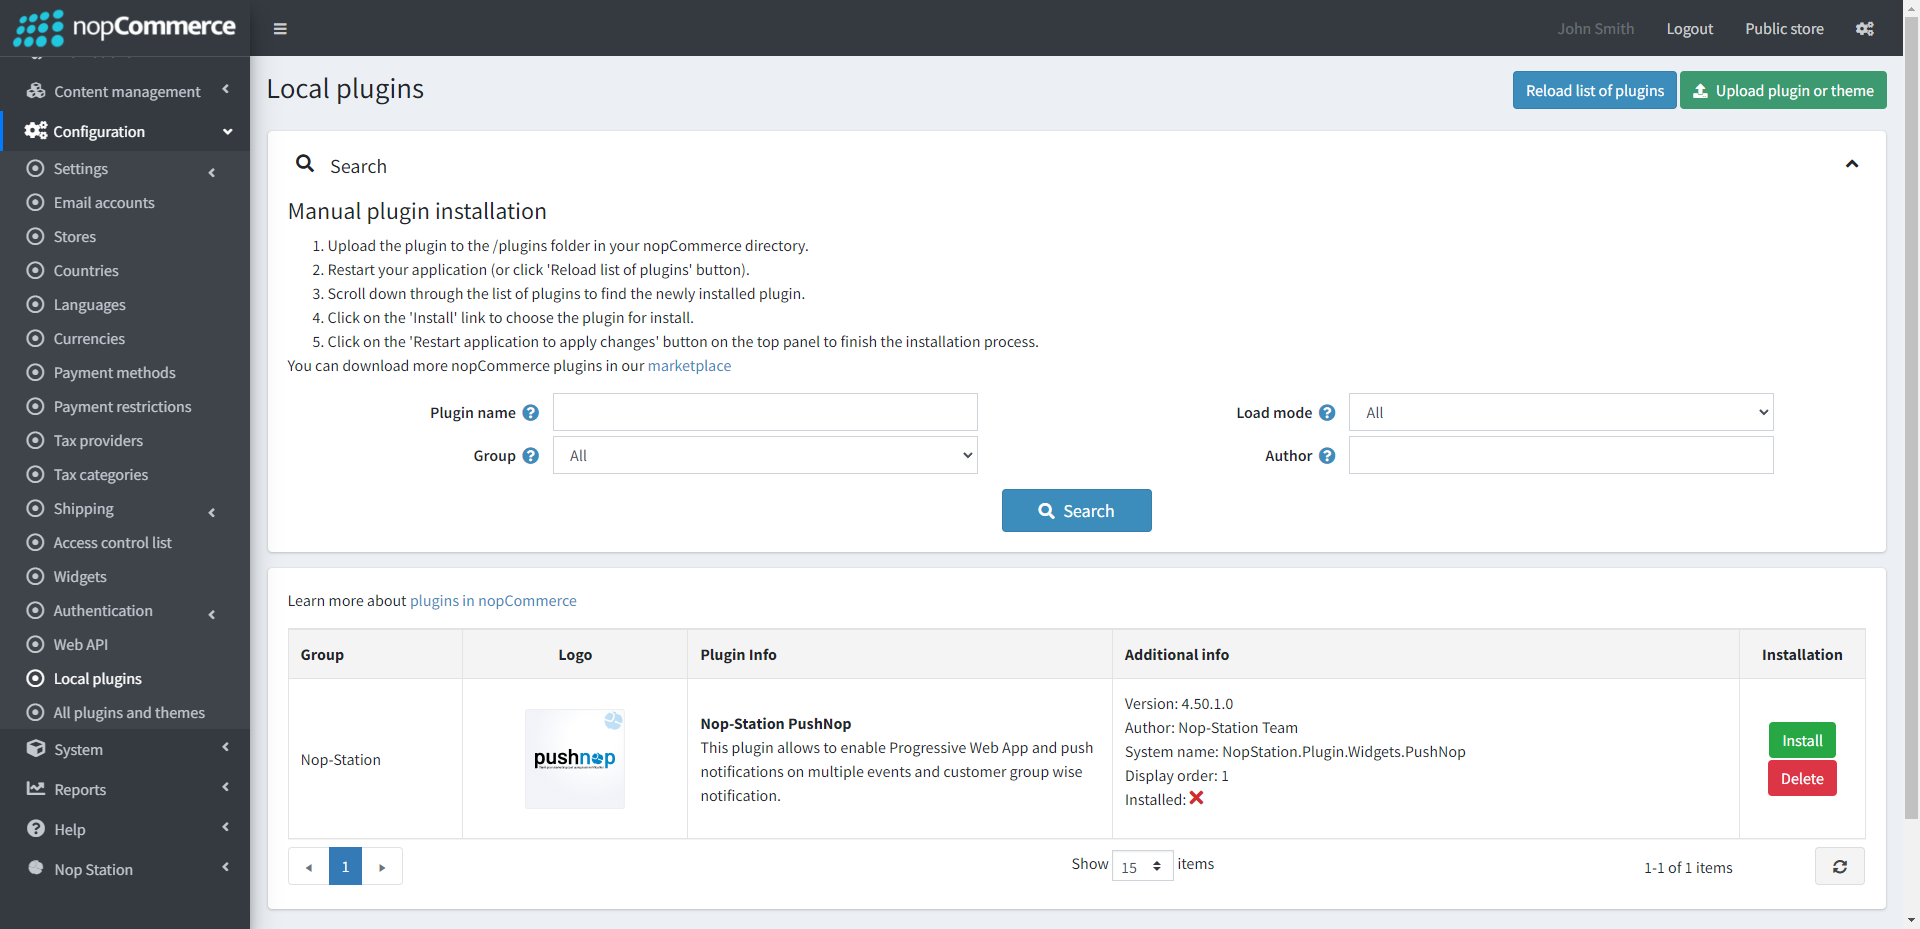
- Go to Administration → Configuration → Local plugins
- Upload the NopStation.PushNop zip file using the "Upload plugin or theme" button
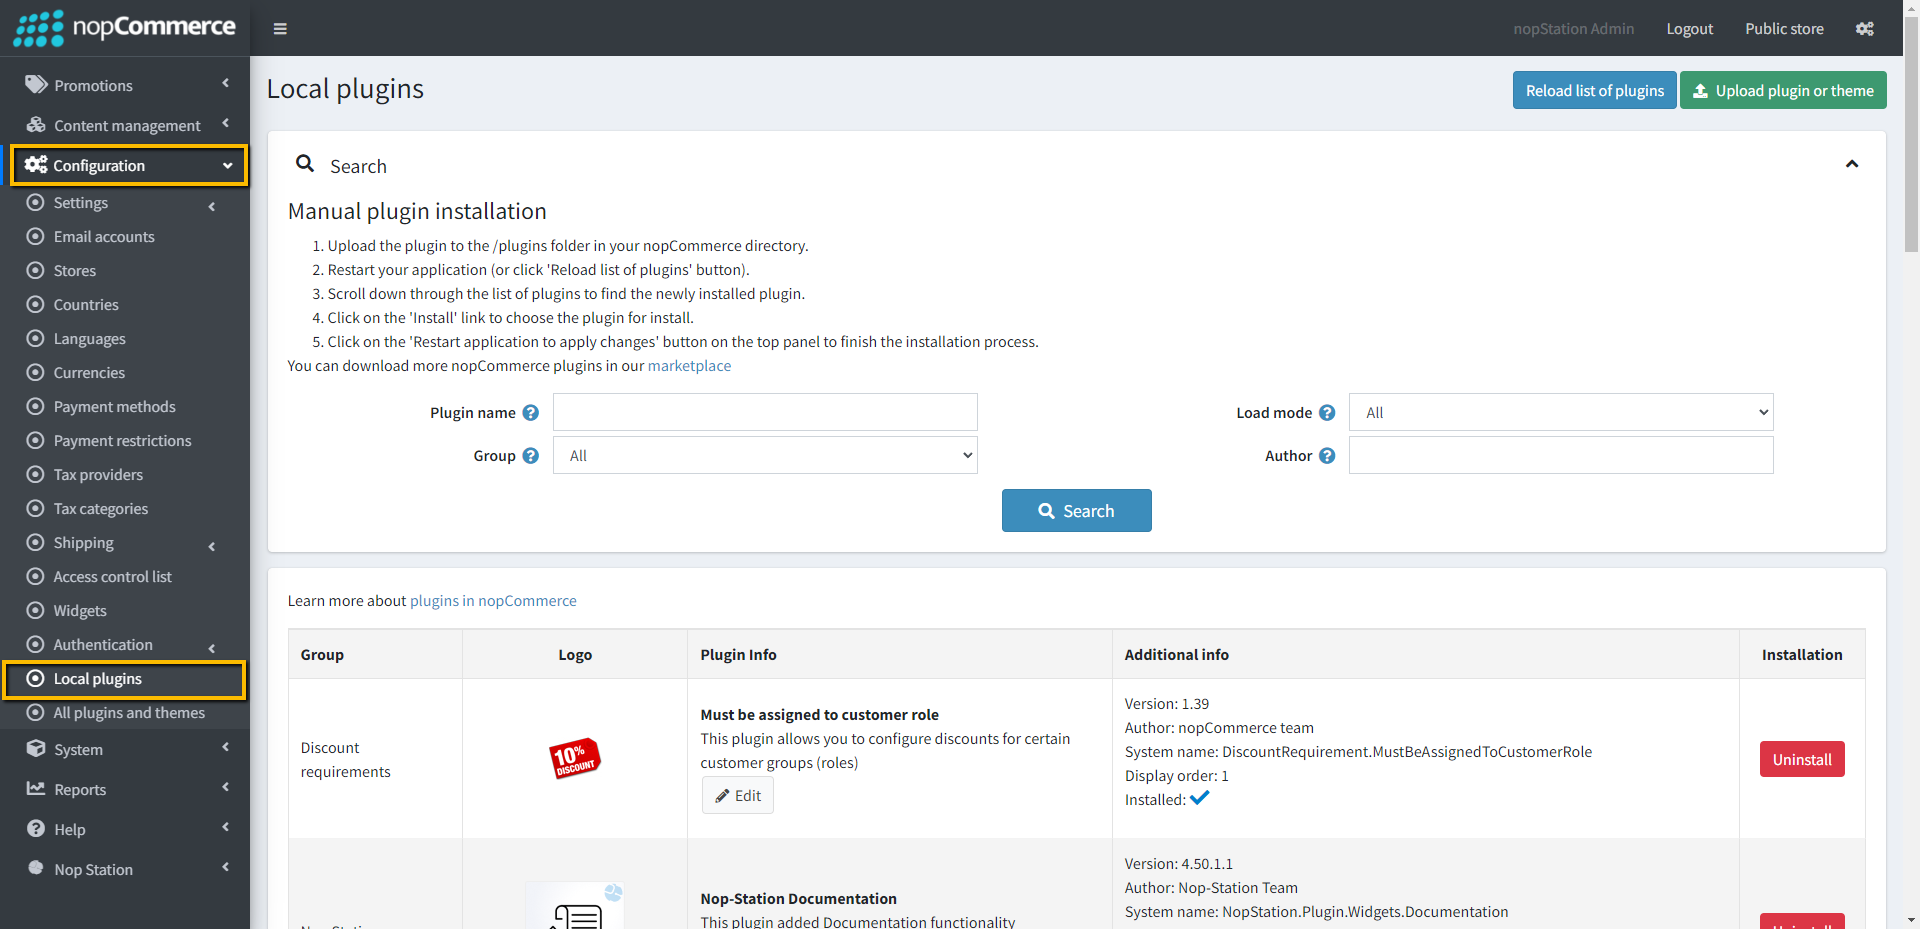
- Go to Administration, reload the 'list of plugins'. Install 'Nop-Station Core' plugin first
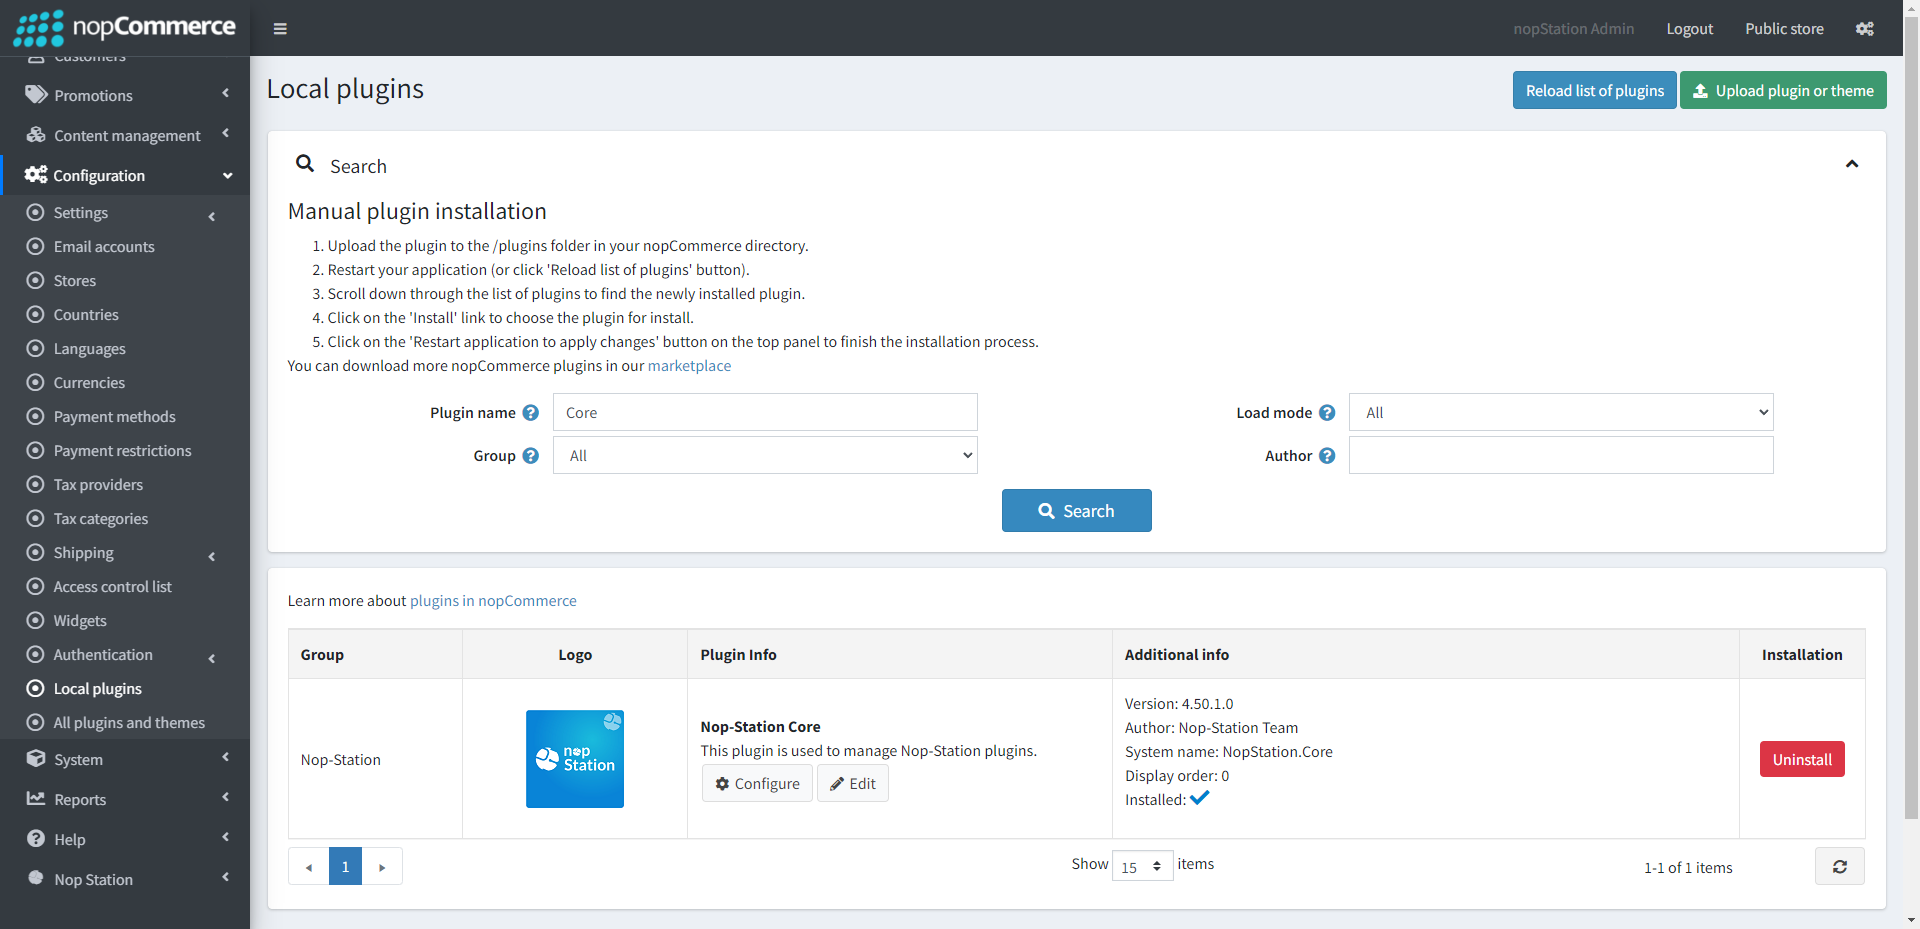
- After installing 'Nop-Station Core' you need to install Nop-Station Progressive Web App and then install Nop-Station PushNop plugin
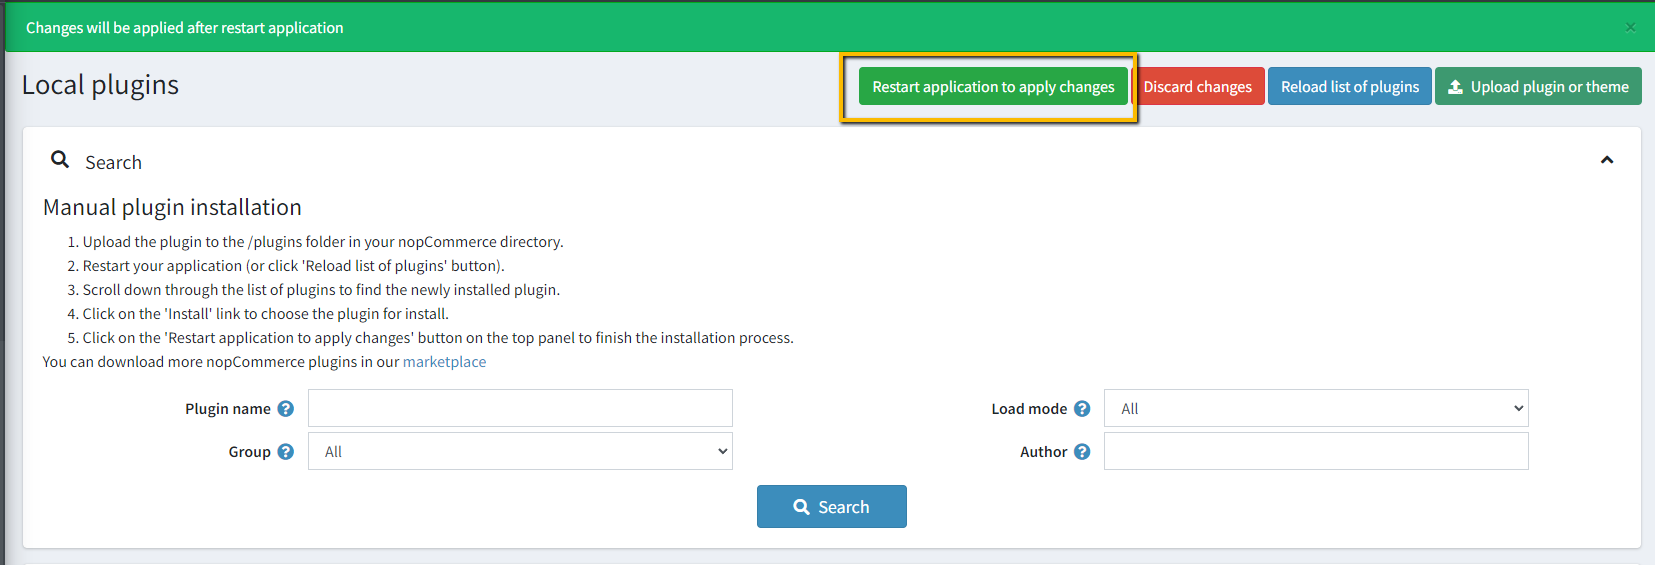
- To make the plugins functional, restart the application
DASHBOARD
- Go to Admin → Nop Station → Plugins → Push-nop
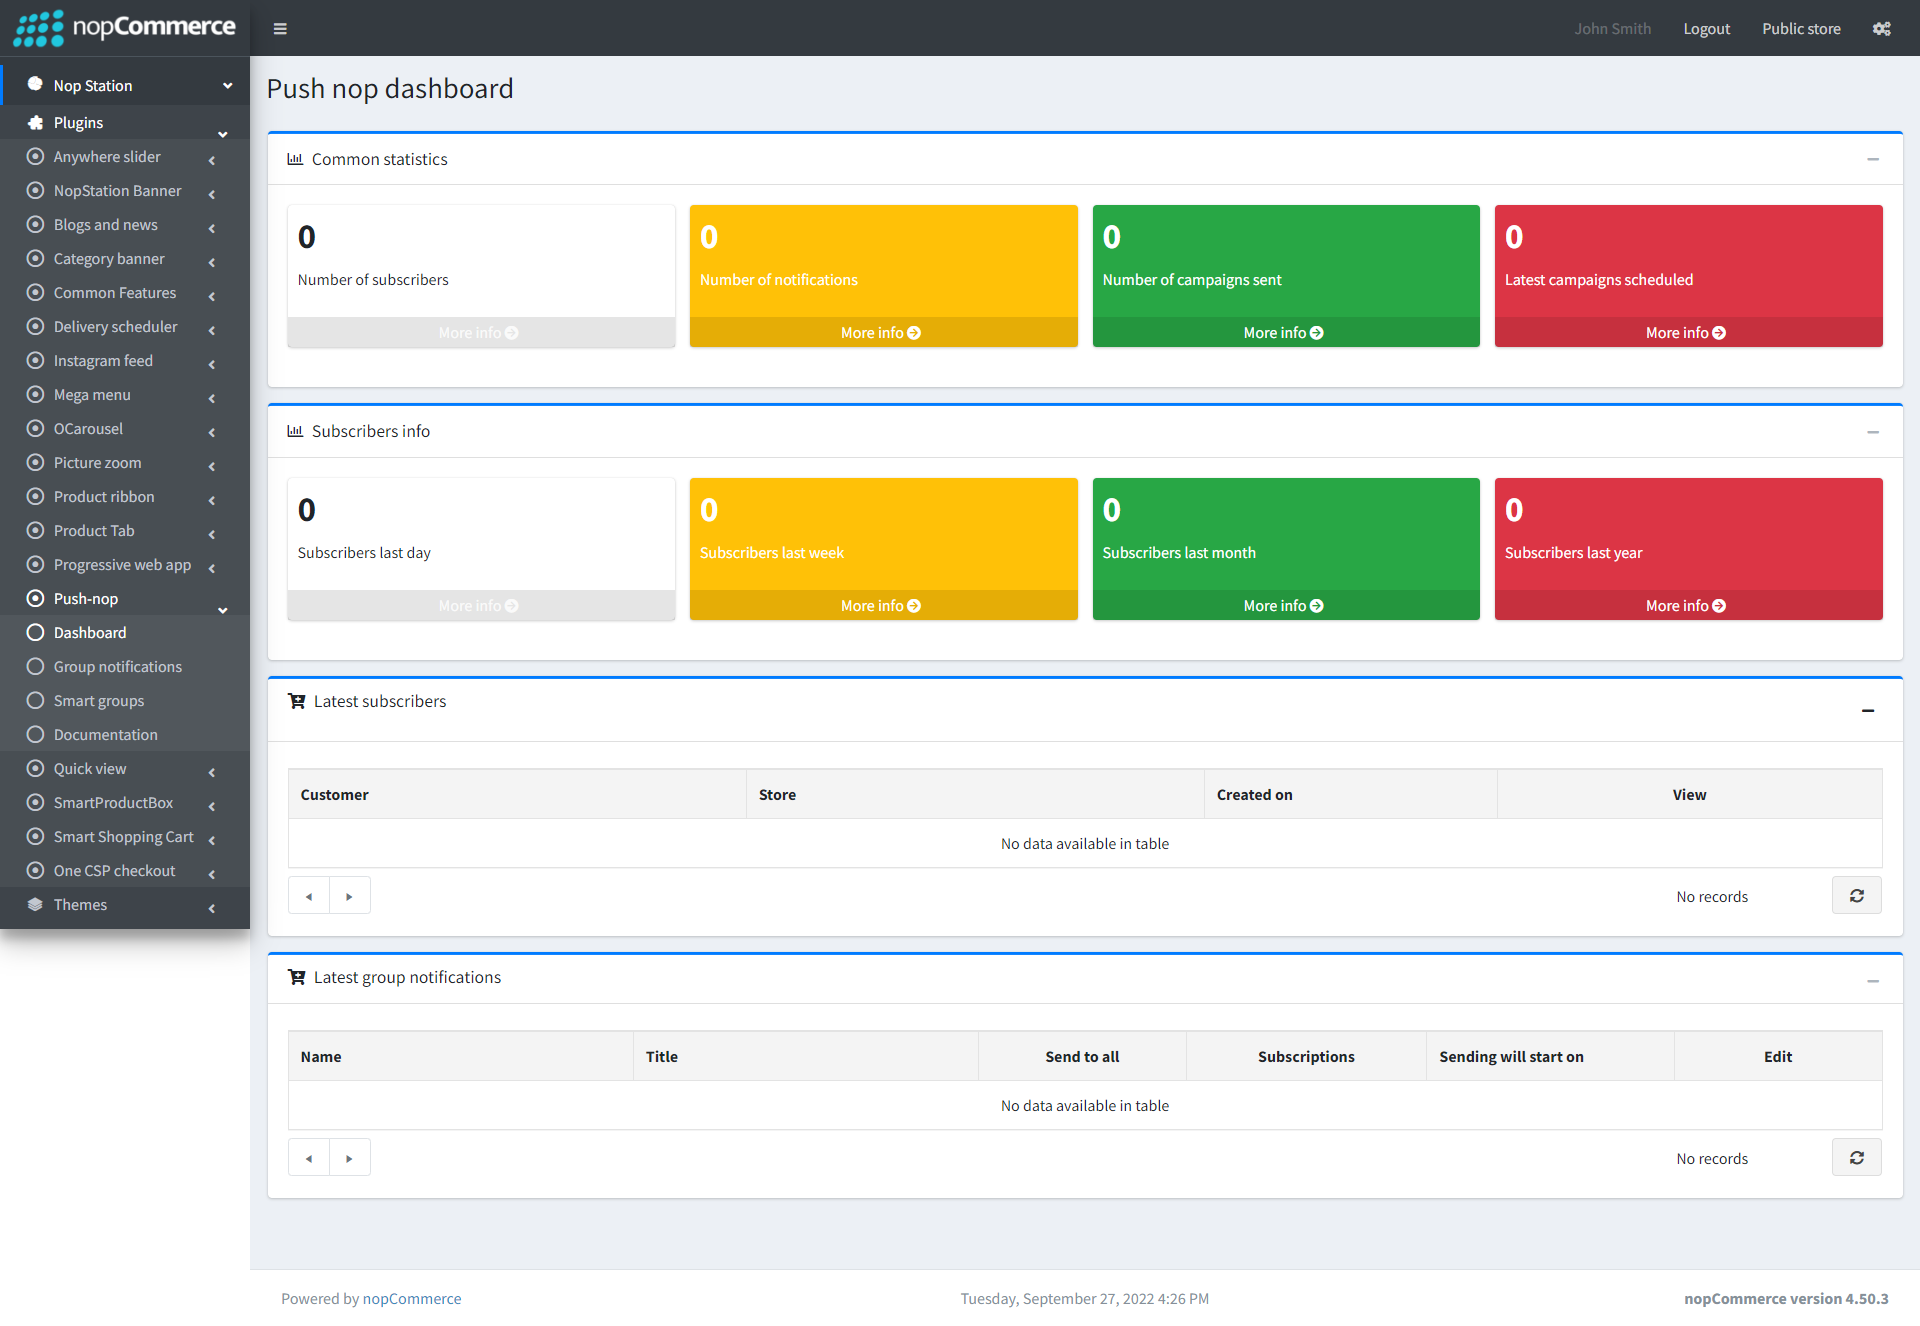
- From here the store owner can see the campaign results in a single dashboard
- Here you can see the overview of Common statistics, Subscribers info, Latest subscribers, Latest group notifications
GROUP NOTIFICATIONS
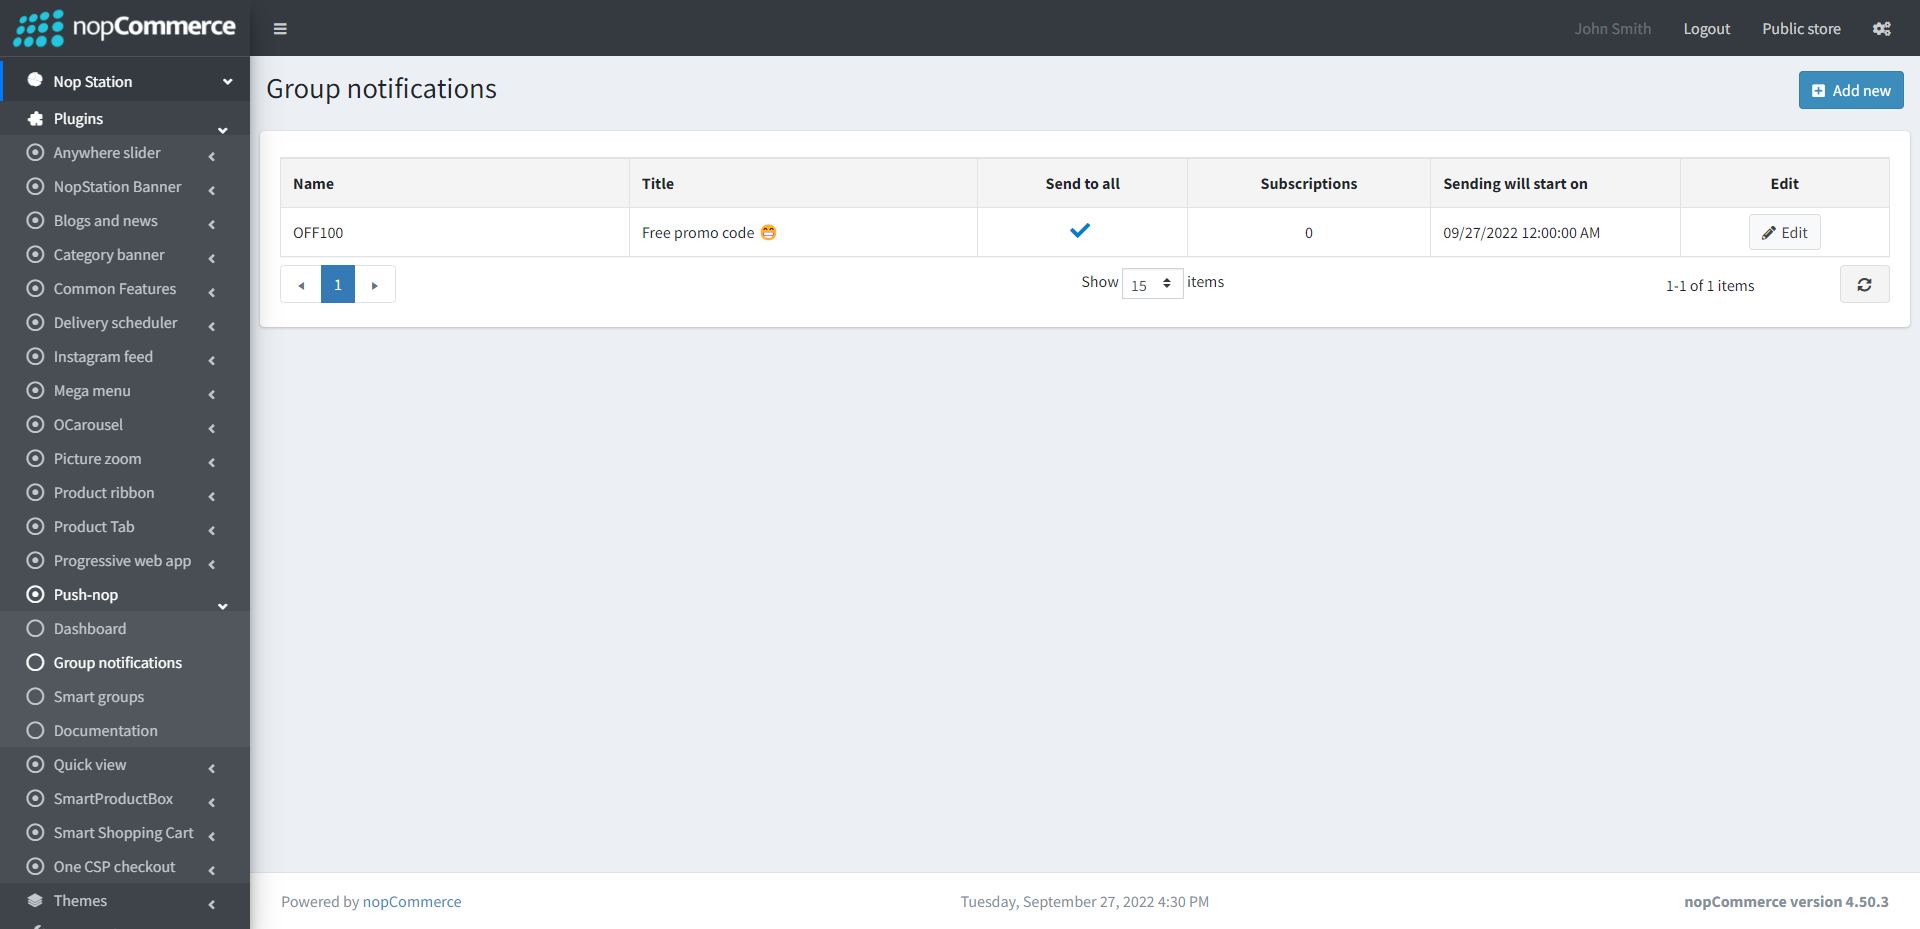
- Go to Admin → Nop Station → Plugins → Group notifications
- Here you can find the list of group notifications or add new ones by clicking on the Add new button
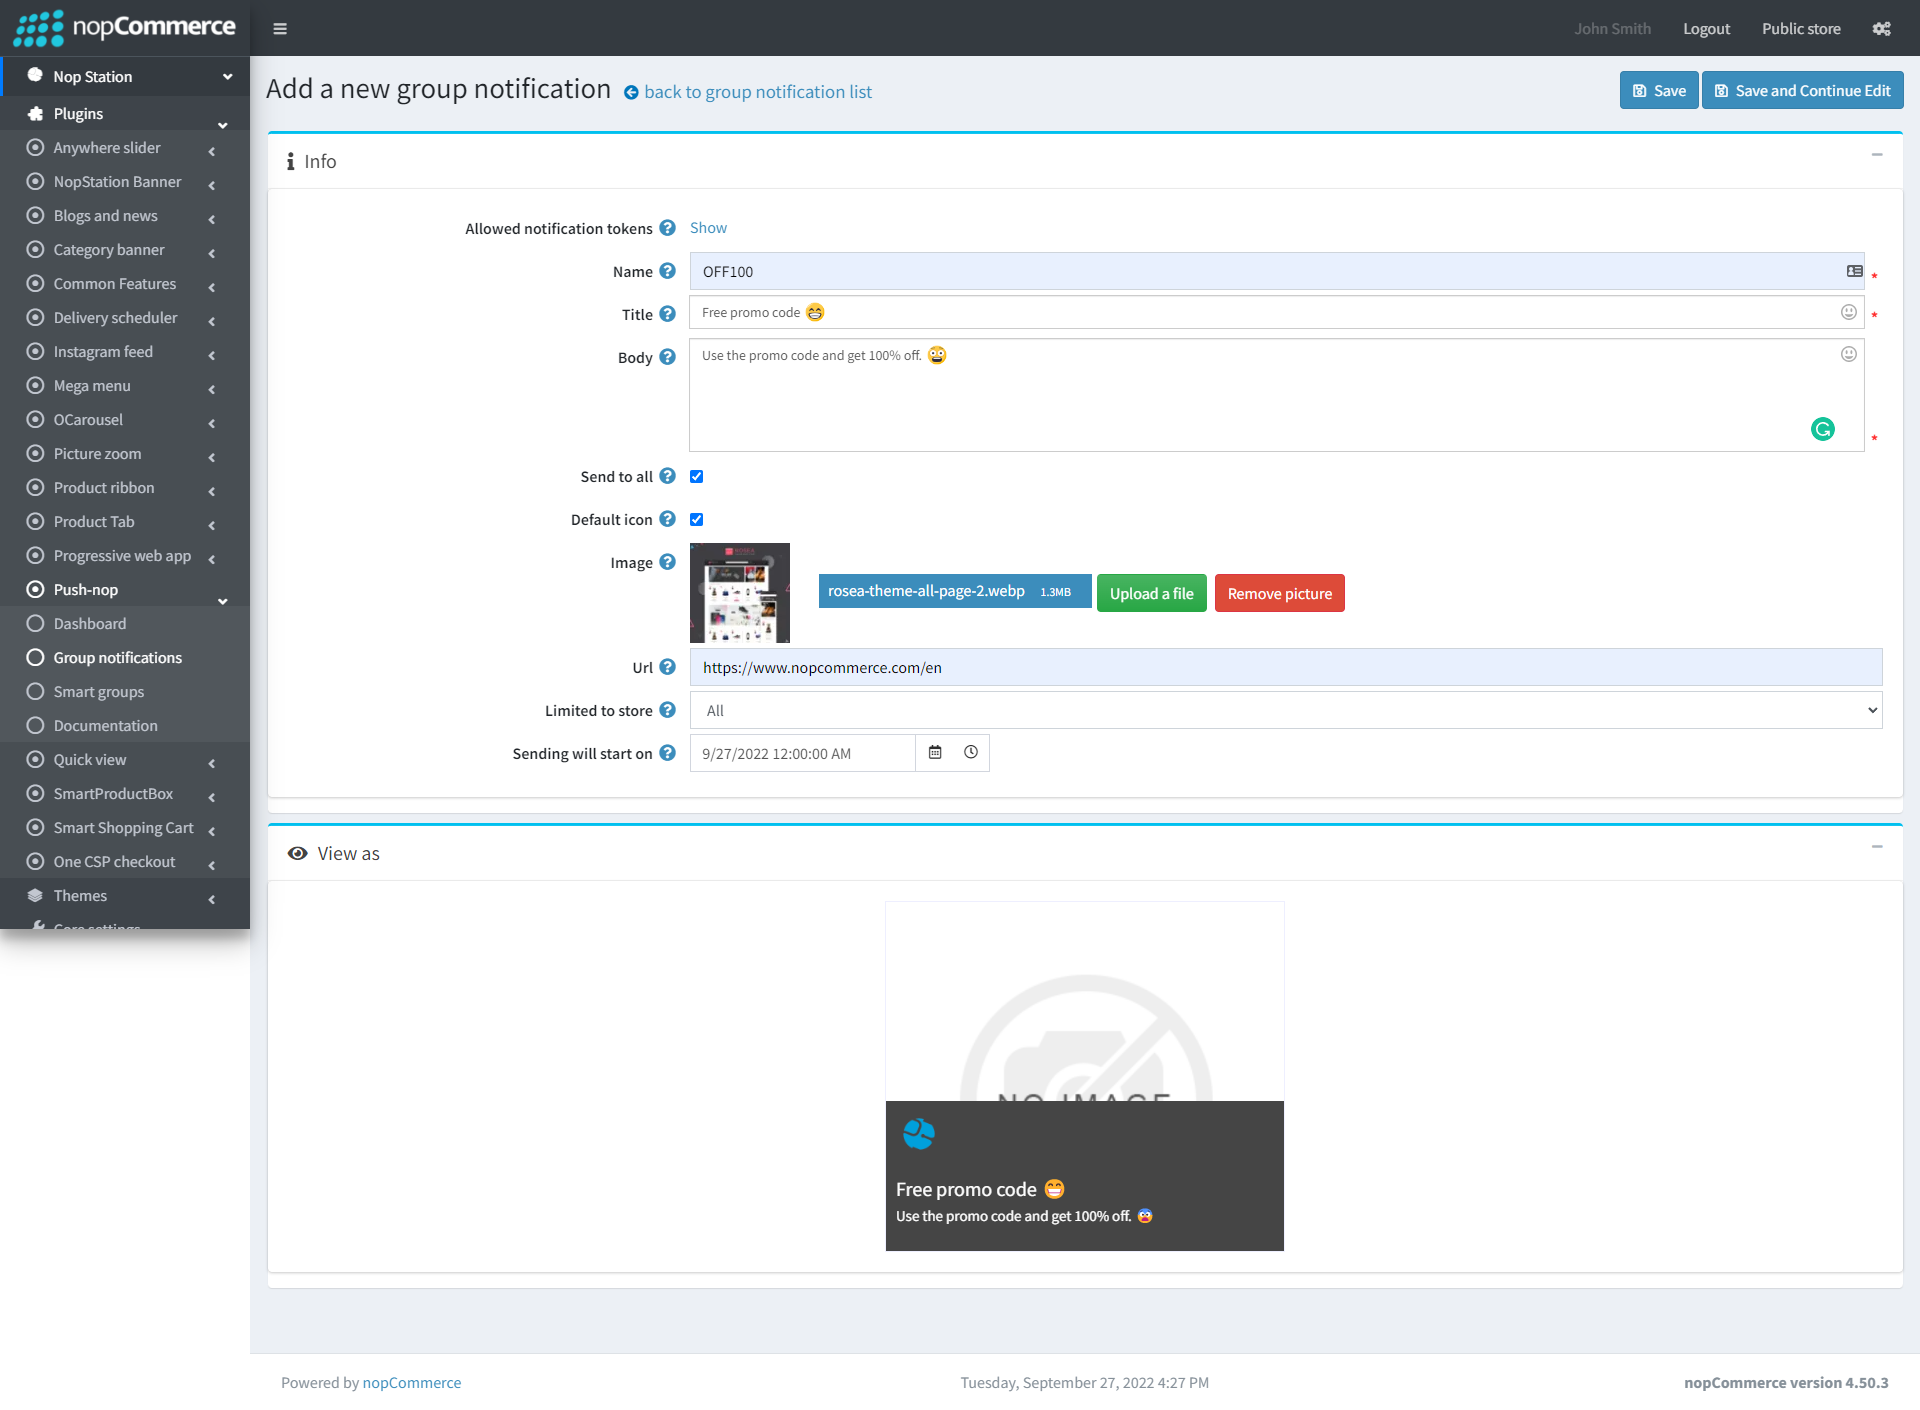
- Allowed notification tokens: This is a list of the notification tokens you can use in your template
- Name: The name for this campaign
- Title: The title for this campaign
- Body: The template body
- Send to all: Determines whether it will be sent to all subscribers or not.
- Smart group: The smart group for this campaign.
- Default icon: Check to use default icon.
- Icon: The template icon.
- Image: The template image.
- Url: The template url.
- Limited to store: Choose a store which subscribers will get this notification.
- Sending will start on: The date/time that the campaign will be sent.
- View as: Here you can see the preview of the template.
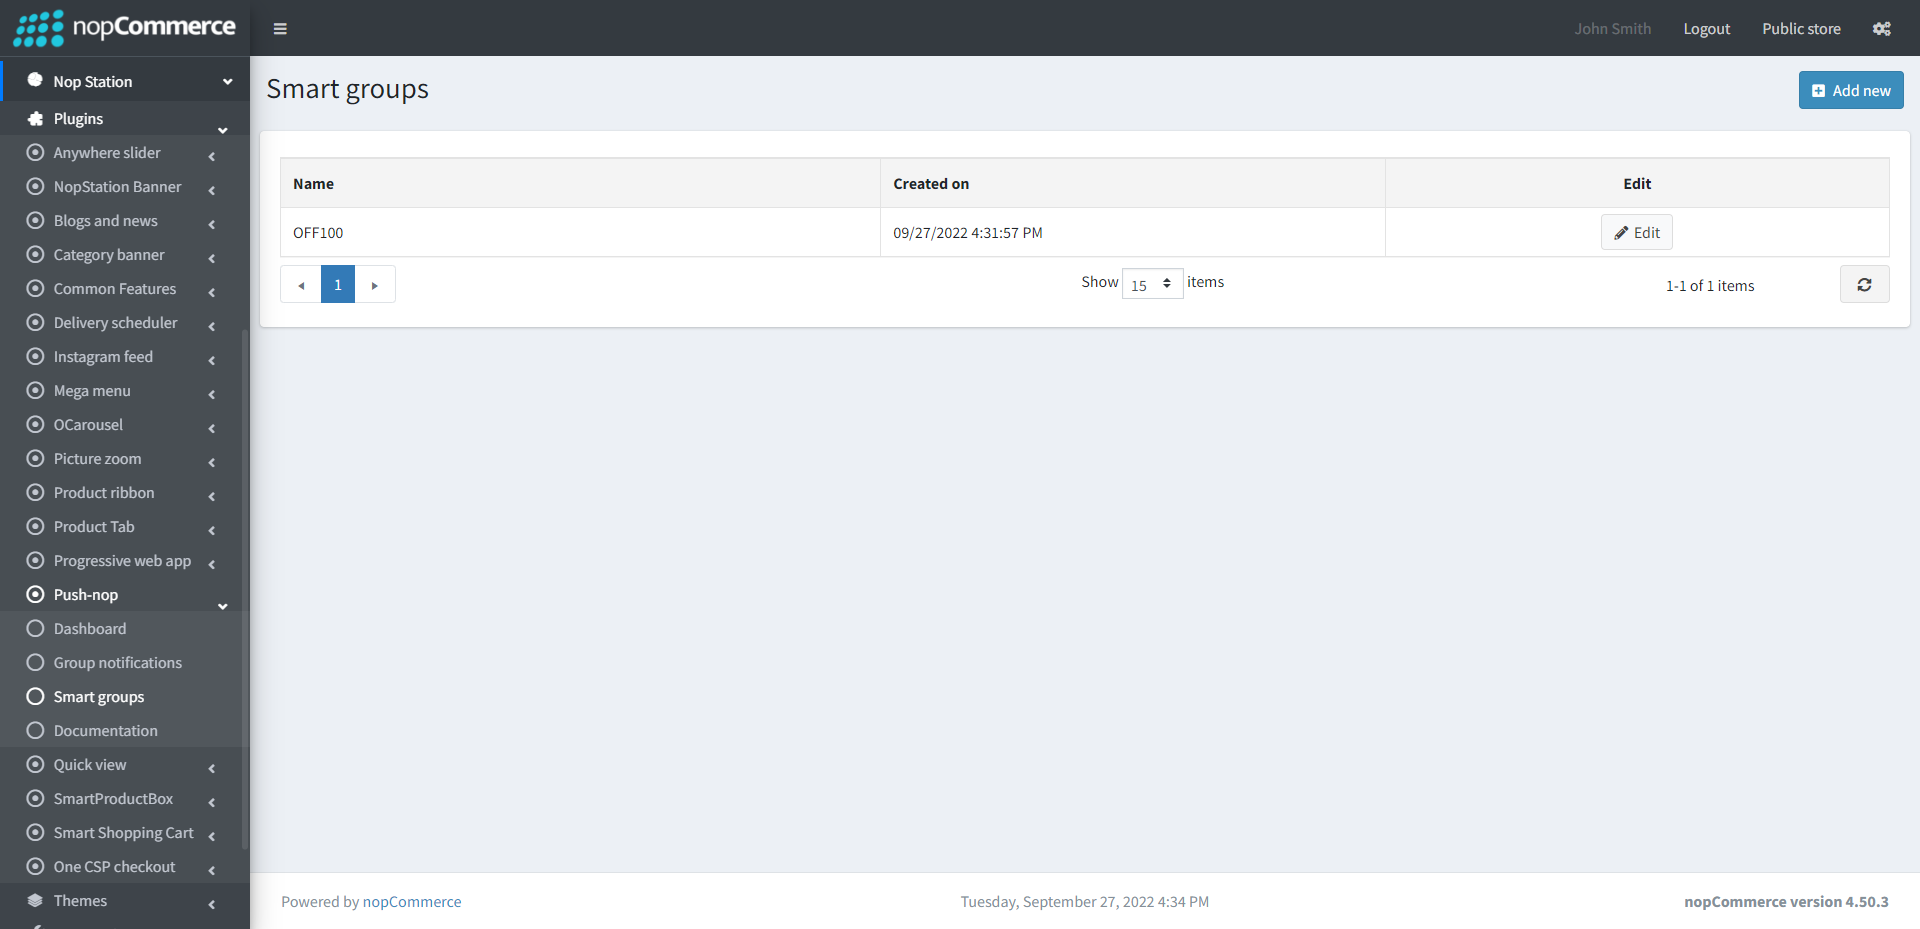
SMART GROUPS
- Go to Admin → Nop Station → Plugins → PushNop → Smart groups
- Here you can find the list of smart groups or add new ones by clicking on the Add new button
- In add new smart groups page enter the name of the smart group in the Name field
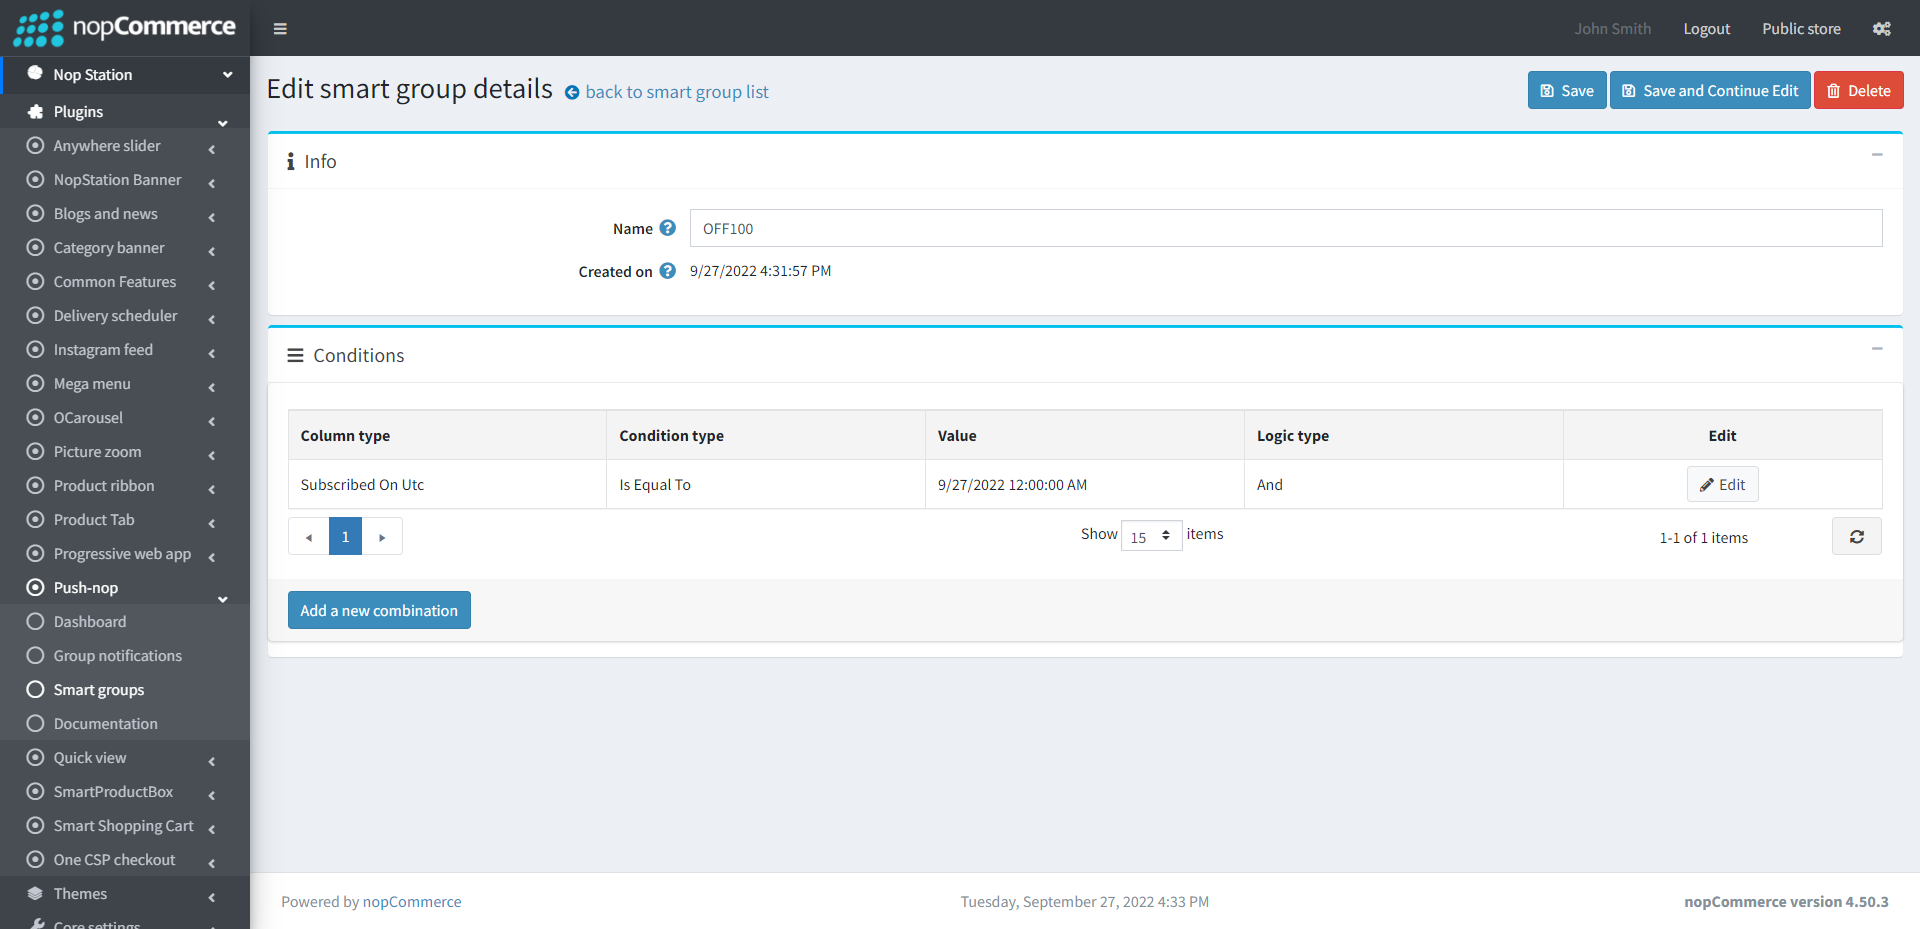
- Admins can also set condition combination by clicking the Add a new combination button

PUBLIC VIEW