PRE-REQUISITES
- The plugin requires you to install the Nop-Station Core plugin first.
INSTALLATION
- Download the NopCommerce Amazon S3 and CDN Integration from our store https://nop-station.com/customer/downloadableproducts
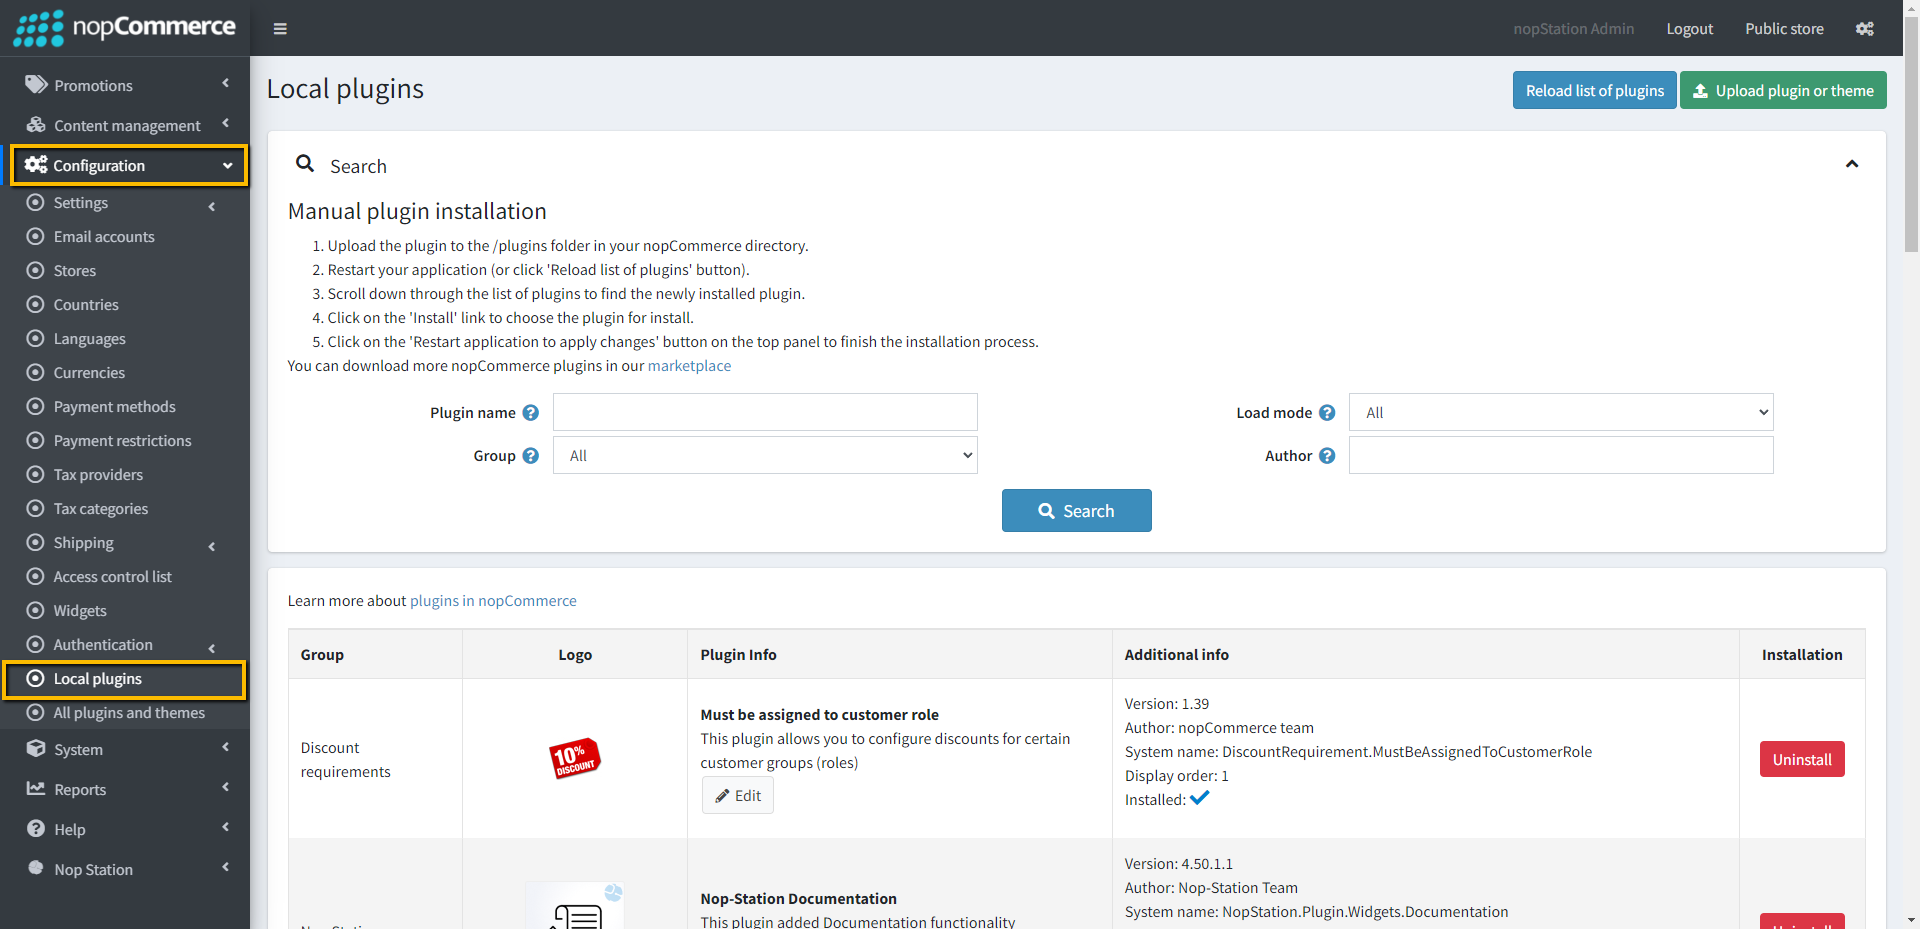
- Go to Administration → Configuration → Local plugins
- Upload the NopStation.AmazonS3 zip file using the "Upload plugin or theme" button
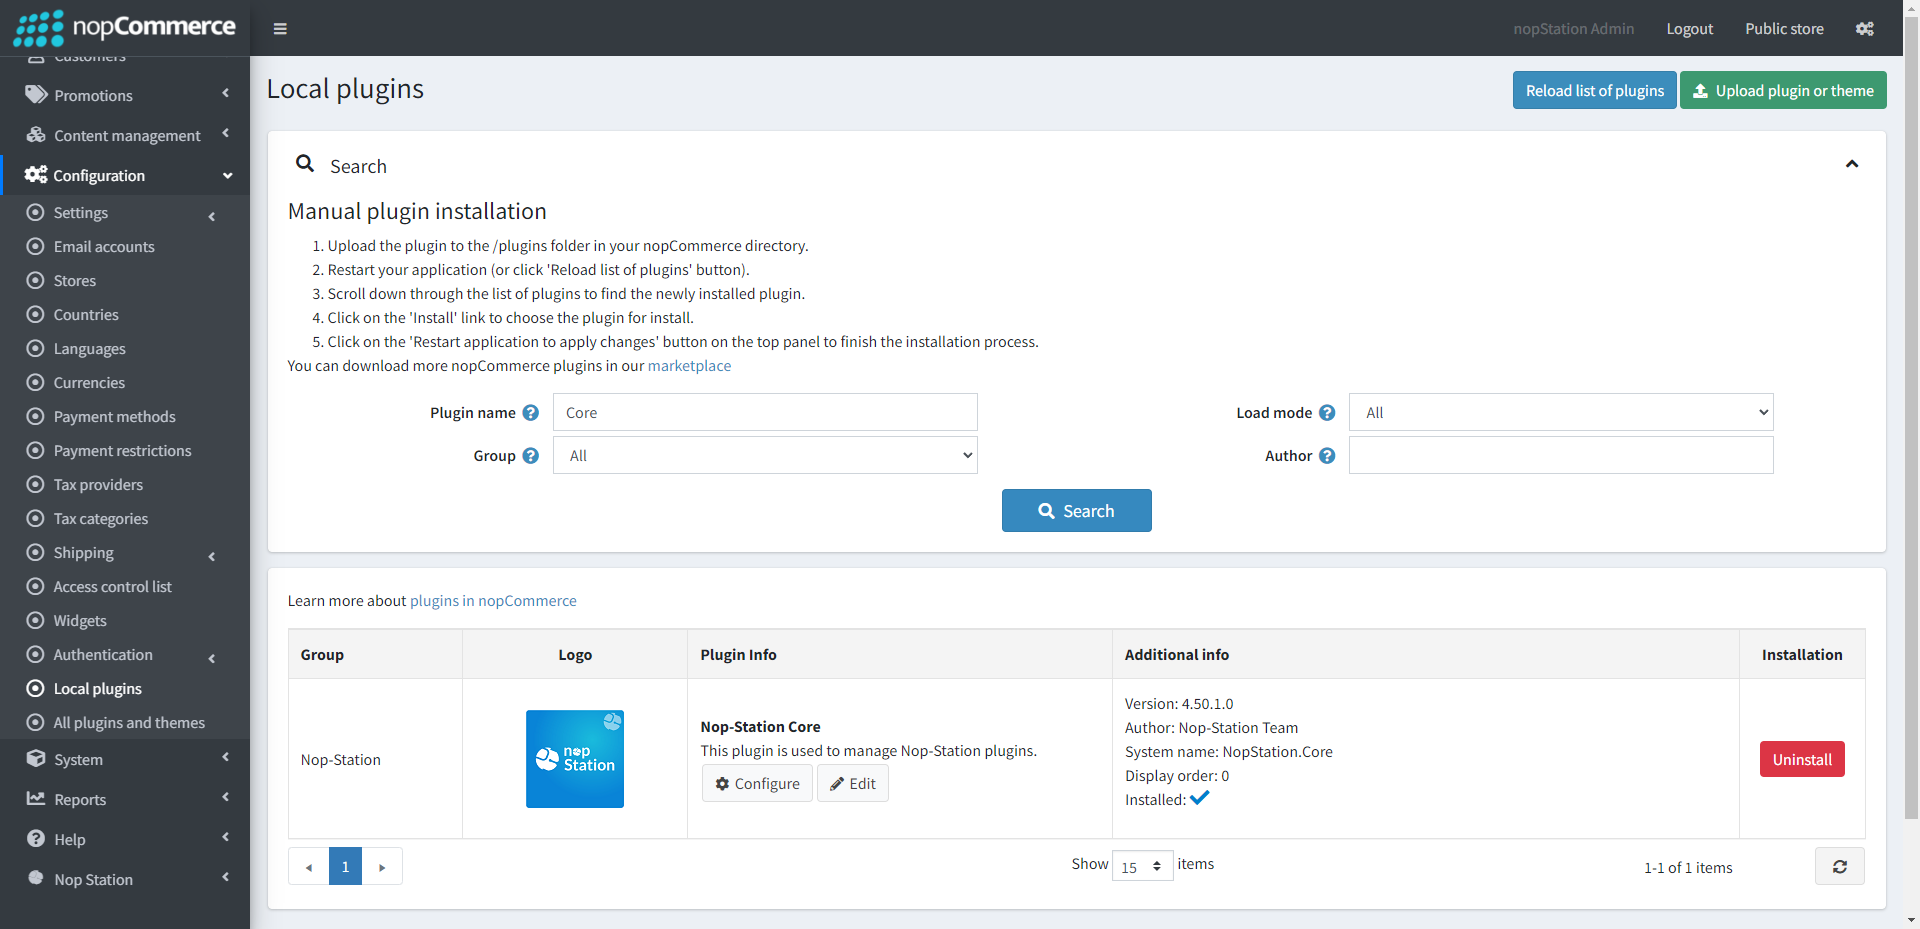
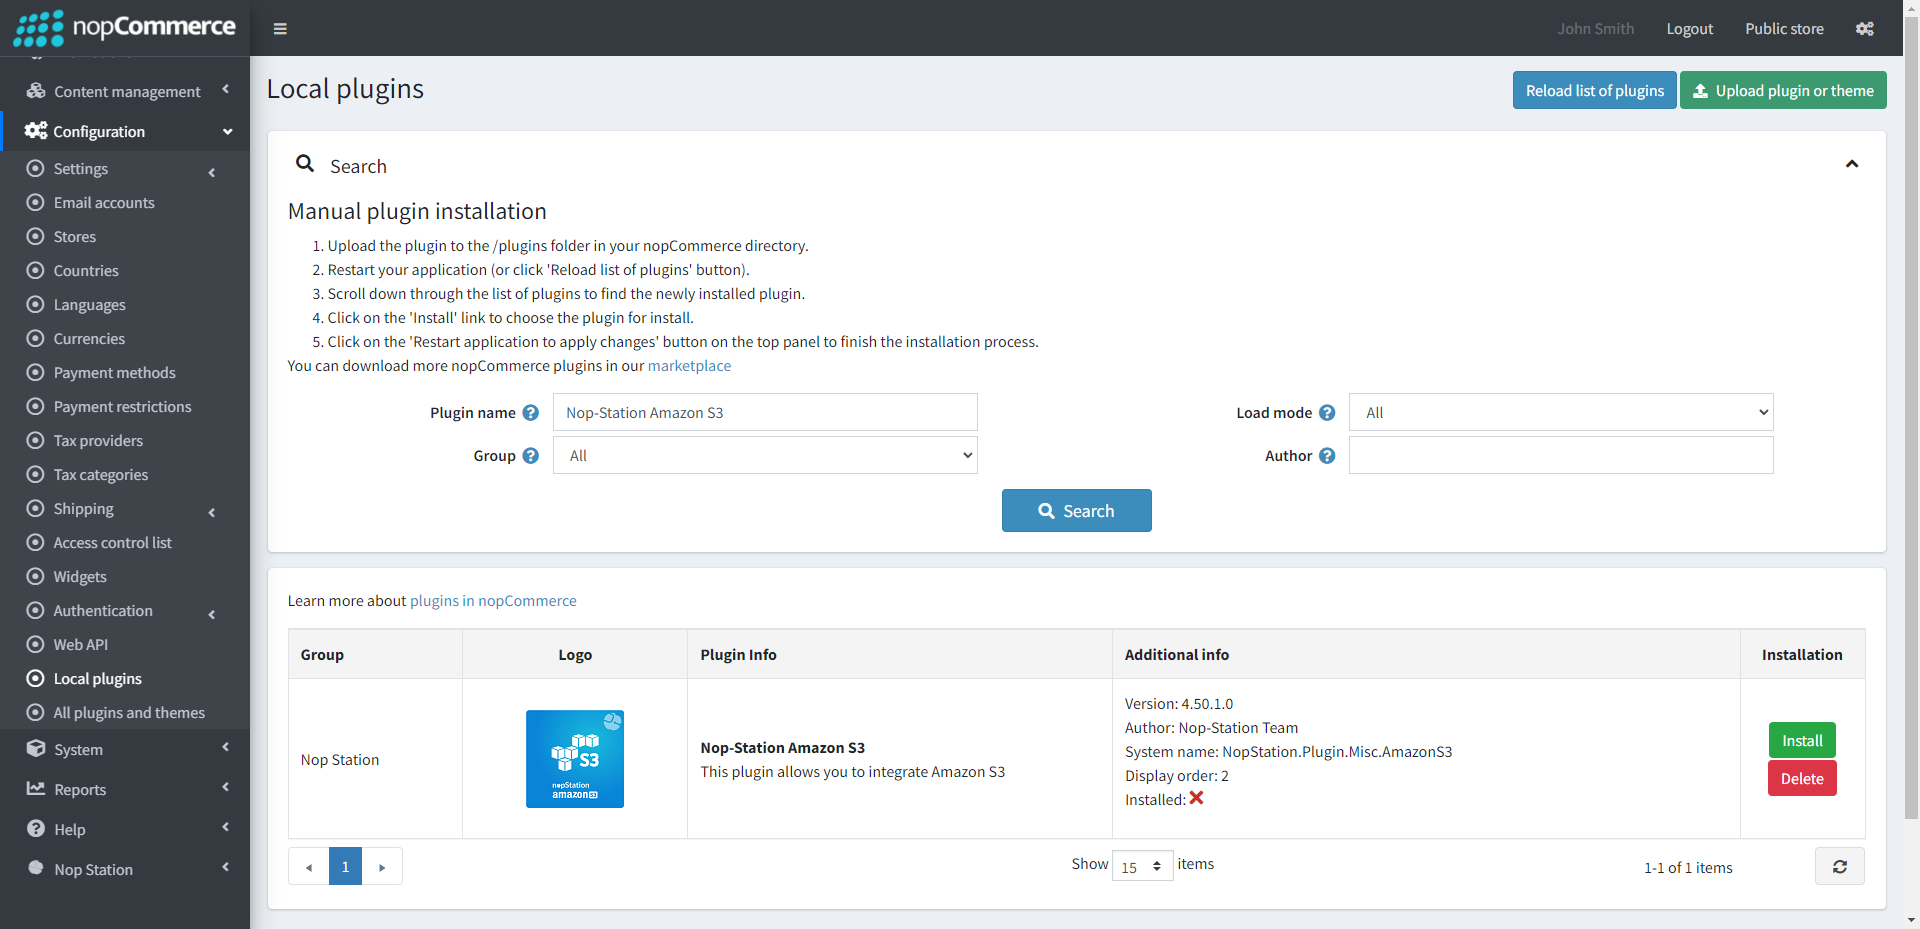
- Go to Administration, reload the 'list of plugins'. Install 'Nop-Station Core' Plugin first and then install 'Nop-Station Amazon S3'
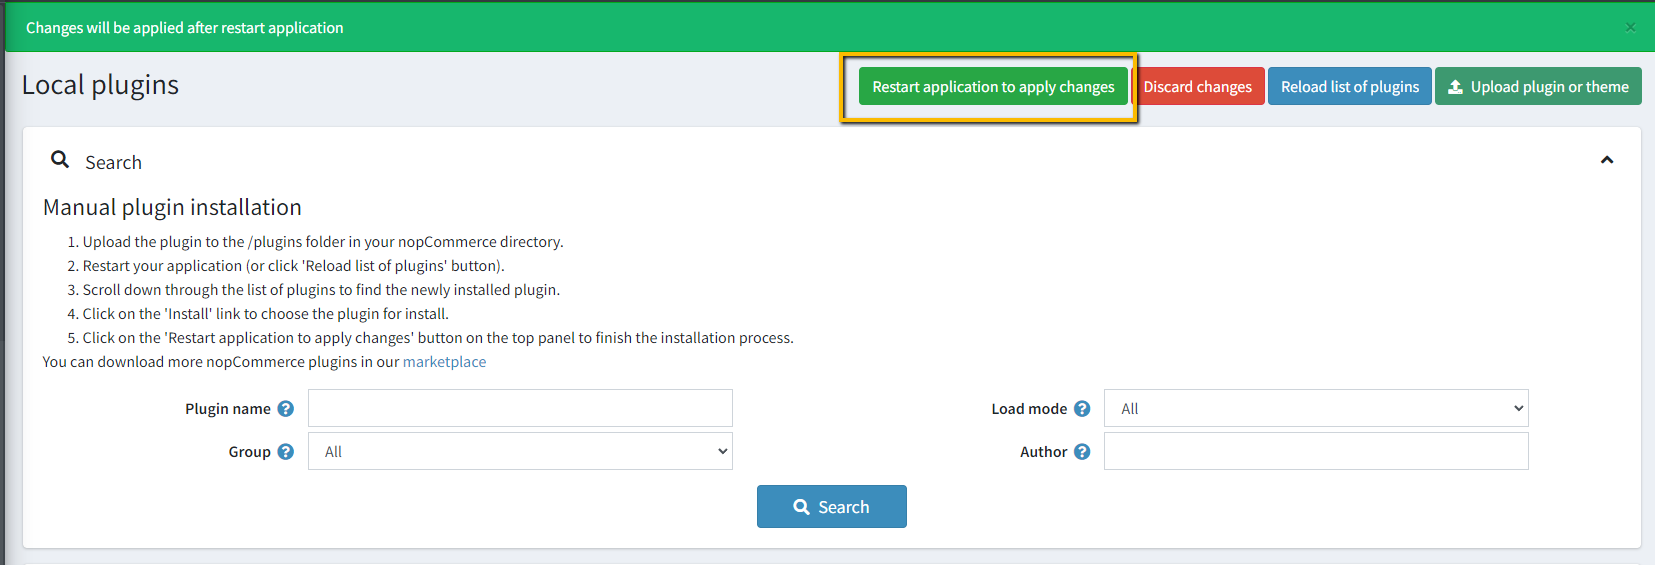
- To make the plugins functional, restart the application
CONFIGURATION
- Go to Admin → Settings → Media settings
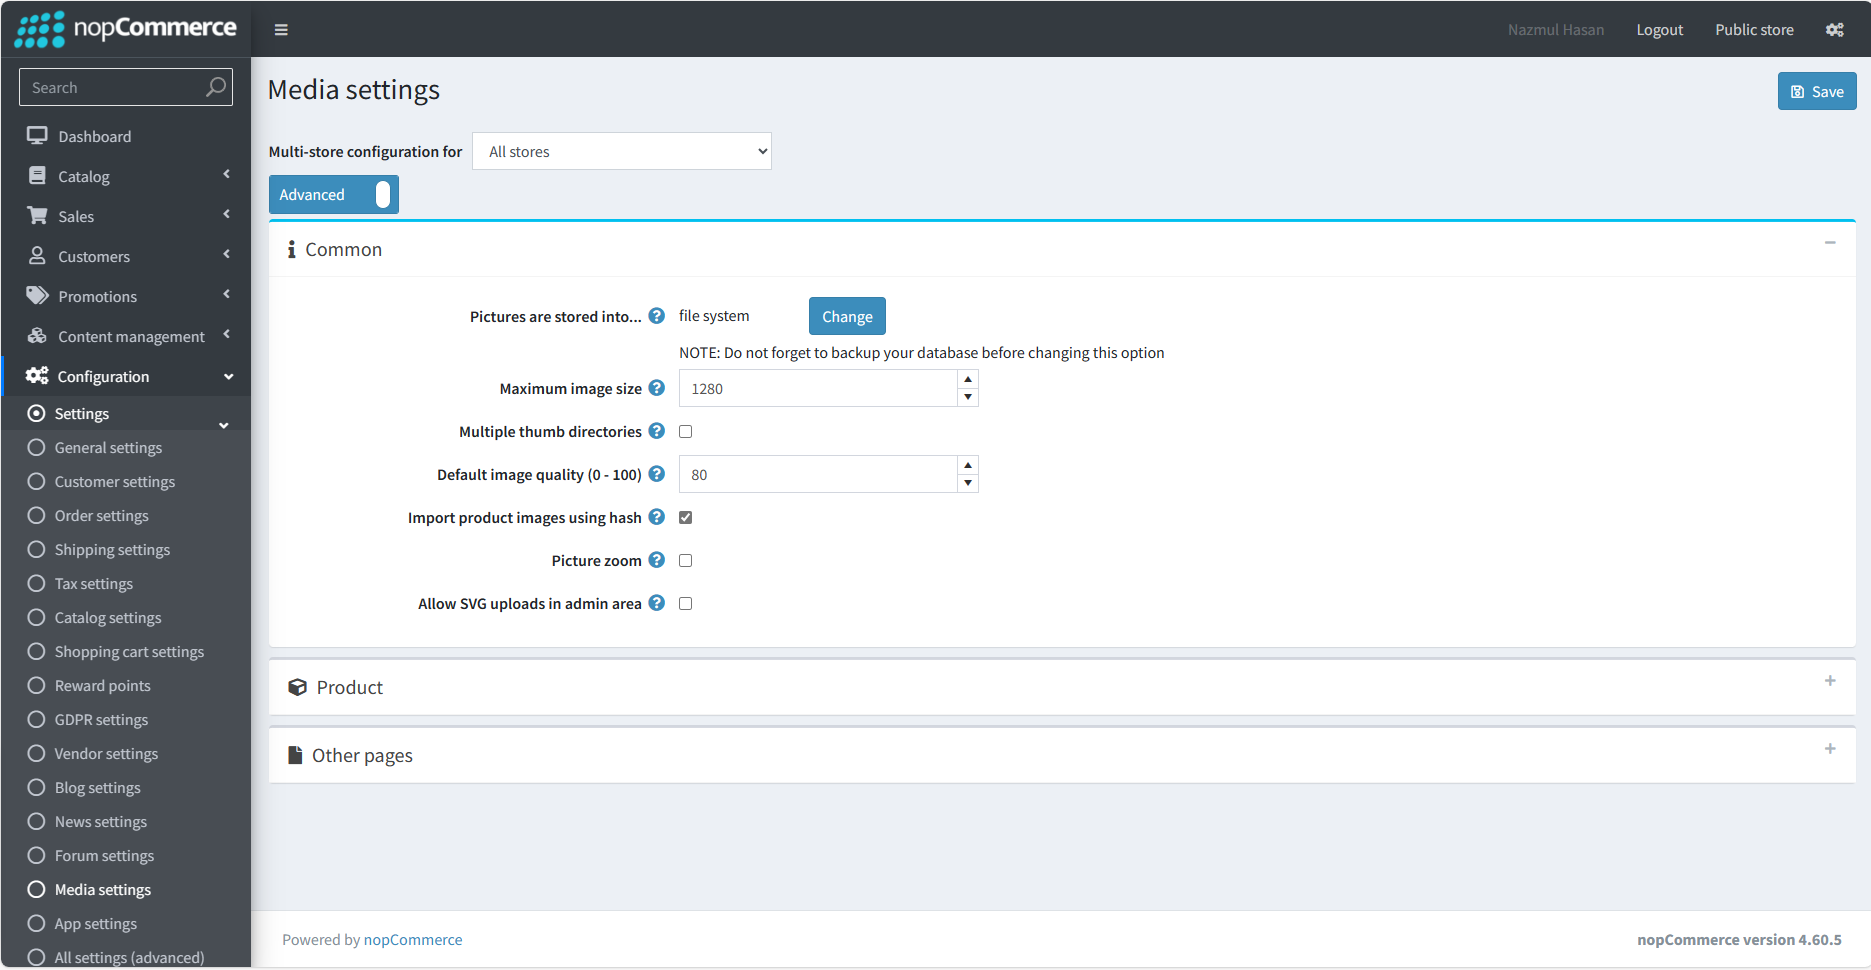
- Make sure that the pictures stored in option is set to the file system
- Go to Admin → Nop Station → Plugins → Amazon S3 → Configuration

- The way to configure the plugin is described below in several steps:
- AWS S3 Enable: Check the AWS S3 Enable check box to enable the plugin
- Region: When you create a new bucket, you have to select a region. Select the same region from the drop-down list here
- AWS S3 Access KeyId and AWS S3 Secret Key: When you open an AWSS3 account, they will provide a file where you will get AccesskeyID and Secret key. Use AccesskeyID as AWS S3 Access keyID and Secretkey as AWS S3 secret key here
- AWS S3 Bucket Name: First create a bucket in your AWSS3 account. Use that bucket name here in the AWSS3 bucket name field
- AWS S3 Root Url: To get the root URL from your s3 account, first upload an image in the bucket. Then in the image detail, you will find the Objects URL as shown in the screenshot below. Just copy the domain/base URL part and paste it into the root URL field on the plugin config