How to Install and Enable the Theme
To install the theme
- Download the Spice Shop theme from our store https://nop-station.com/customer/downloadableproducts
- Go to Configuration → Local plugins from the Admin dashboard.
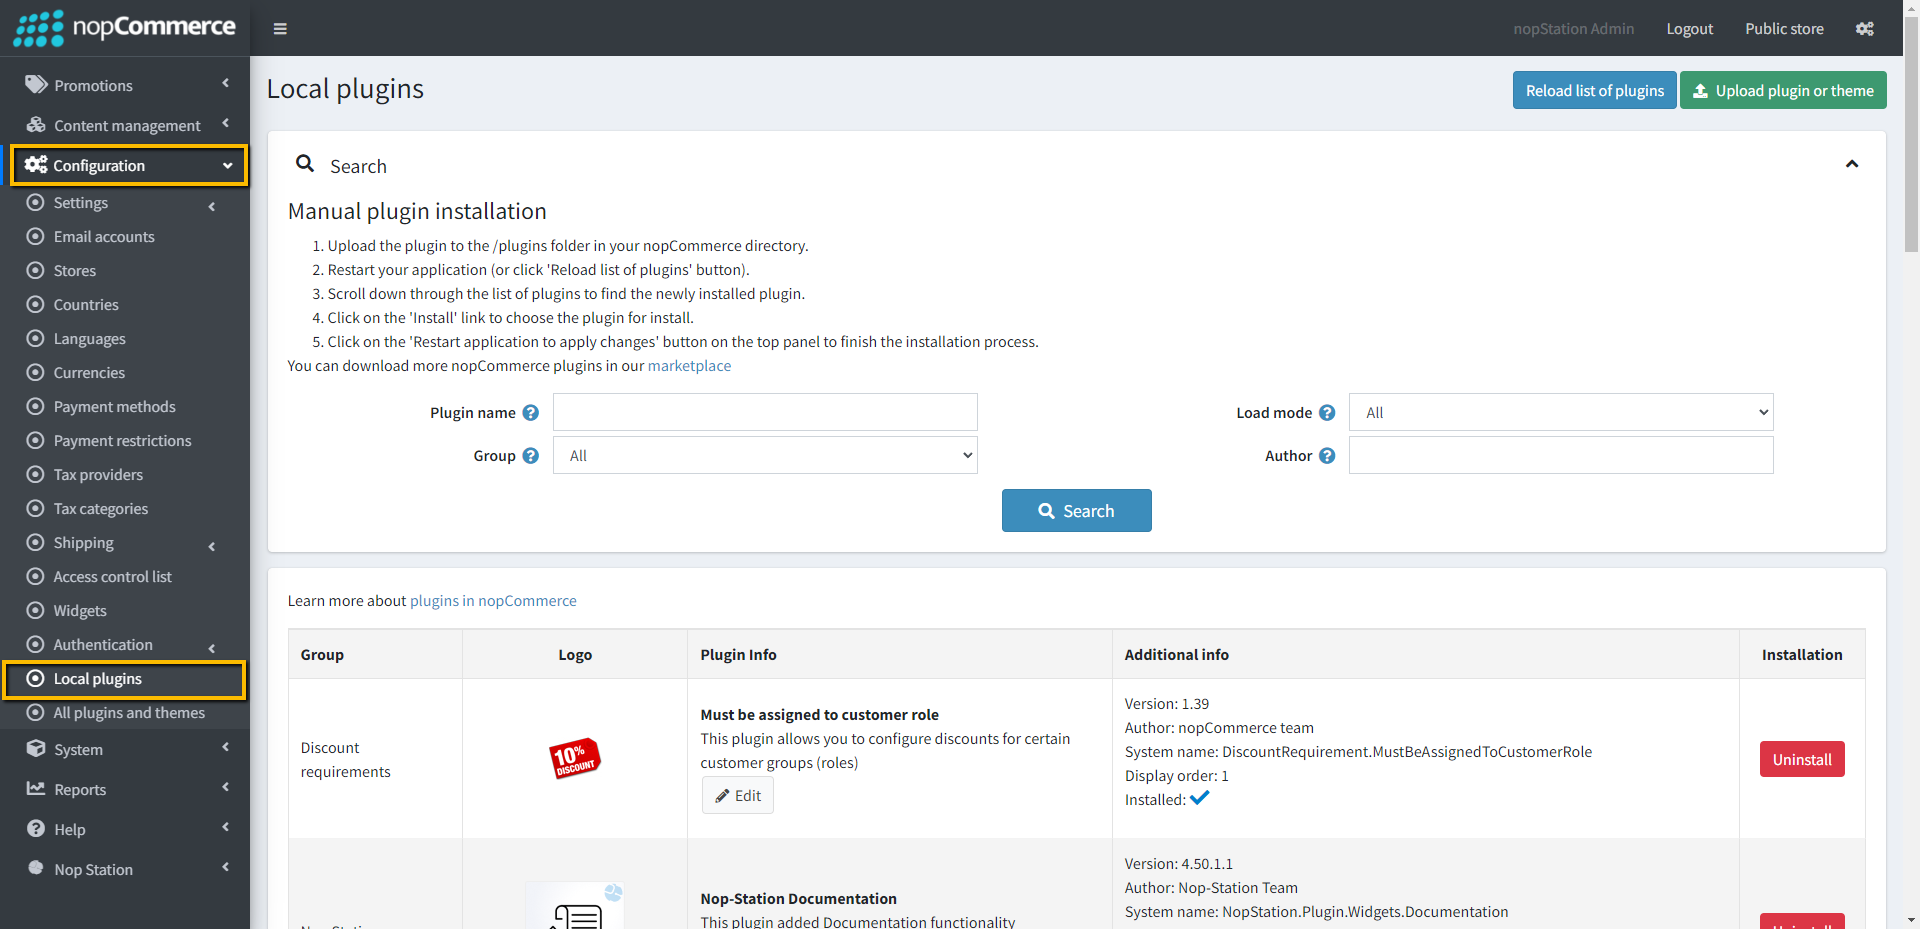
Click on the Upload plugin or theme button and a popup will appear asking to navigate to the file that contains the theme.
Select the downloaded .zip file named 'Spice Shop' and click Upload plugin or theme button.
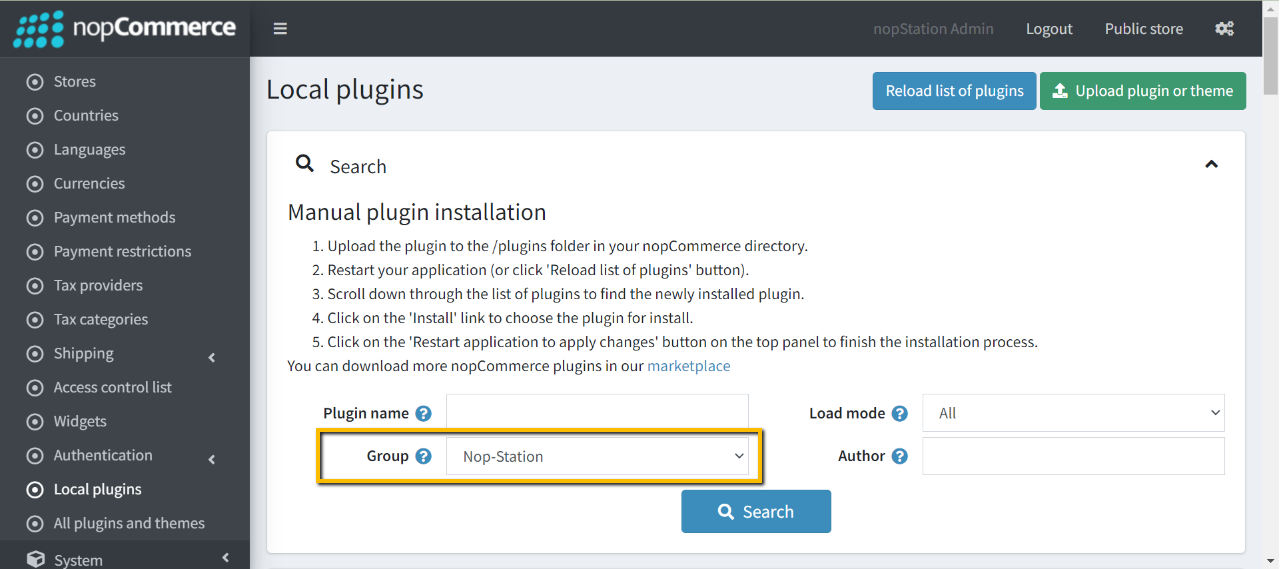
Install and enable all the 2 plugins whose Group name is 'Nop Station'. Make sure the "Nop-Station Spice Shop Theme" plugin is installed and enabled.
- To get these plugins, search by the group name.
To know how to install and enable a plugin, go to nopCommerce documentation describing this topic.
To enable the theme
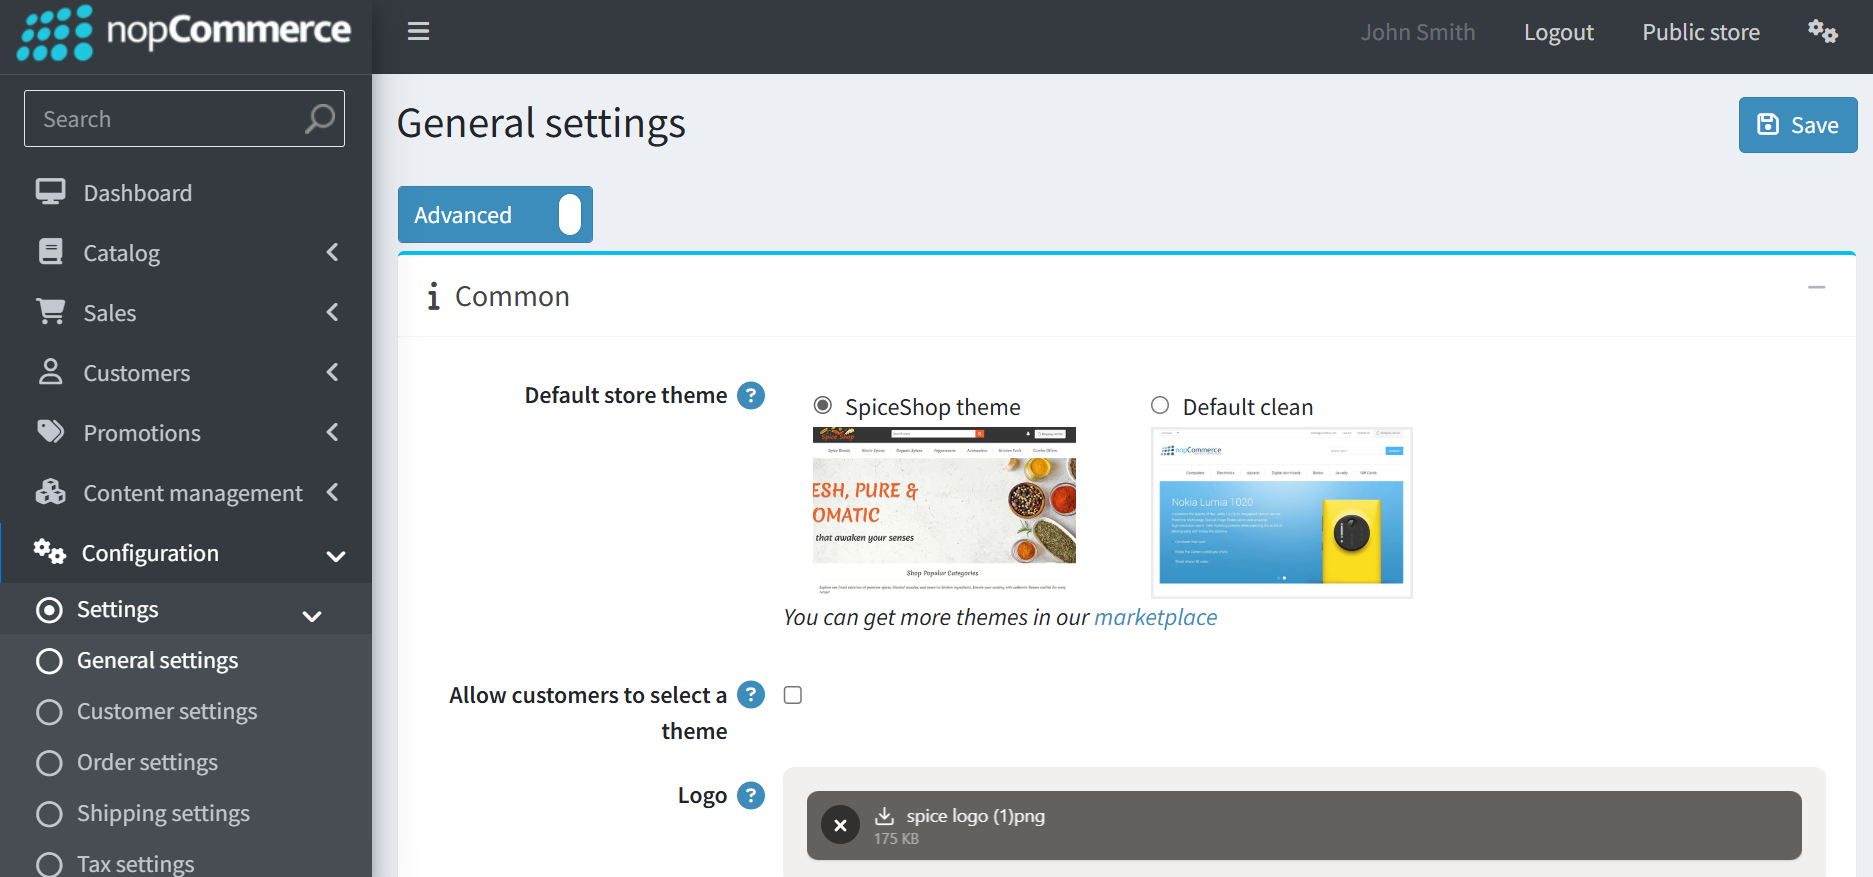
Go to Configuration → Settings → General settings in the admin panel.
- Choose Spice Shop as the Default store theme.
The License Key
After purchasing the theme, one should get the license key from the order details page.
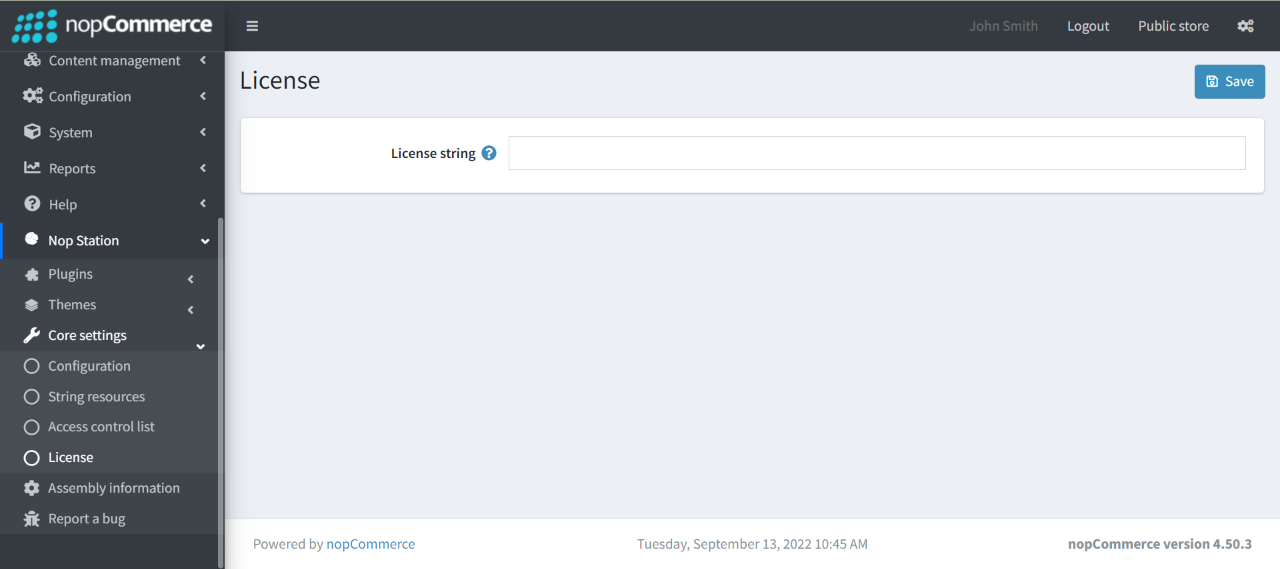
If anyone tries to configure the theme or bundled plugins for the first time, s/he will be redirected to a page prompting to enter the Product Key. It can also be entered by going to Nop Station → Core settings → License.
Configuration
You can configure the theme configuration by going to Administration → Nop Station → Themes → Spice Shop → Configuration
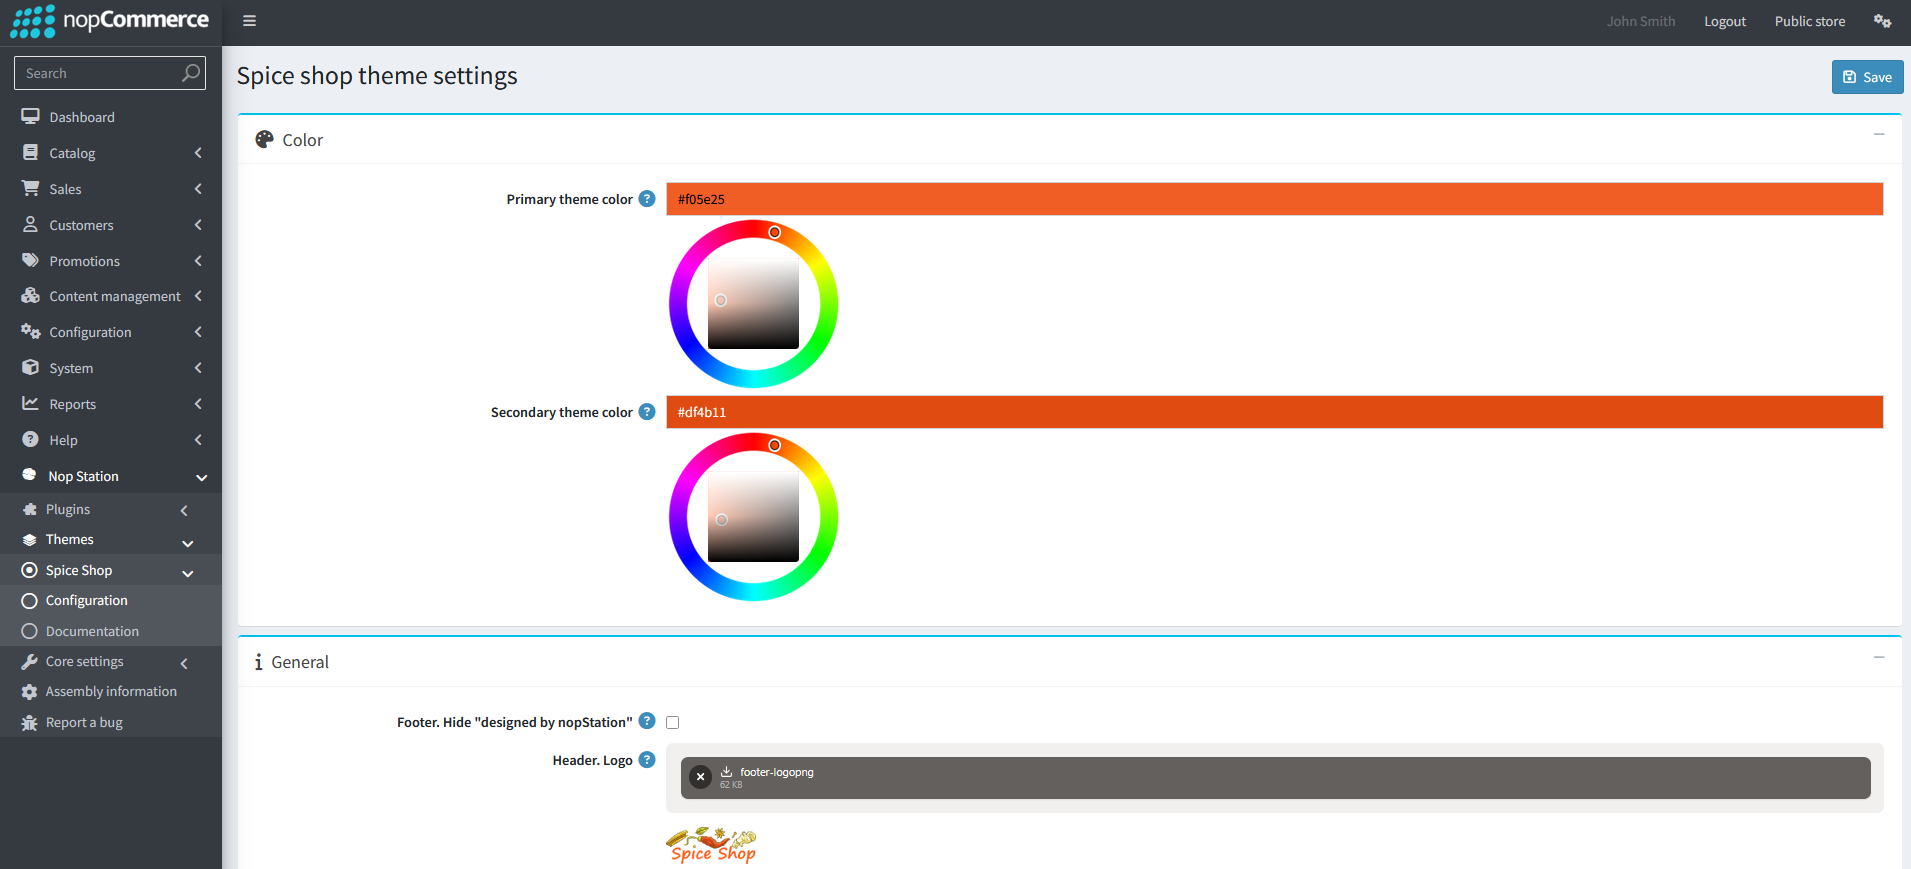
General Settings:
- Custom theme color: Choose a color that you want the site theme to display.
- Show supported cards picture at page footer: Determines whether the supported card picture will be displayed on page footer or not.
- Supported cards picture: With this, you can choose a picture from your device and upload it. This single picture of supported cards should be expected image height 30 px.
- Custom CSS: Write custom CSS for your website. It will be rendered in the head section of the HTML page.
Widget Push Plugin

Go to your downloaded Carhaven folder. Then Content → widgetPushHtml. Here is a file named Explore Our Spice Collection.html. You can customize these by editing this with any of the text editors (Notepad, Notepad++, etc.).
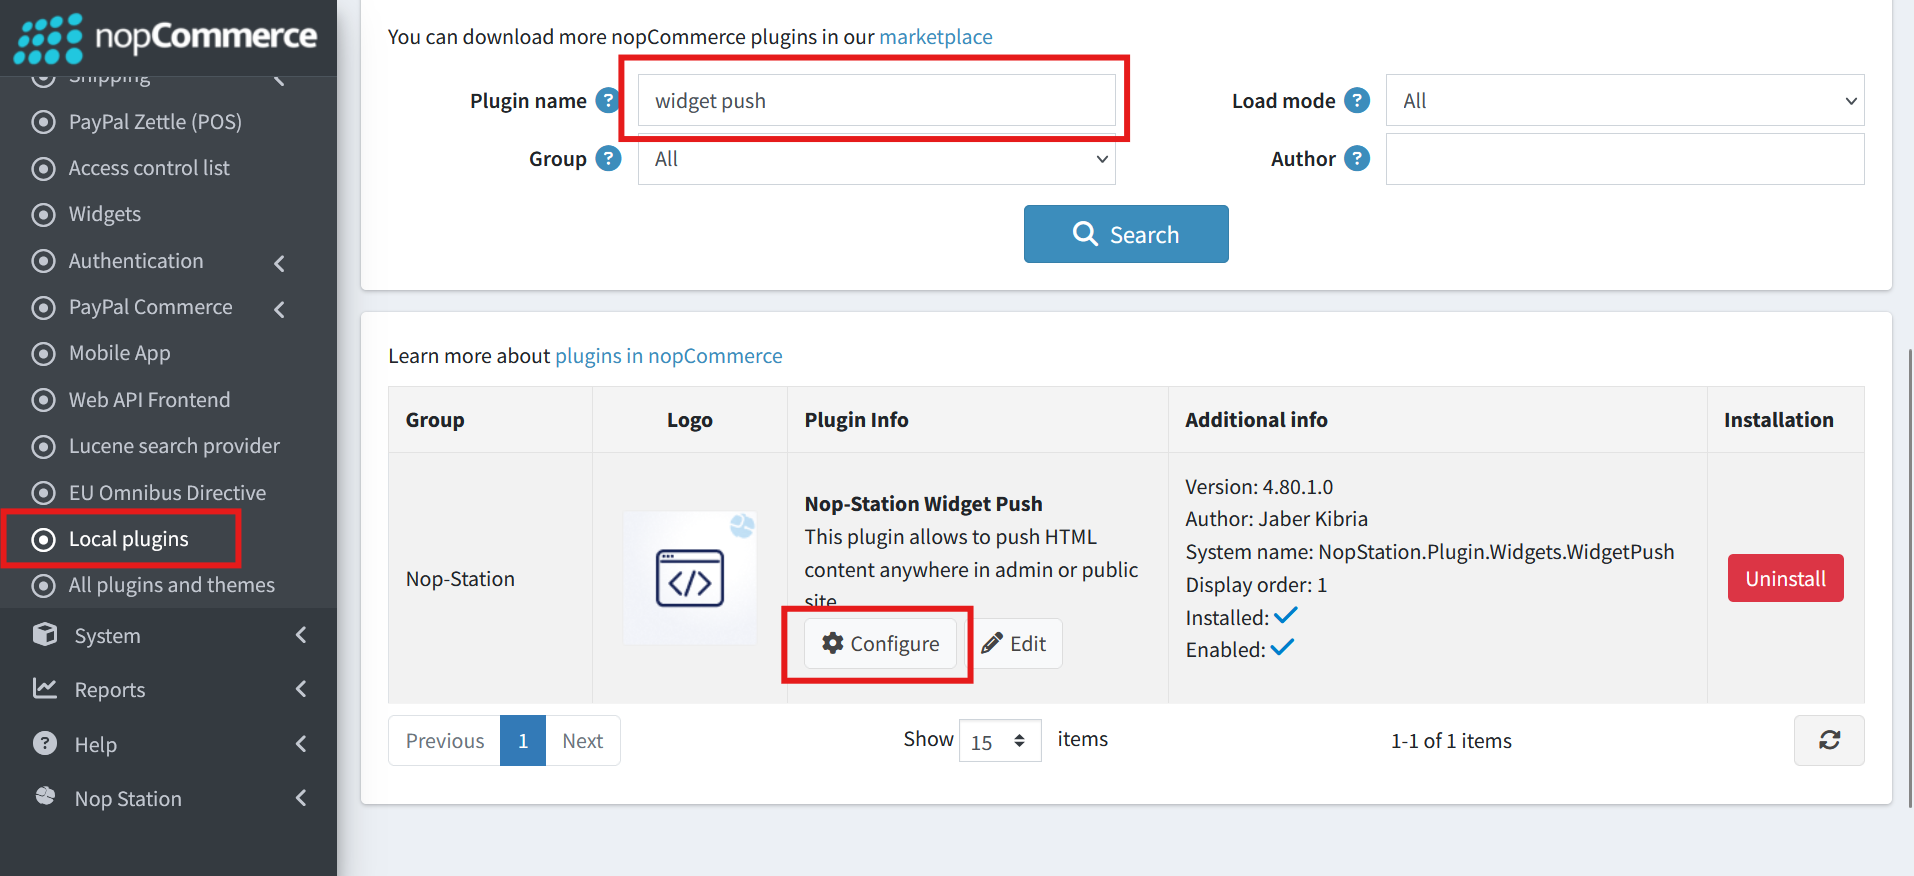
Now go to nopCommerce Admin Panel. Then find Configuration → Local Plugins from left panel and search for "Widget Push" and click on Configure.
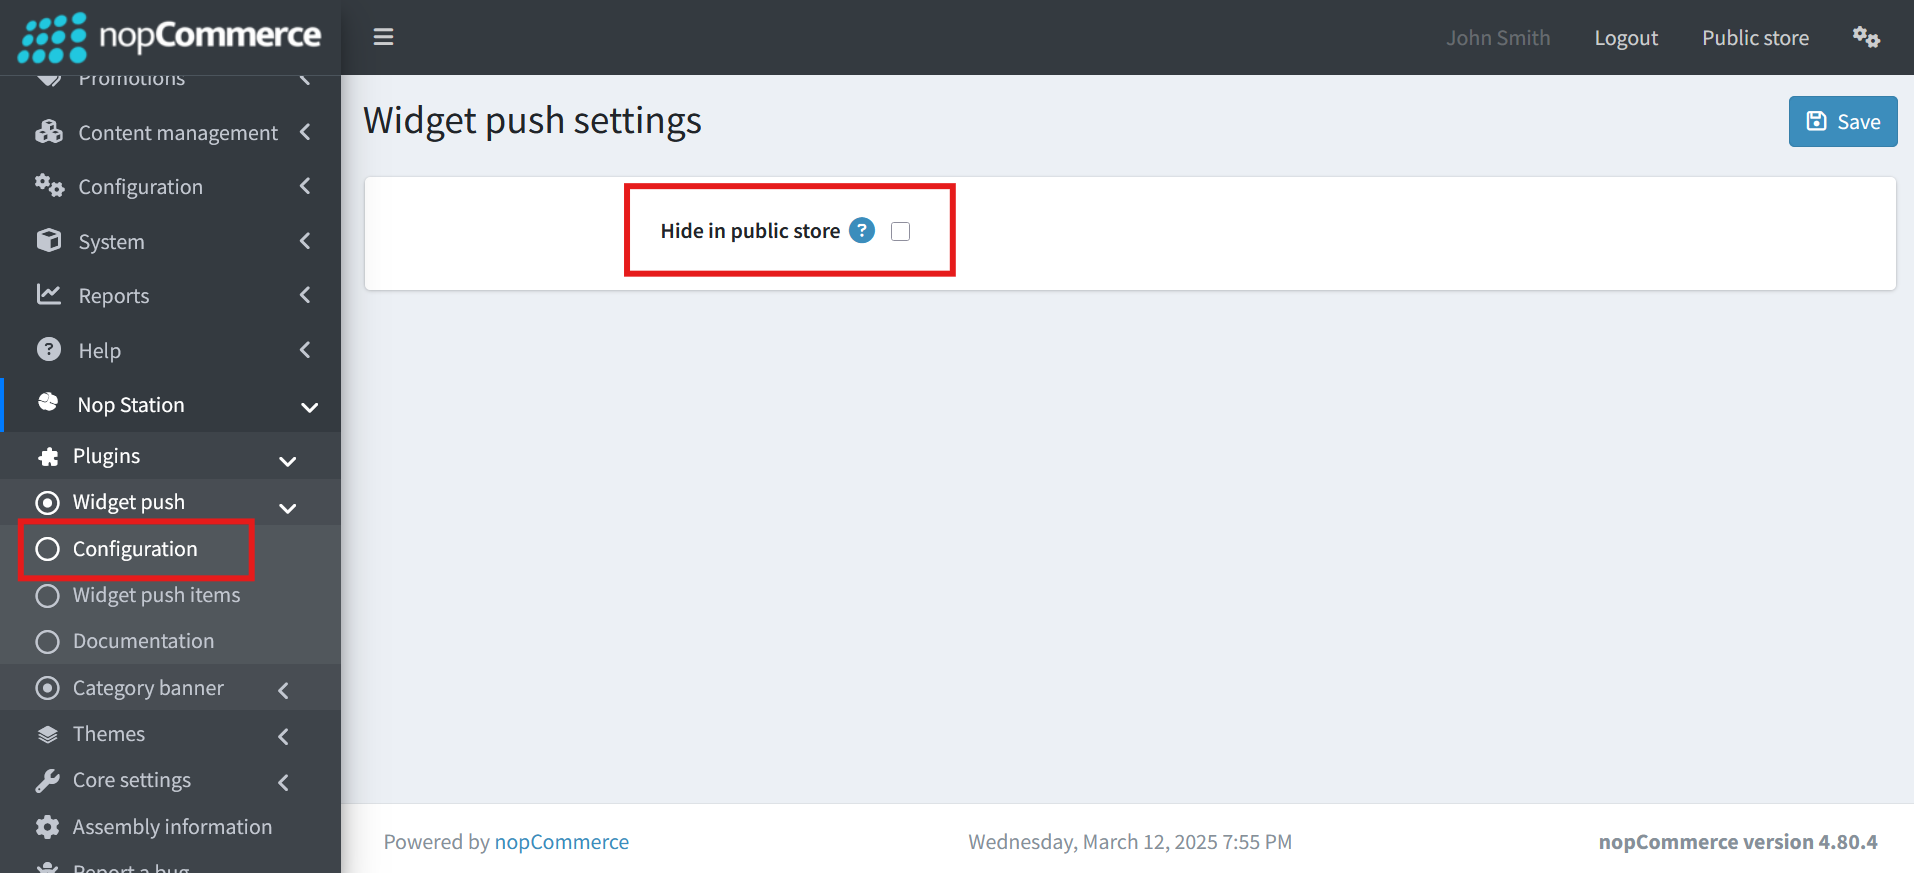
You can hide this plugin by checking this section from Widget Push → Configuration
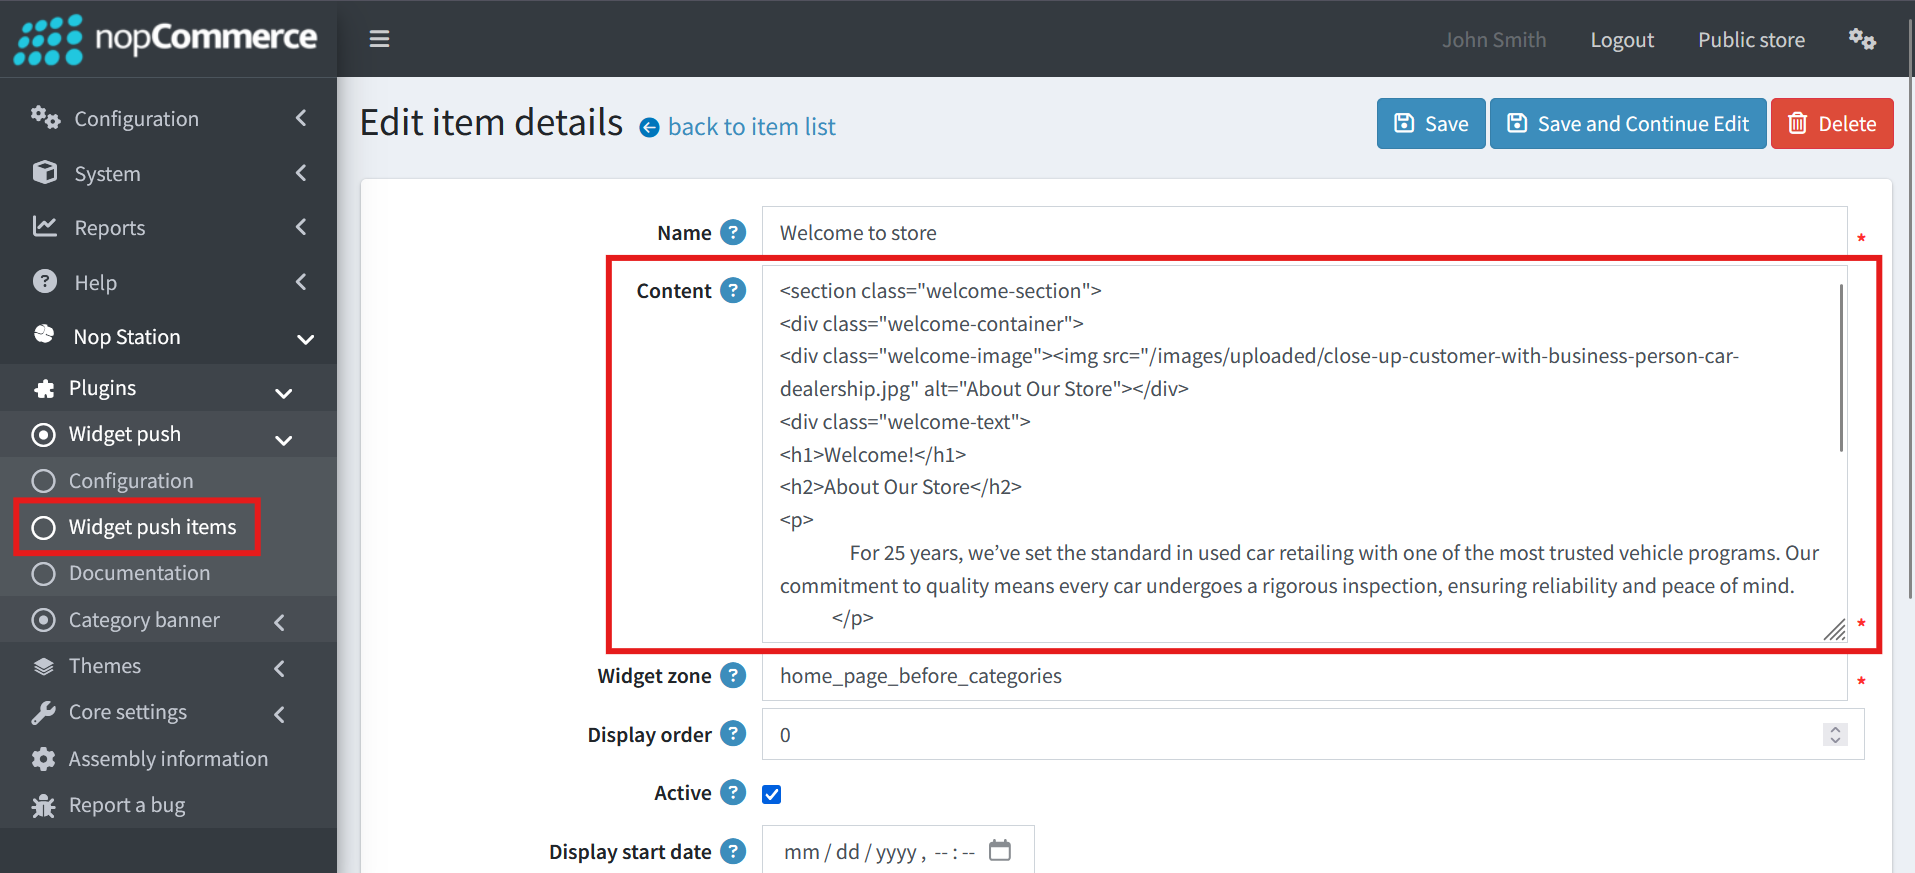
From Widget Push → Widget Push Item you can view the sections and customize the HTML for each section by clicking on Edit.
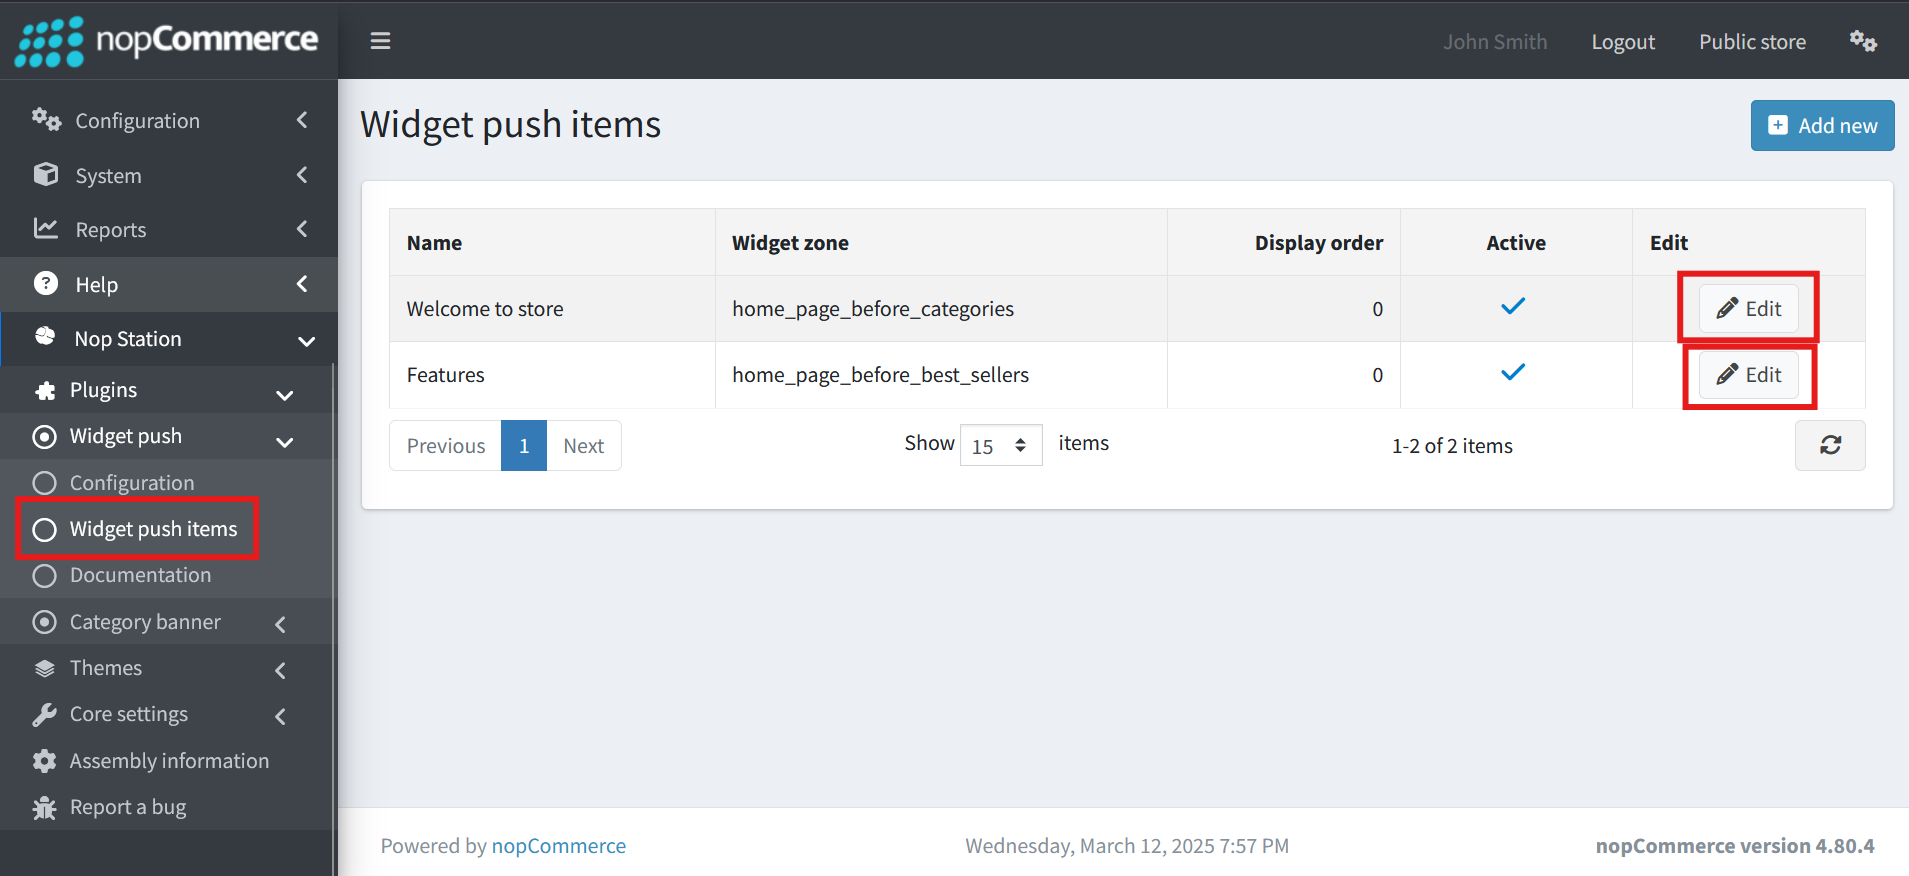
After that you will find the section Content where you can edit the HTML and customize as per your preference.