PRE-REQUISITES
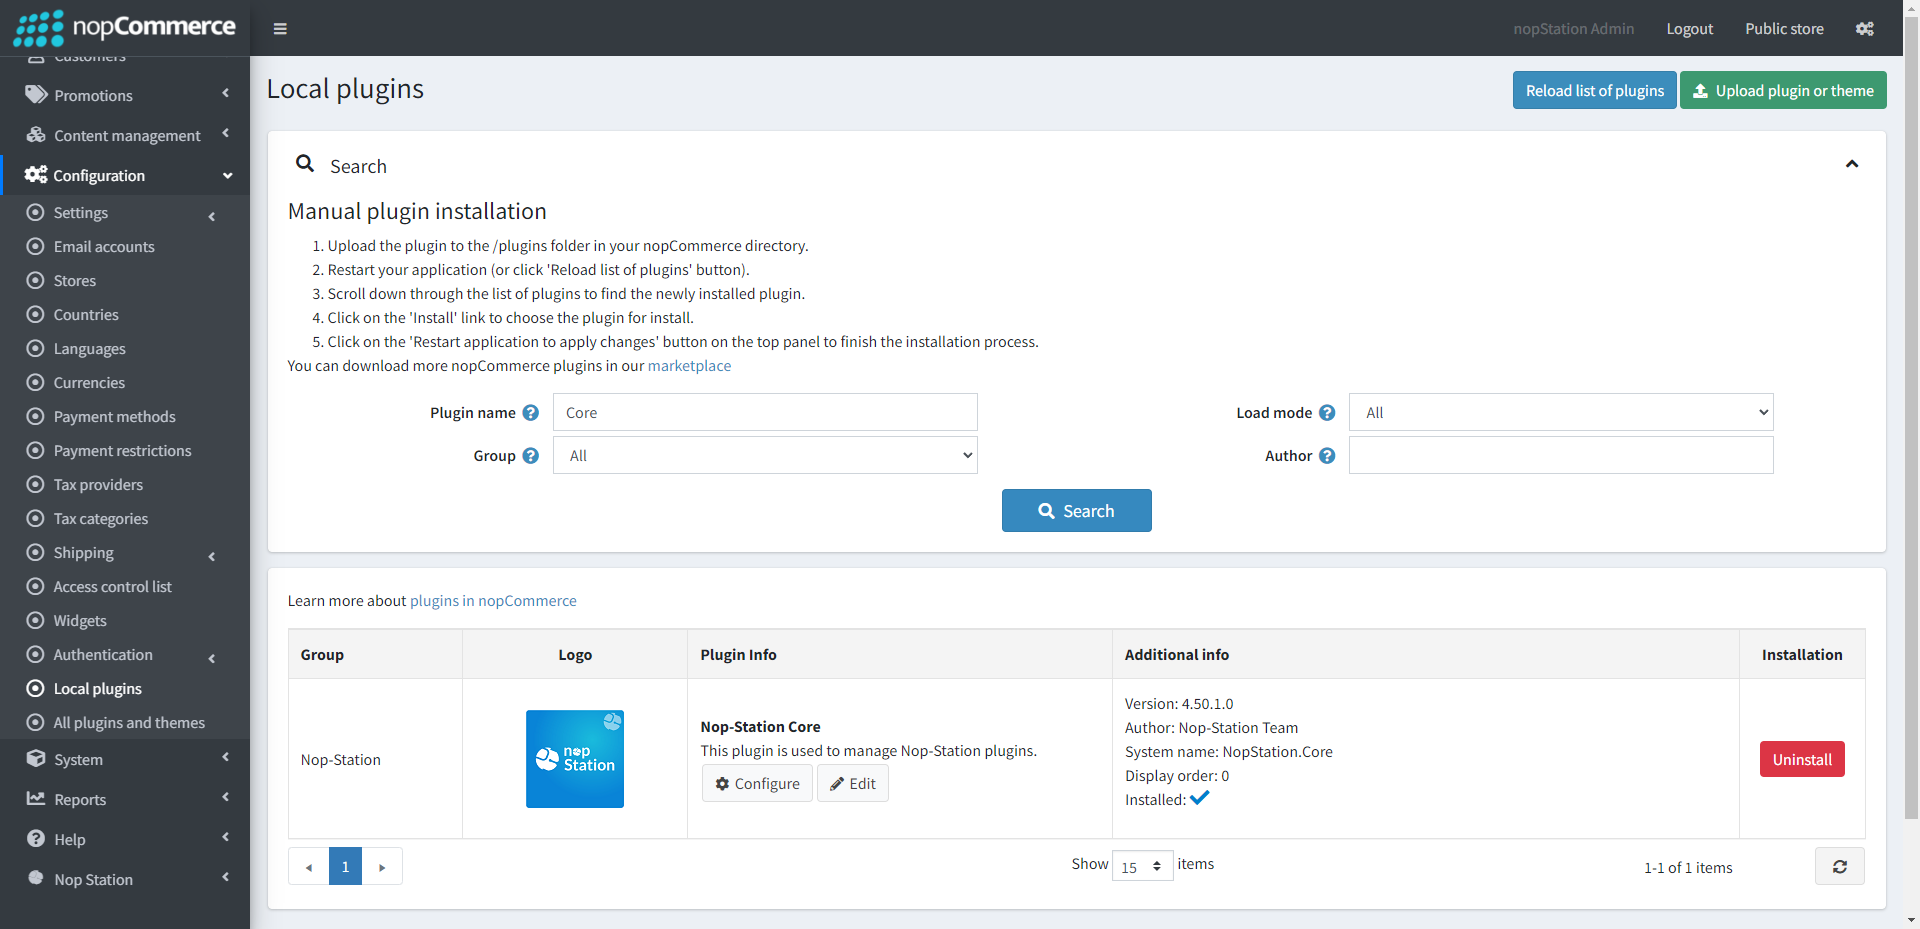
- The plugin requires you to install the Nop-Station Core plugin first.
INSTALLATION
- Download the NopStation Documentation Plugin from our store https://nop-station.com/customer/downloadableproducts
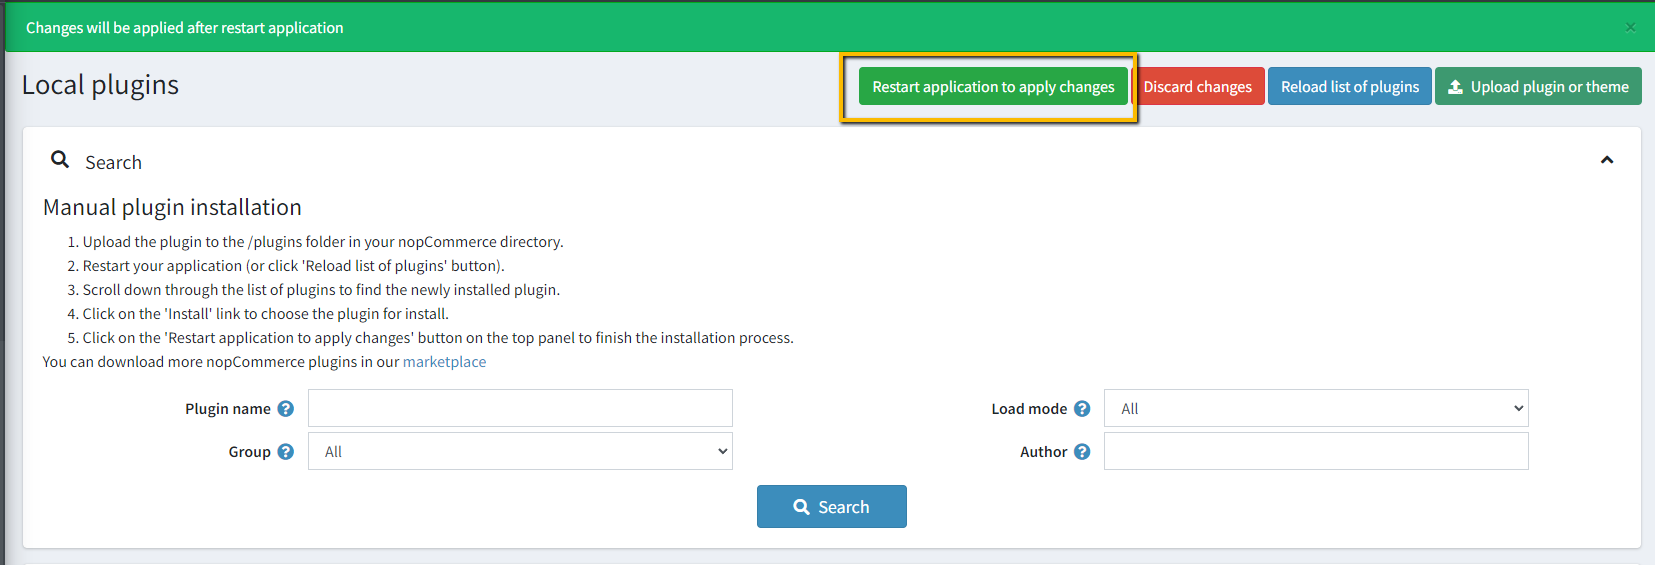
- Go to Administration → Configuration → Local plugins
- Upload the NopStation.Documentation zip file using the "Upload plugin or theme" button
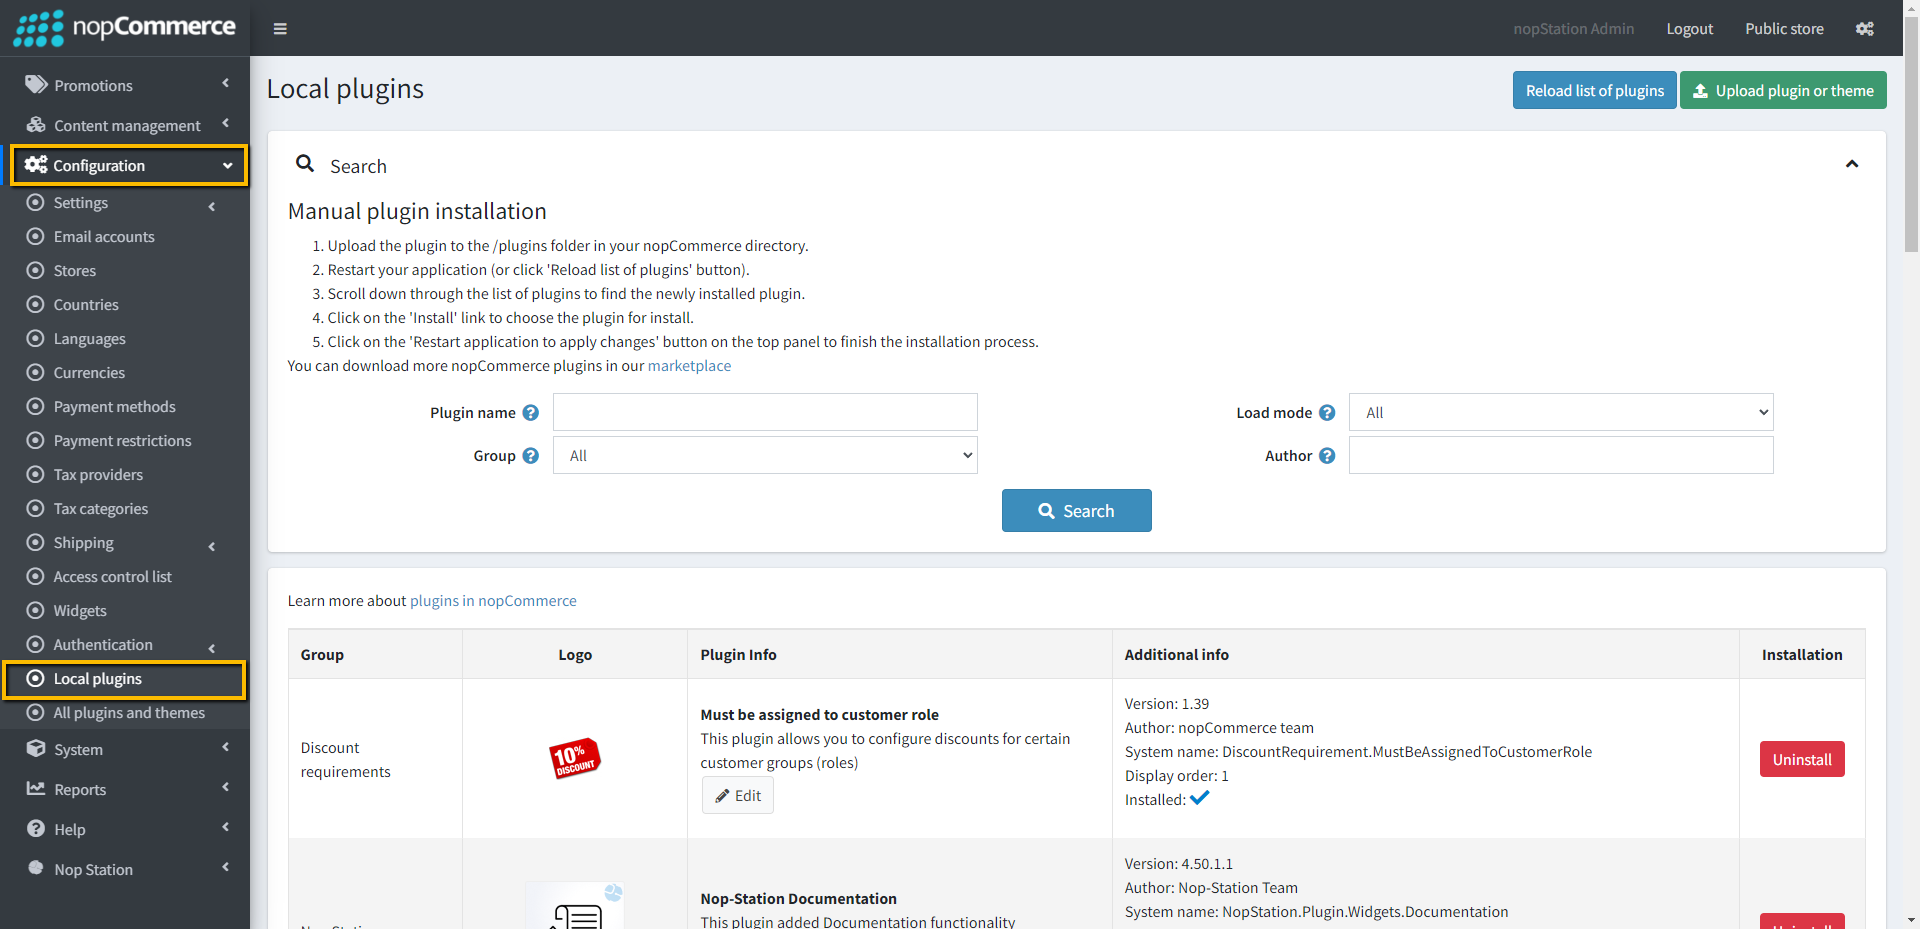
- Go to Administration, reload the 'list of plugins'. Install 'Nop-Station Core' Plugin first and then install 'Nop-Station Documentation'
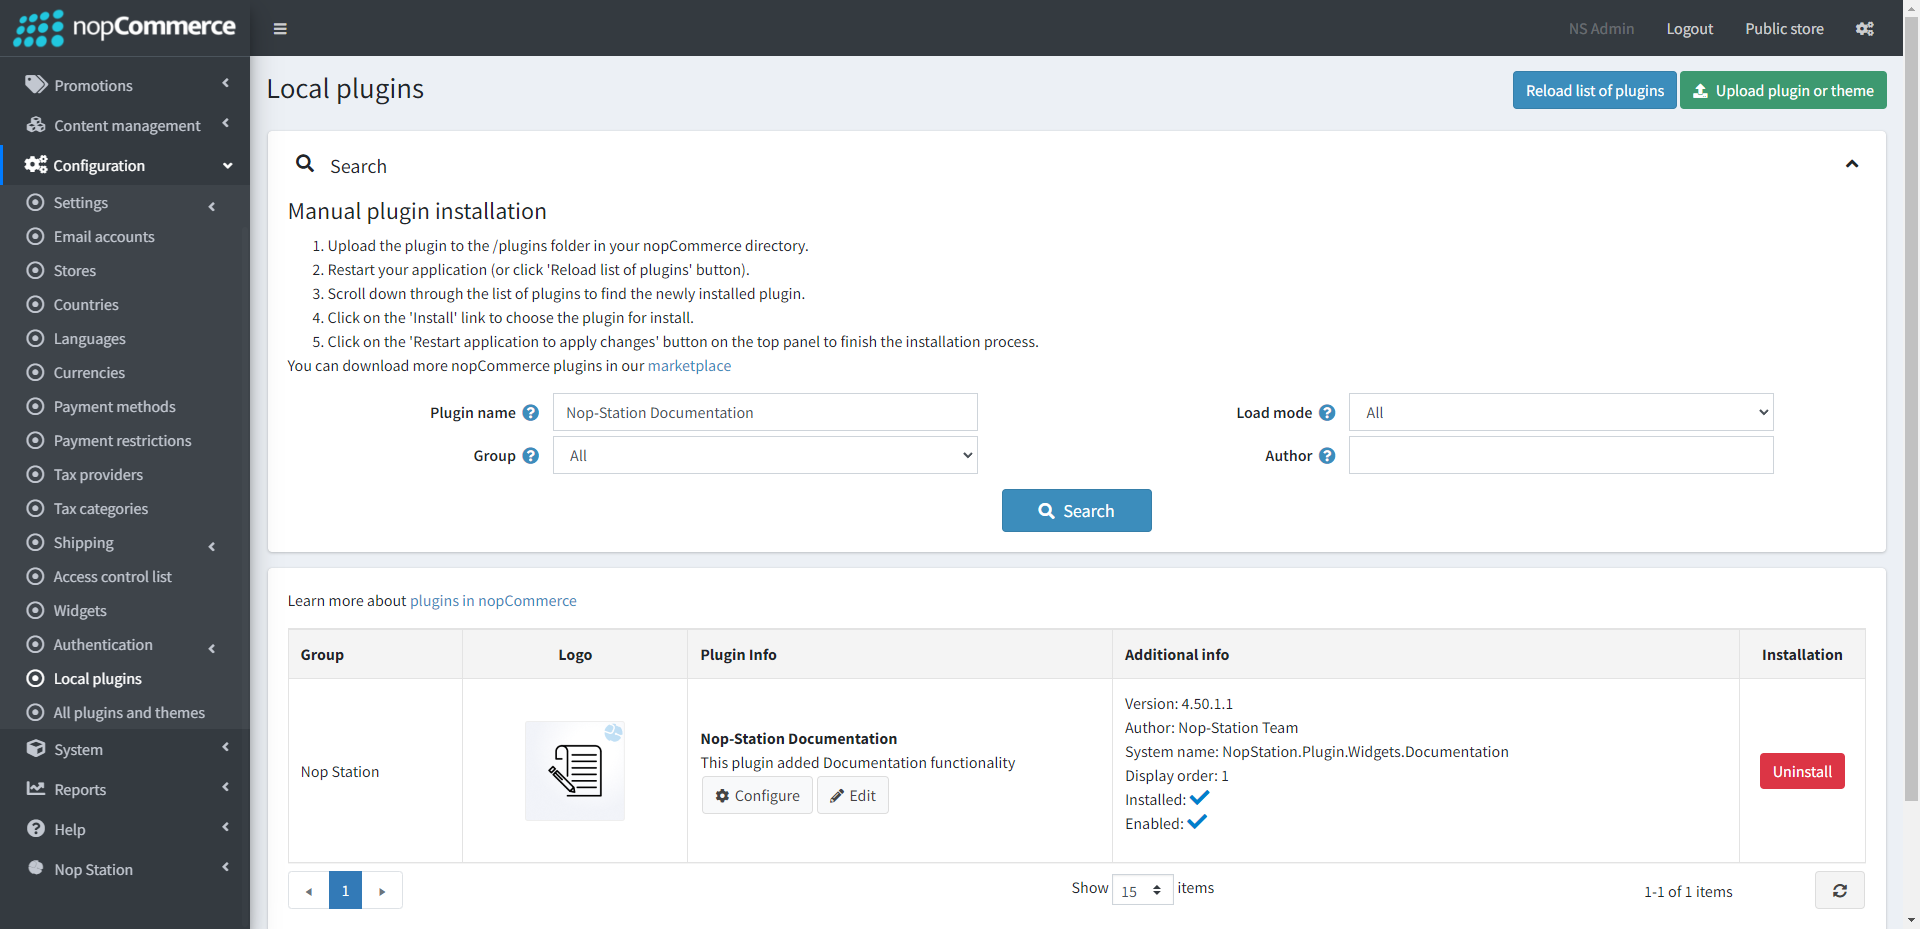
- To make the plugins functional, restart the application
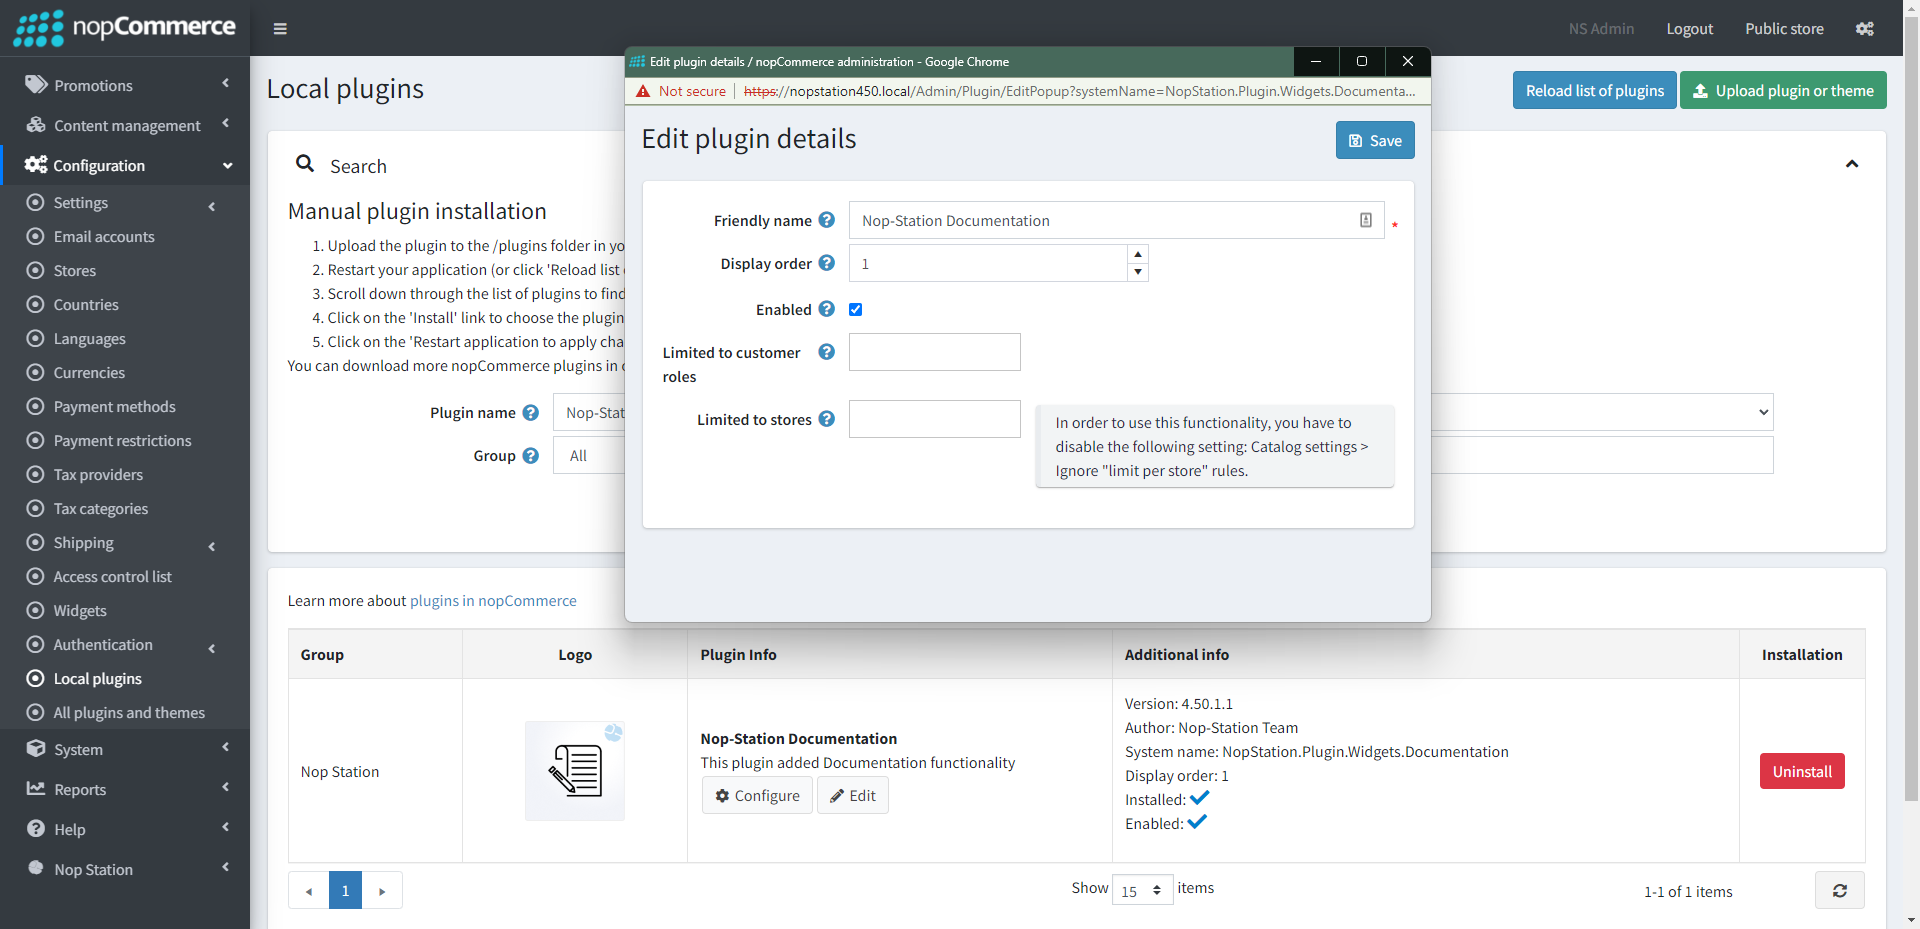
- Enable the plugin with 'Edit' option and Configure it
CONFIGURATION
- Go to Admin → Nop Station → Plugins → Documentation → Configuration
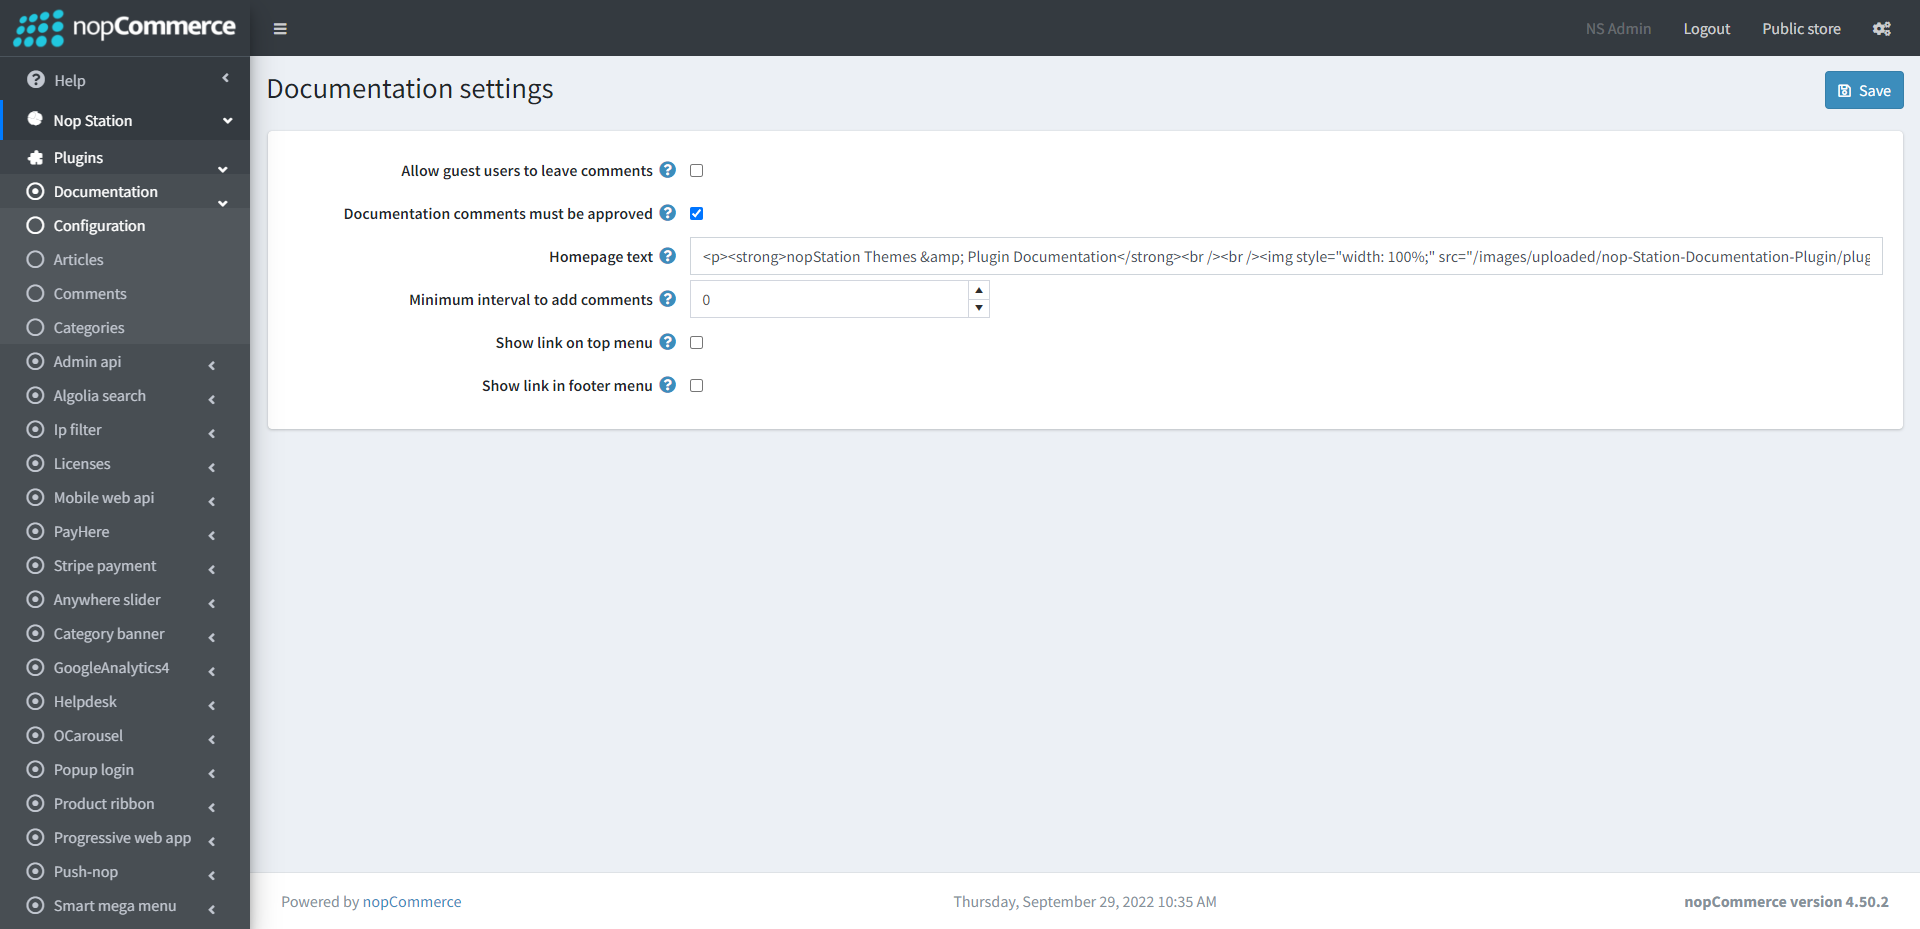
- Allow guest users to leave comments: Checking the box allows users to leave comments
- Documentation comments must be approved: Checking the box ensures that the documentation comments must be approved
- Homepage text: Enter documentation homepage text.
- Minimum interval to add comments: Specify minimum interval in seconds to add comments.
- Show link on top menu: Check to show documentation link on top menu.
- Show link in footer menu: Check to show documentation link in footer menu.
ARTICLES
- Go to Admin → Nop Station → Plugins → Documentation → Articles
- In the Article menu a list of already created article will be listed.
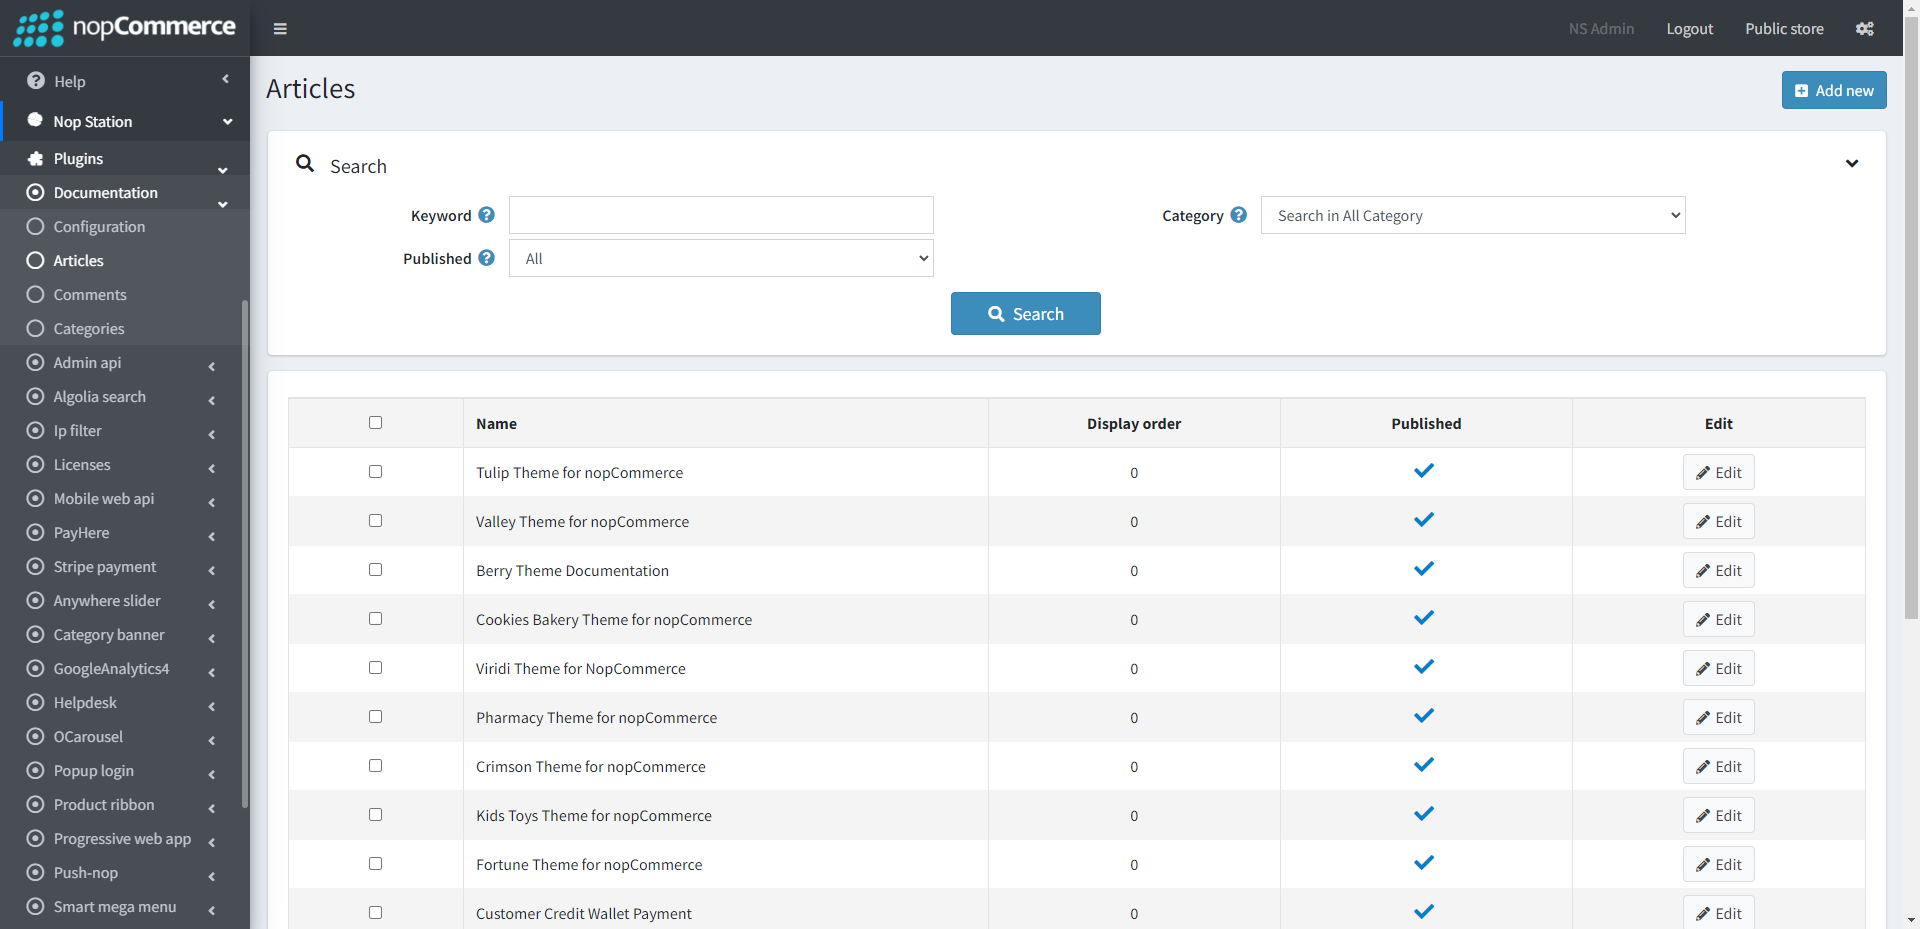
- You can create new article clicking on the Add New Article button if not existing any.
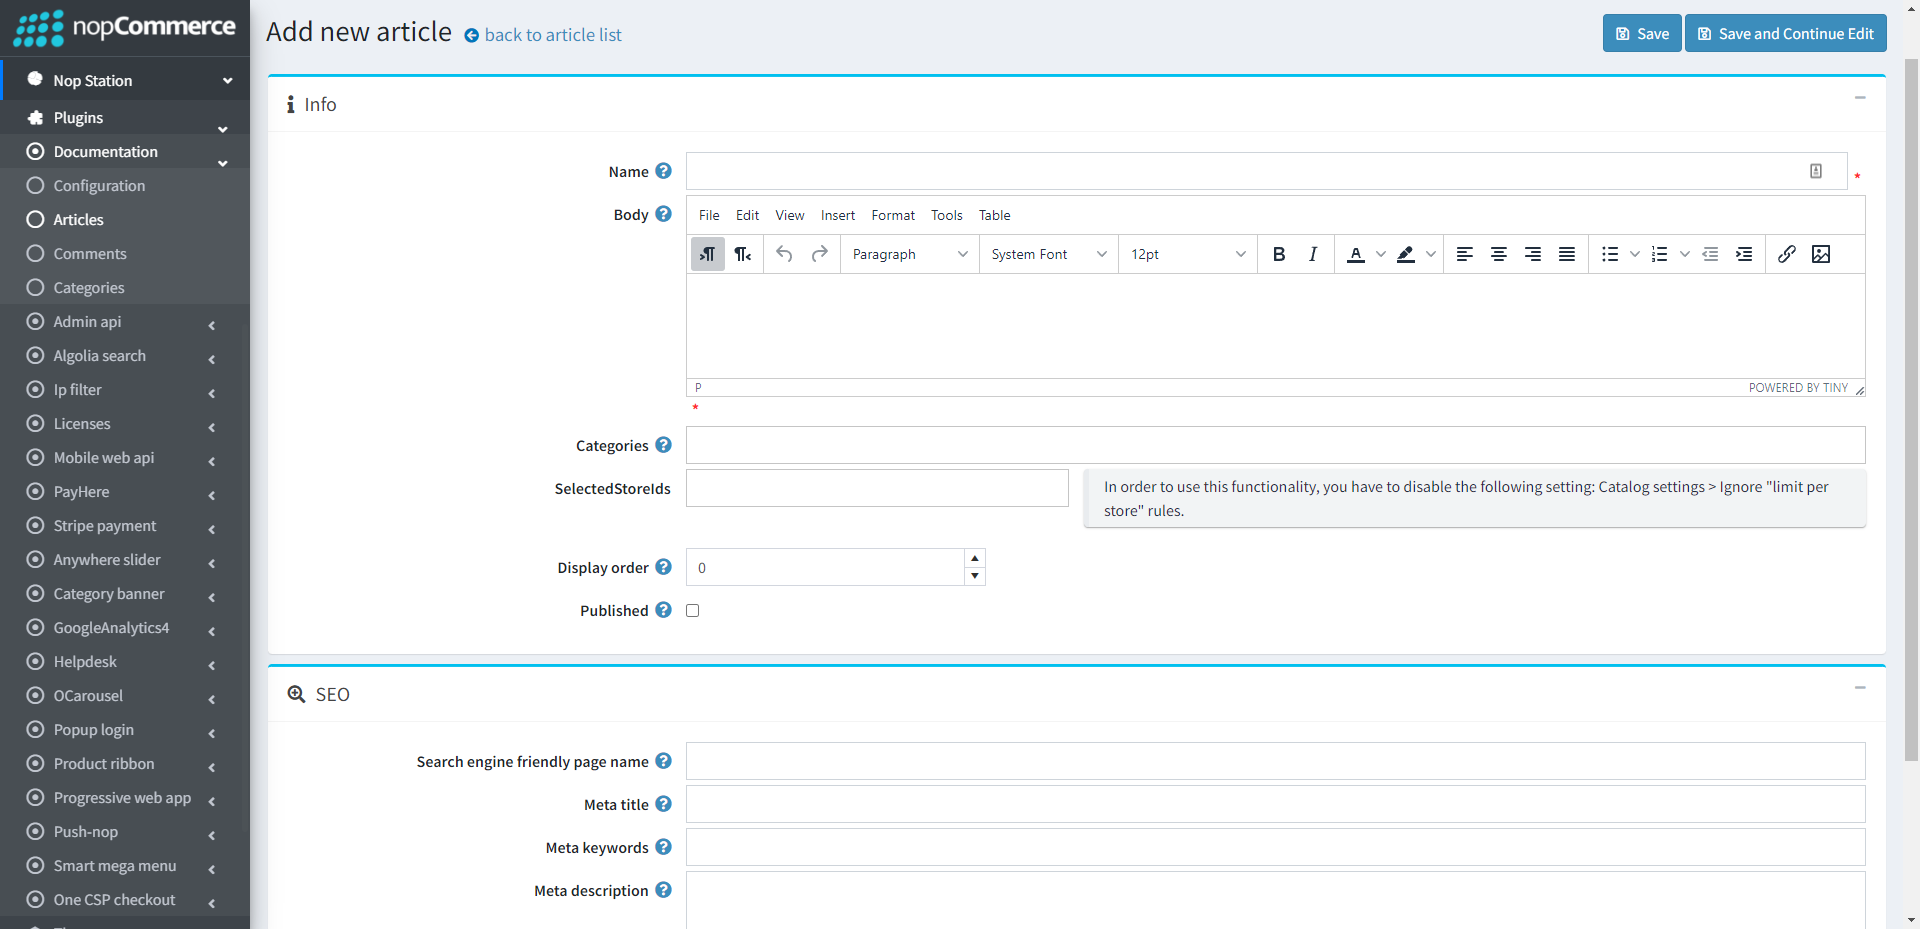
- Published: Tick the checkbox to published the article
- Name: Write down the article title here
- Body: Write down all the content of the article here
- Categories: Choose categories. You can manage document categories by selecting Nop Station > Documentation > Categories.
COMMENTS
- Go to Admin → Nop Station → Plugins → Documentation → Comments
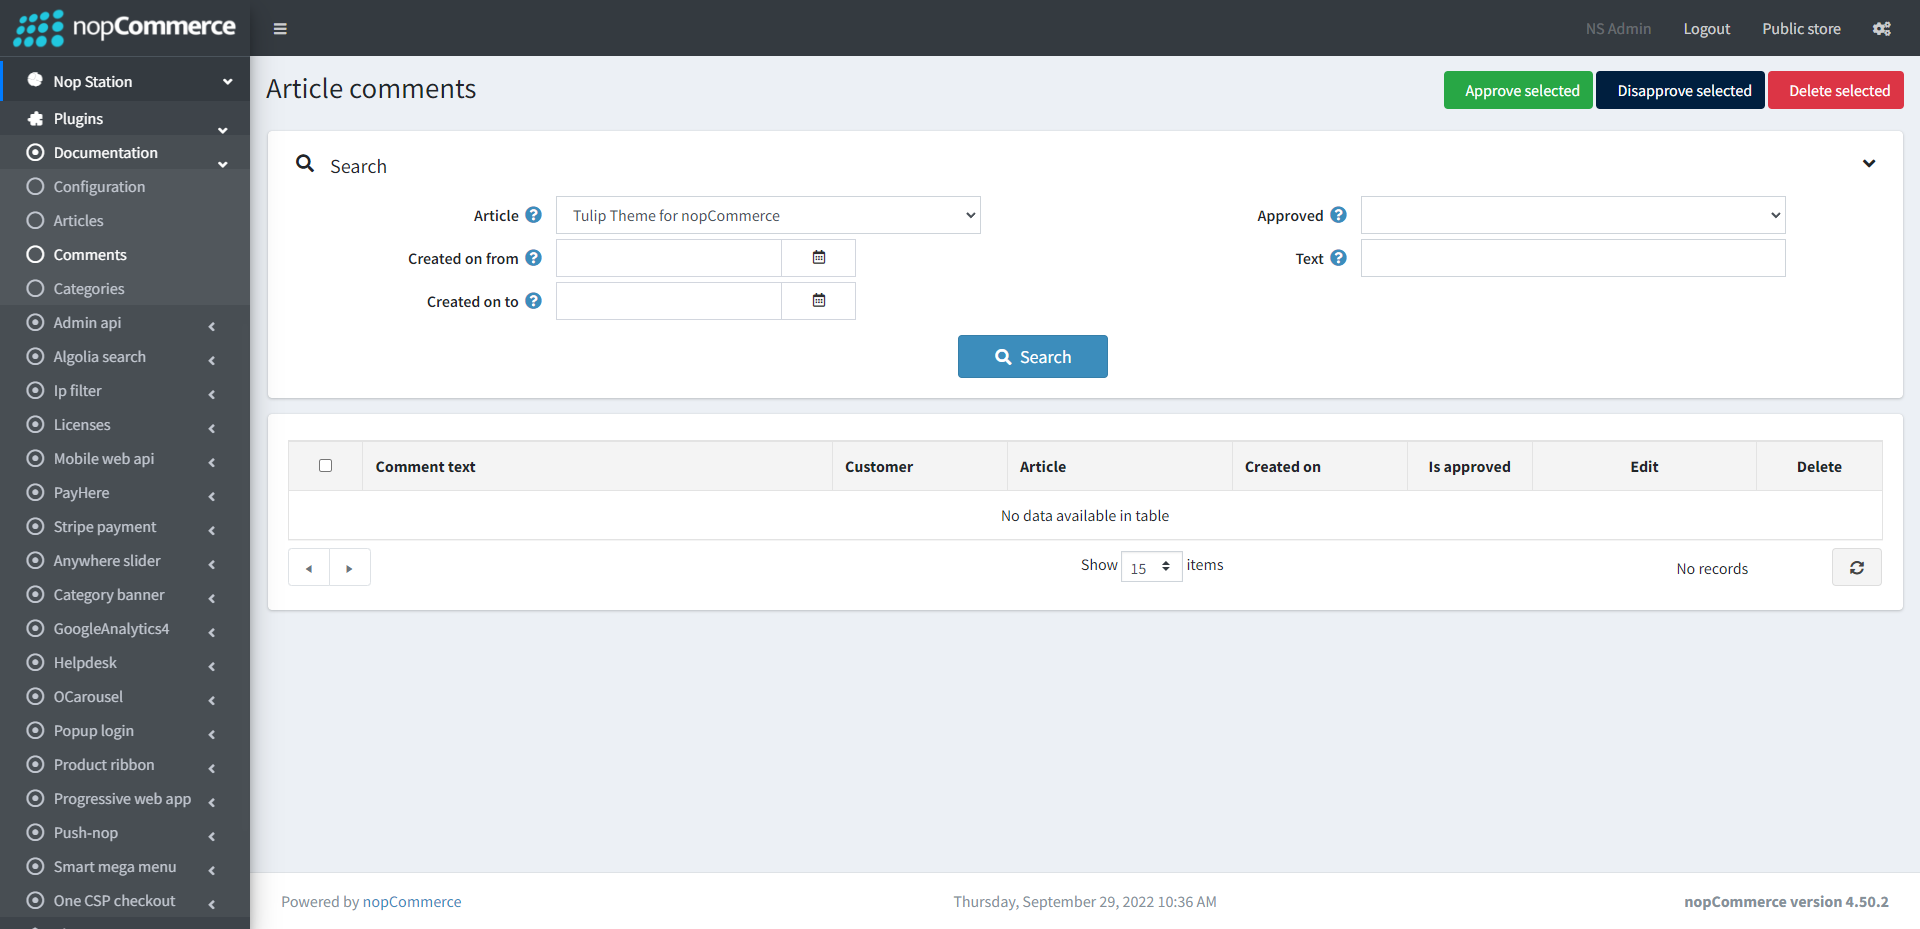
- Here the list of comments will show based on the article. You can select different articles from the Article dropdown
- You can also approve or disapprove comments from here
CATEGORIES
- Go to Admin → Nop Station → Plugins → Documentation → Categories
- In the Categories menu a list of already created categories will be shown
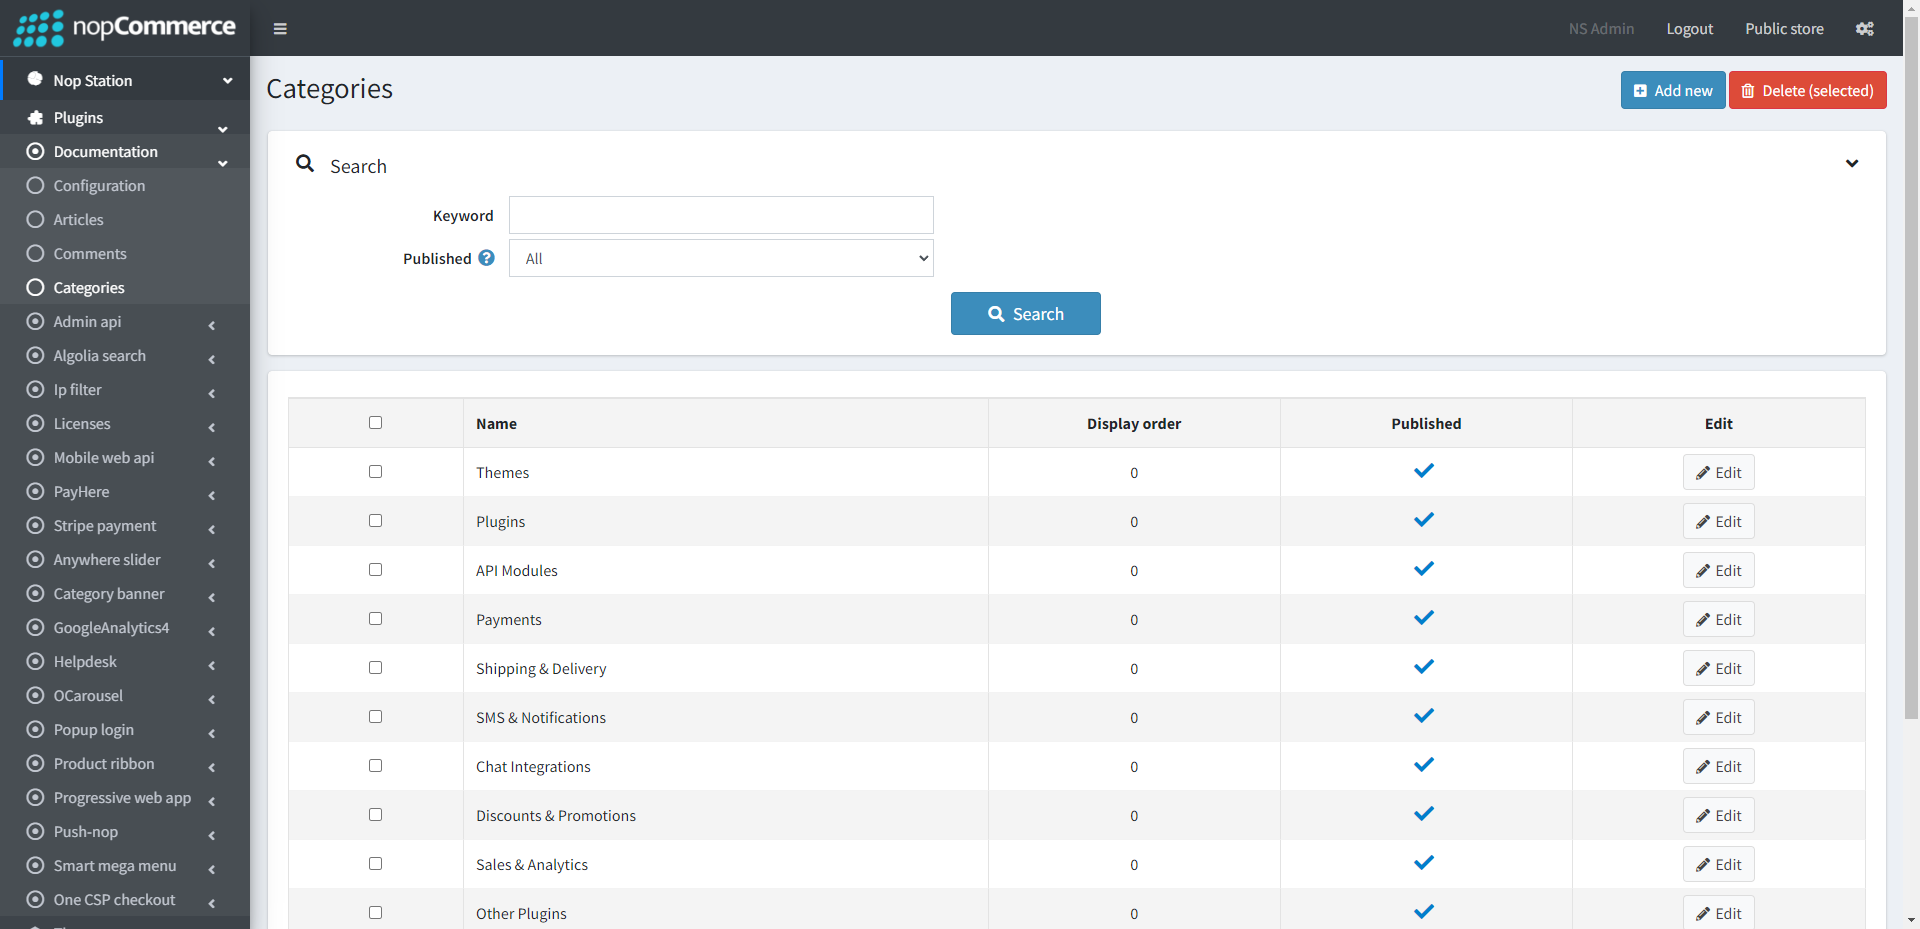
- Add Category: To add a new category press the Add New Category button
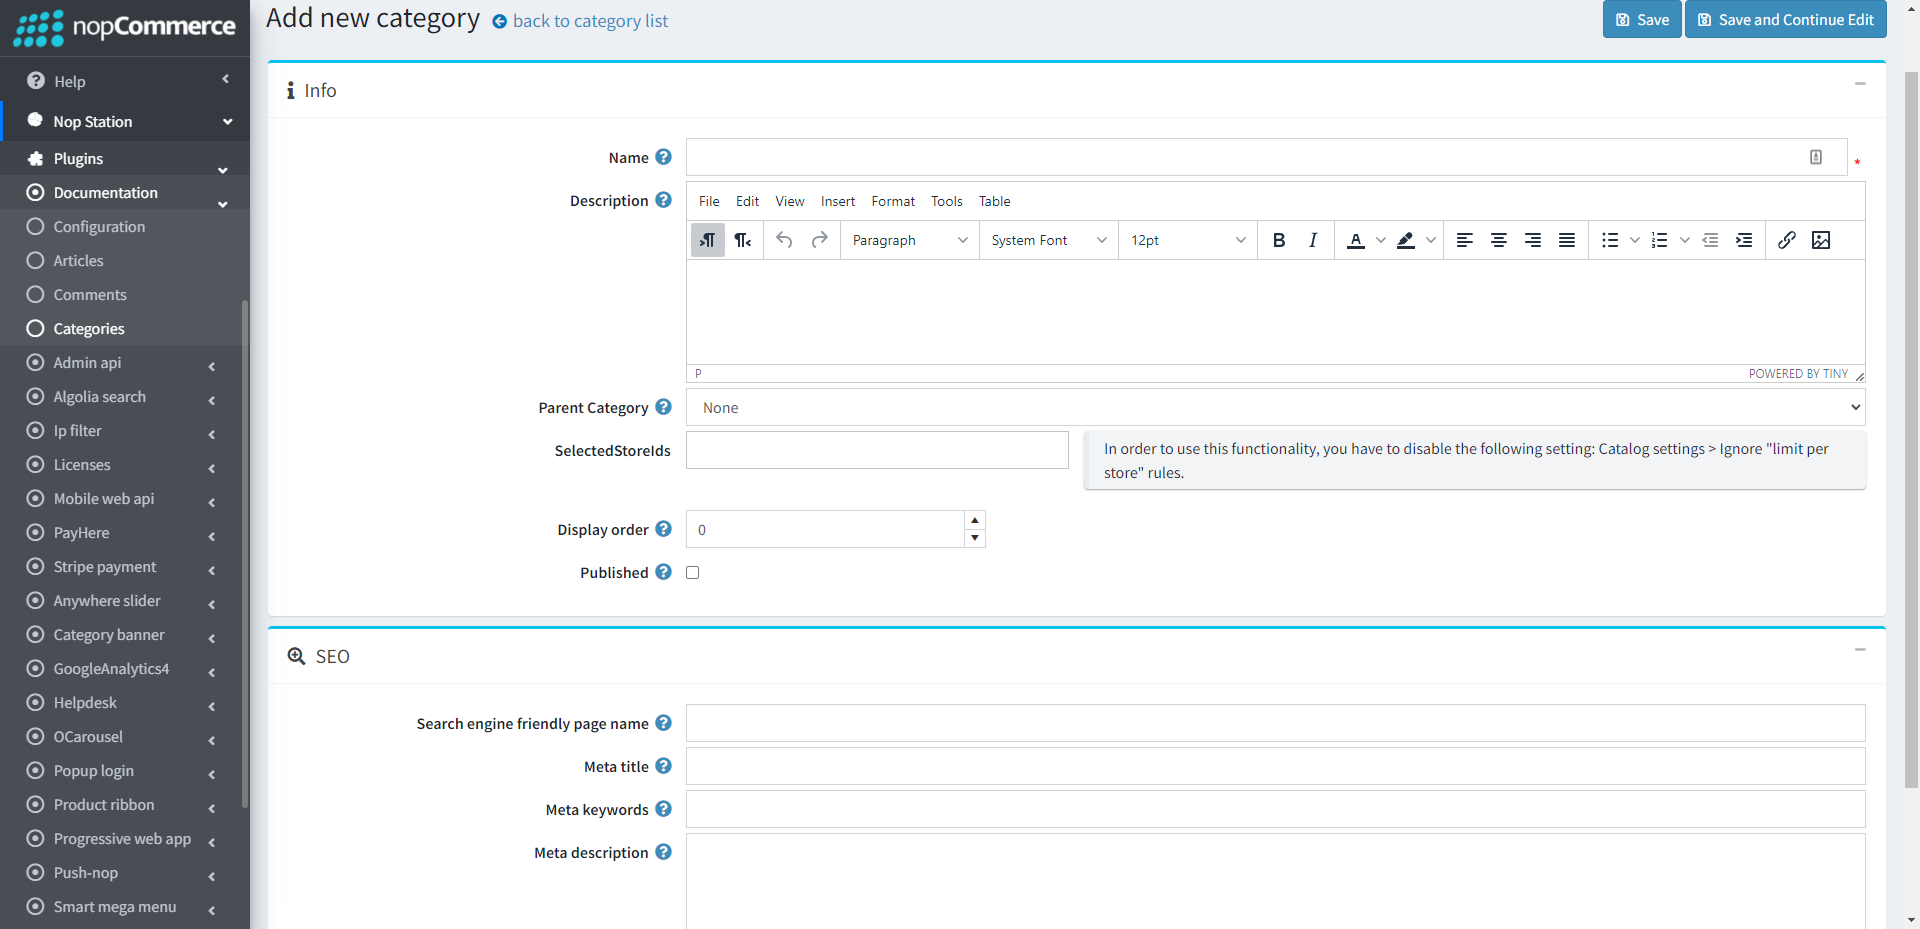
- Parent Category: Select a Parent category to enlist the category as subcategory
- Published: Tick the checkbox to published the category
- Name: Write down the category title here
- Description: Write down all the description of the category
- Click on the Save Category button to save the category
PUBLIC AREA
- The Pubic Site can be found at SiteName.Com/Documentation
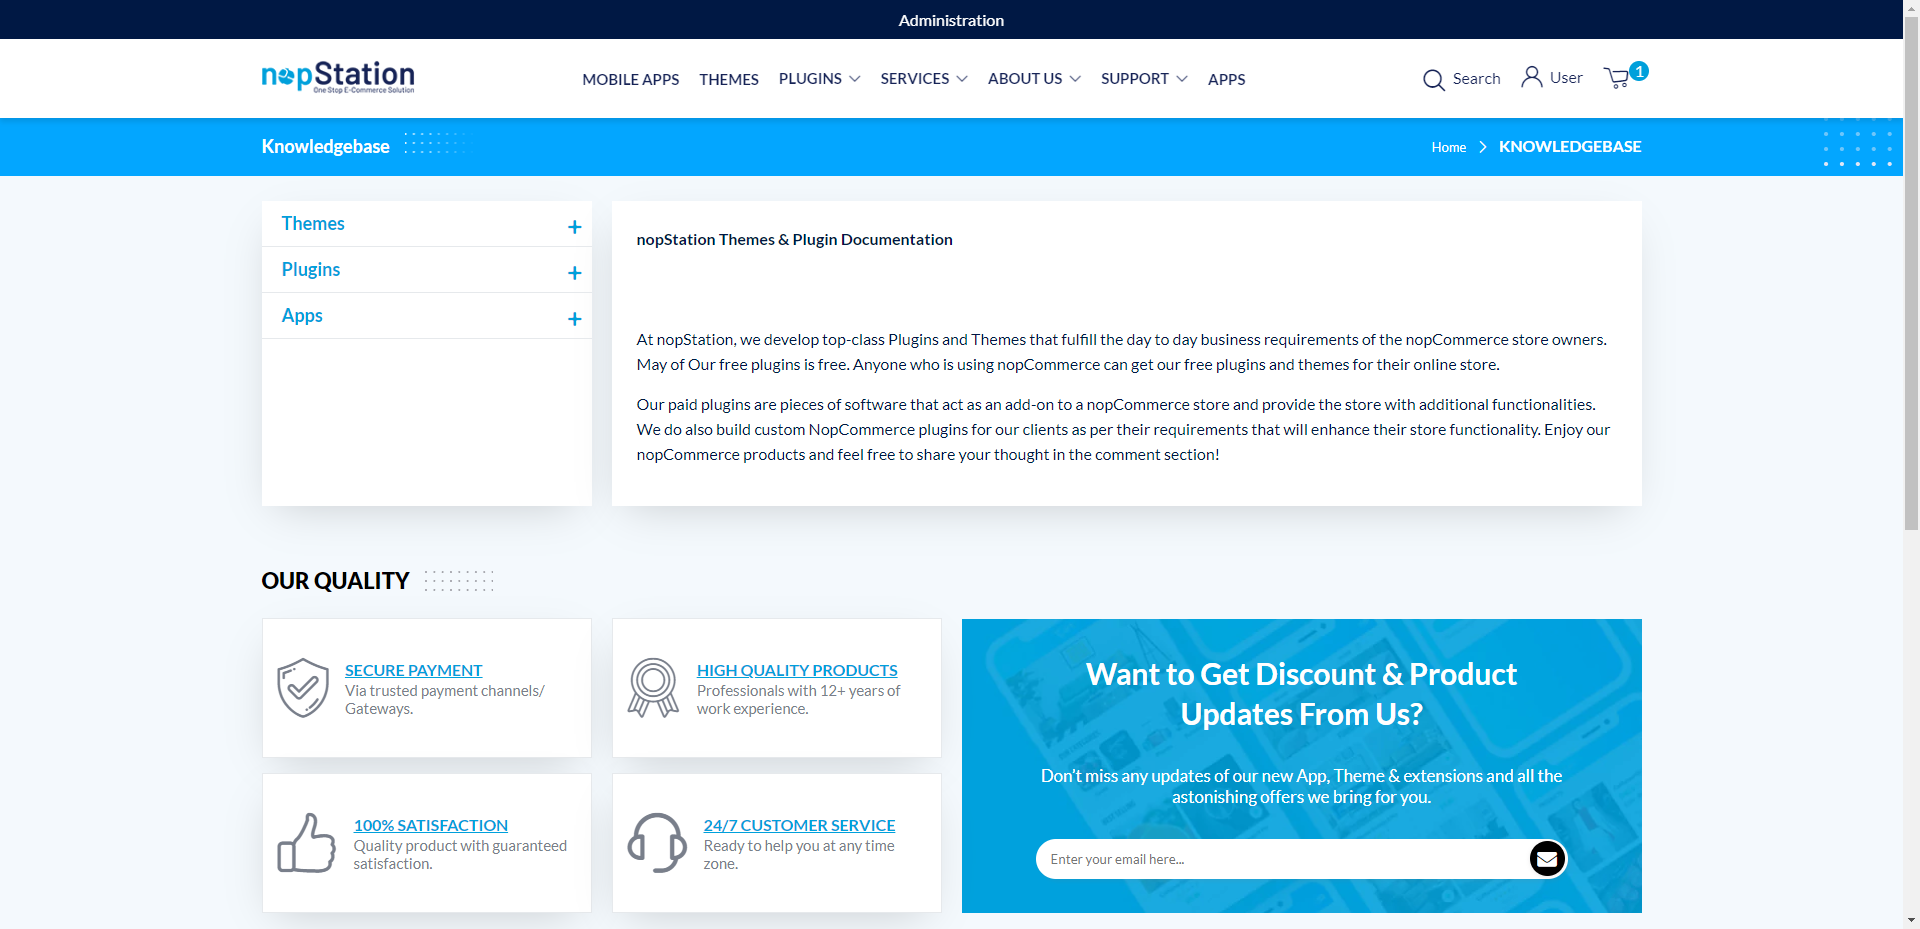
- In the public site a list of Root Category will be shown
- After selecting a category to expand, an hierarchy of articles & subcategory will be shown
- Selecting an Article will show the content of article
- Selecting a category a hierarchy of articles & subcategory will be shown again
- Users can comment against articles here to express their opinion