PRE-REQUISITES
- The plugin requires you to install the Nop-Station Core plugin first.
INSTALLATION
- Download the Announcement Plugin from our store https://nop-station.com/customer/downloadableproducts
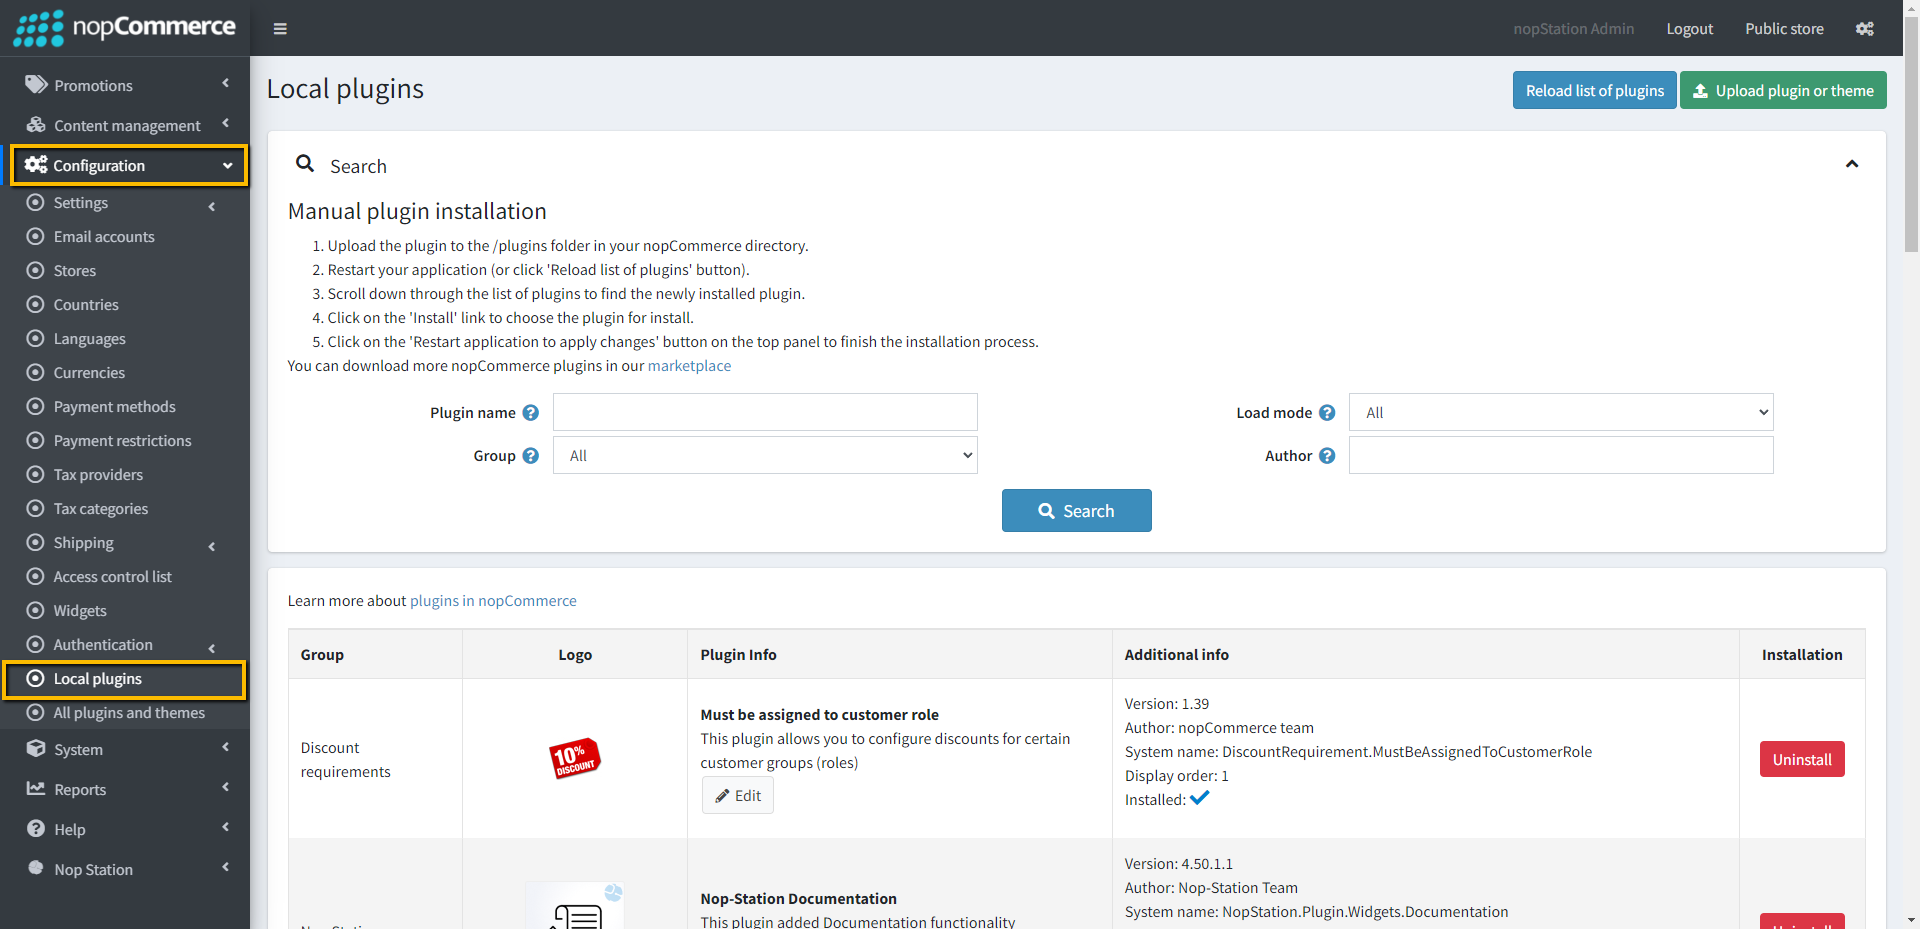
- Go to Administration → Configuration → Local plugins
- Upload the NopStation.Announcement zip file using the "Upload plugin or theme" button
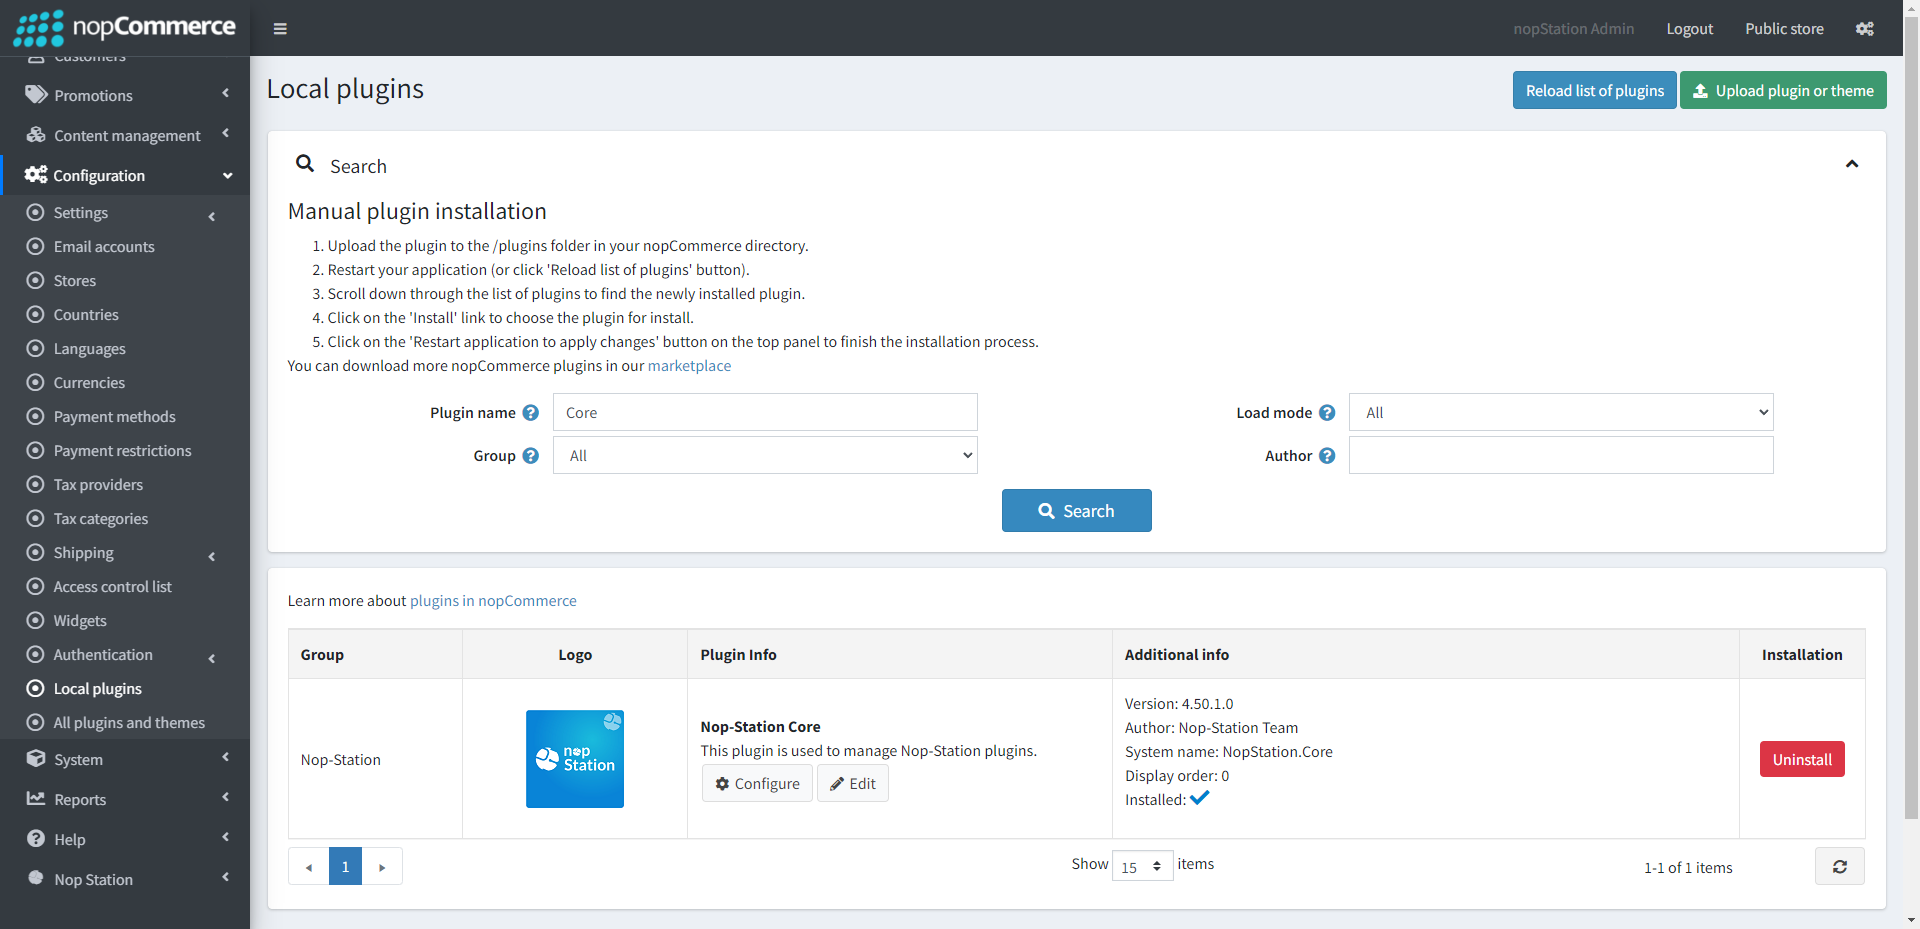
- Go to Administration, reload the 'list of plugins'. Install 'Nop-Station Core' and 'Widget Manager (based on nopCommerce version)' plugin first and then install 'Nop-Station Announcement Plugin'
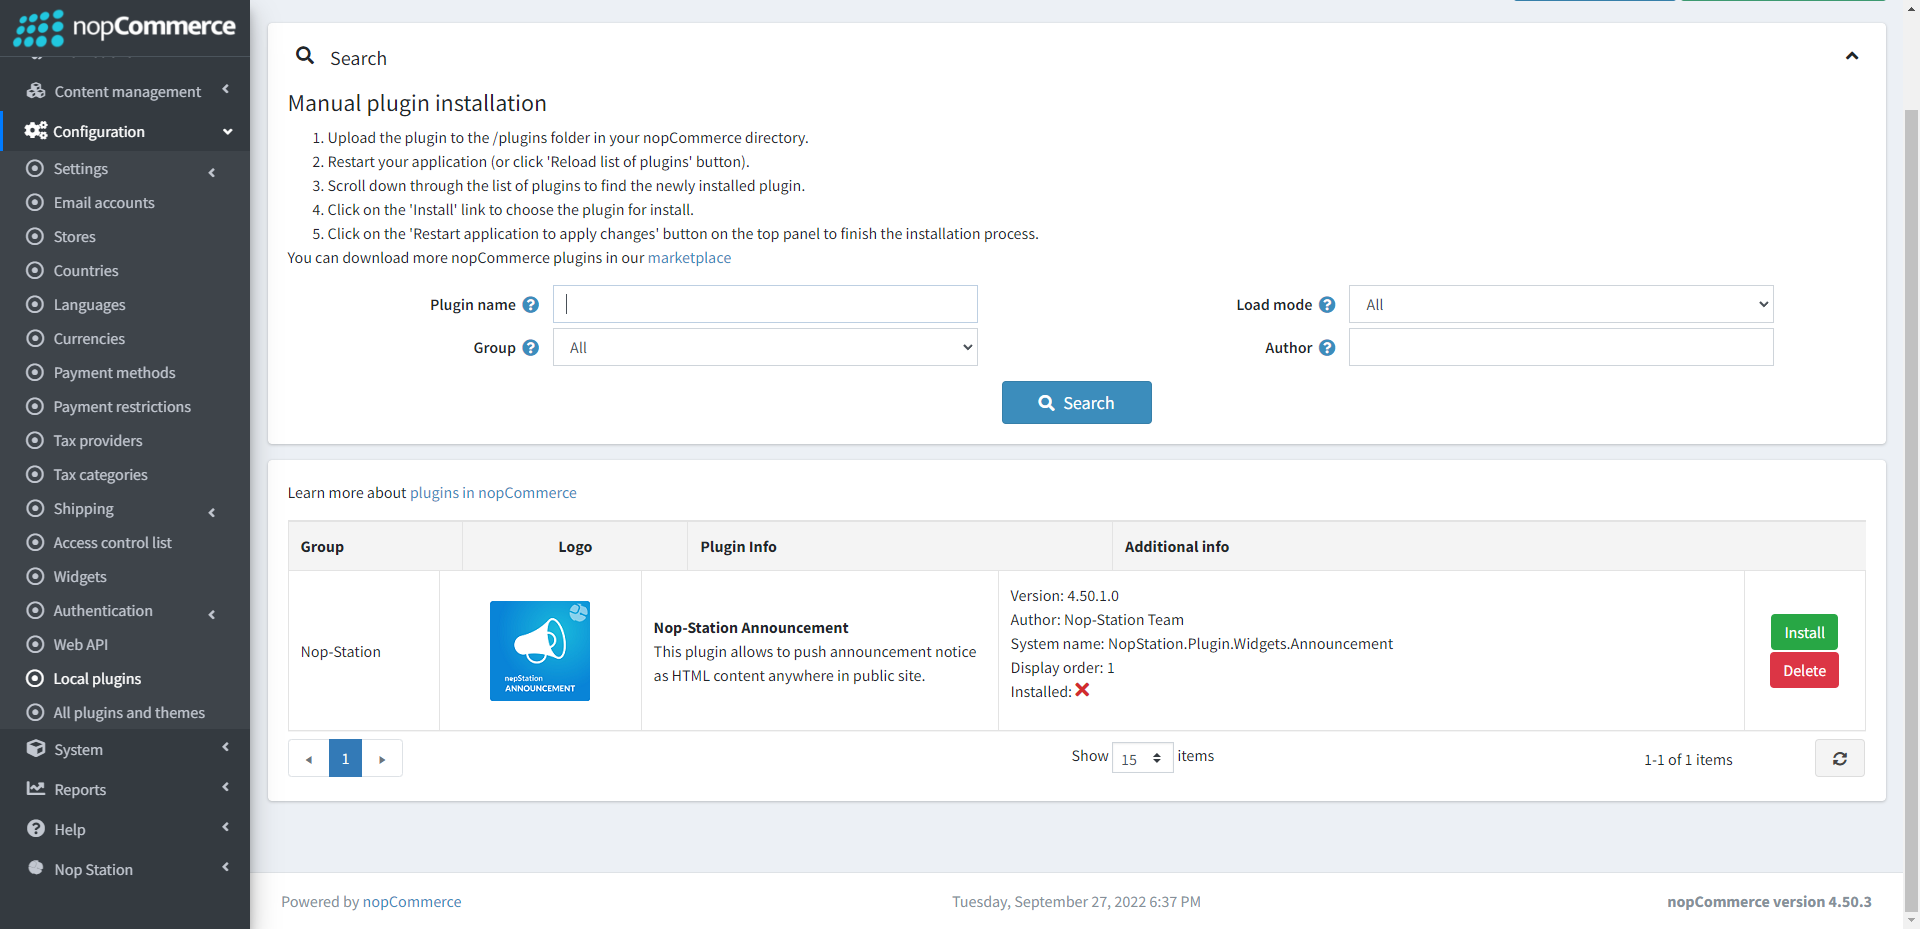
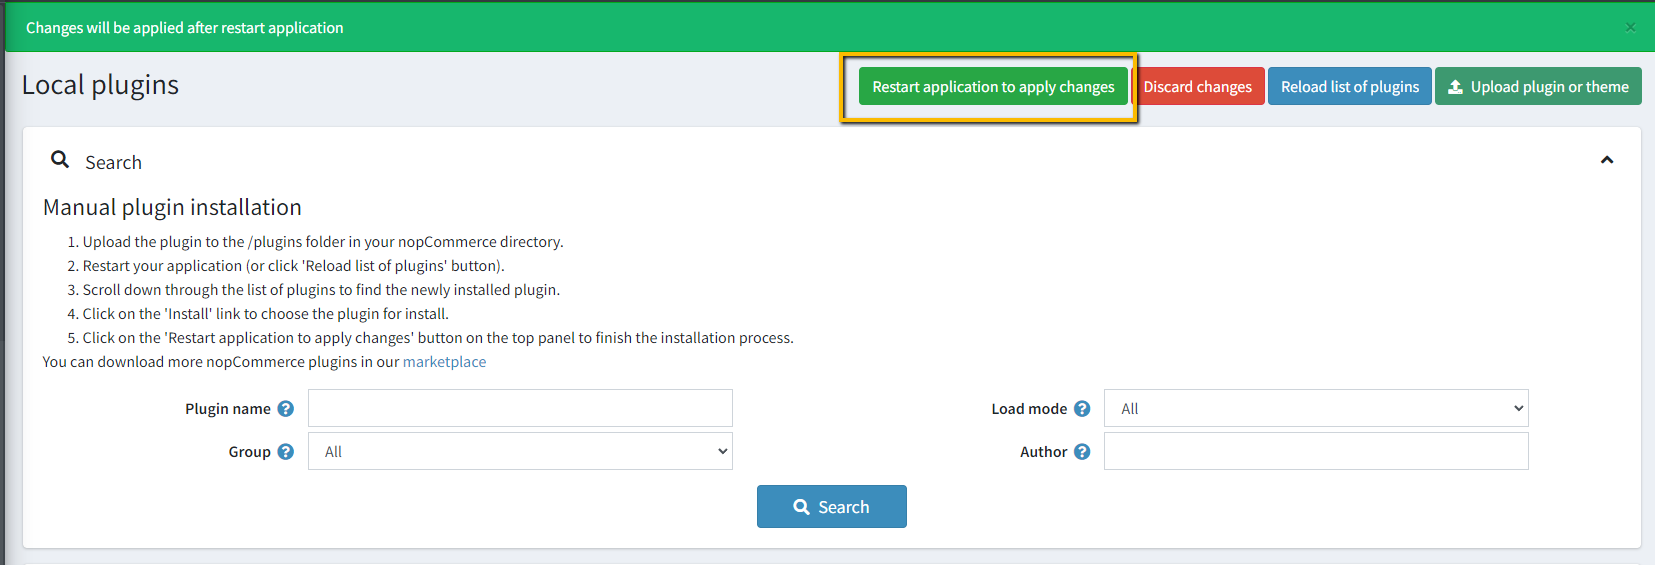
- To make the plugins functional, restart the application
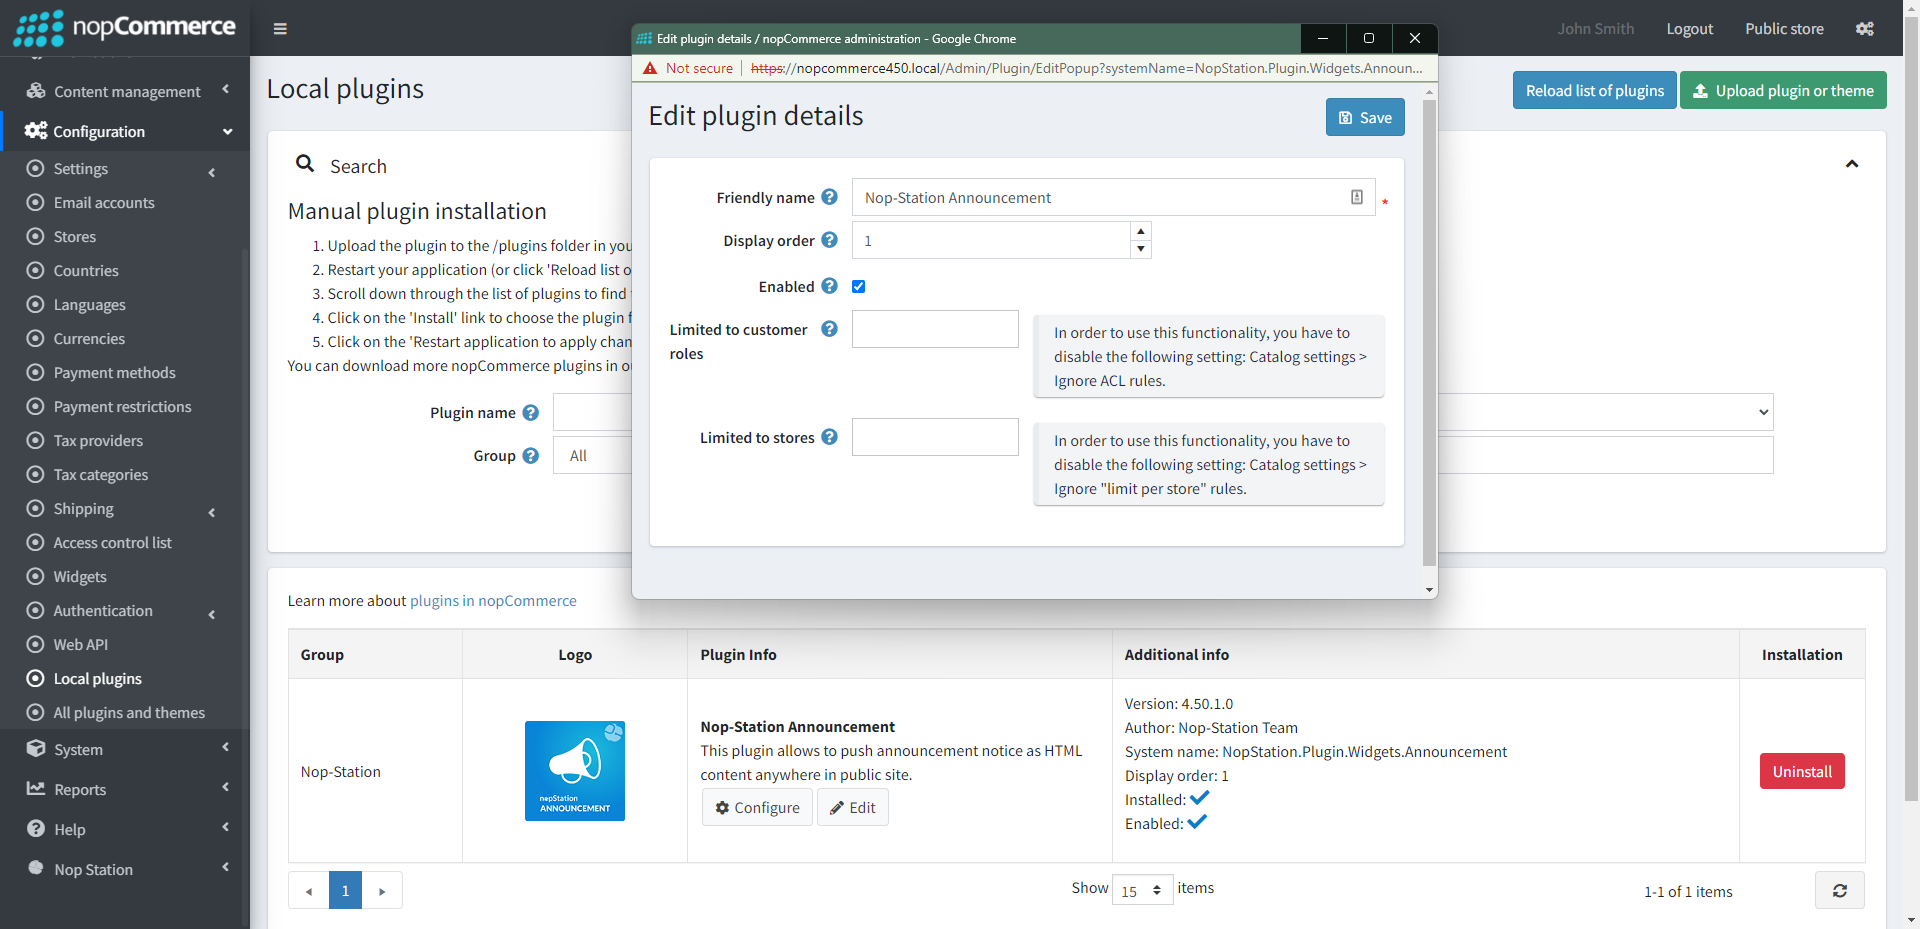
- Enable the plugin with 'Edit' option and Configure it
CONFIGURATION
- Go to Admin → NopStation → Plugins → Announcement → Configuration
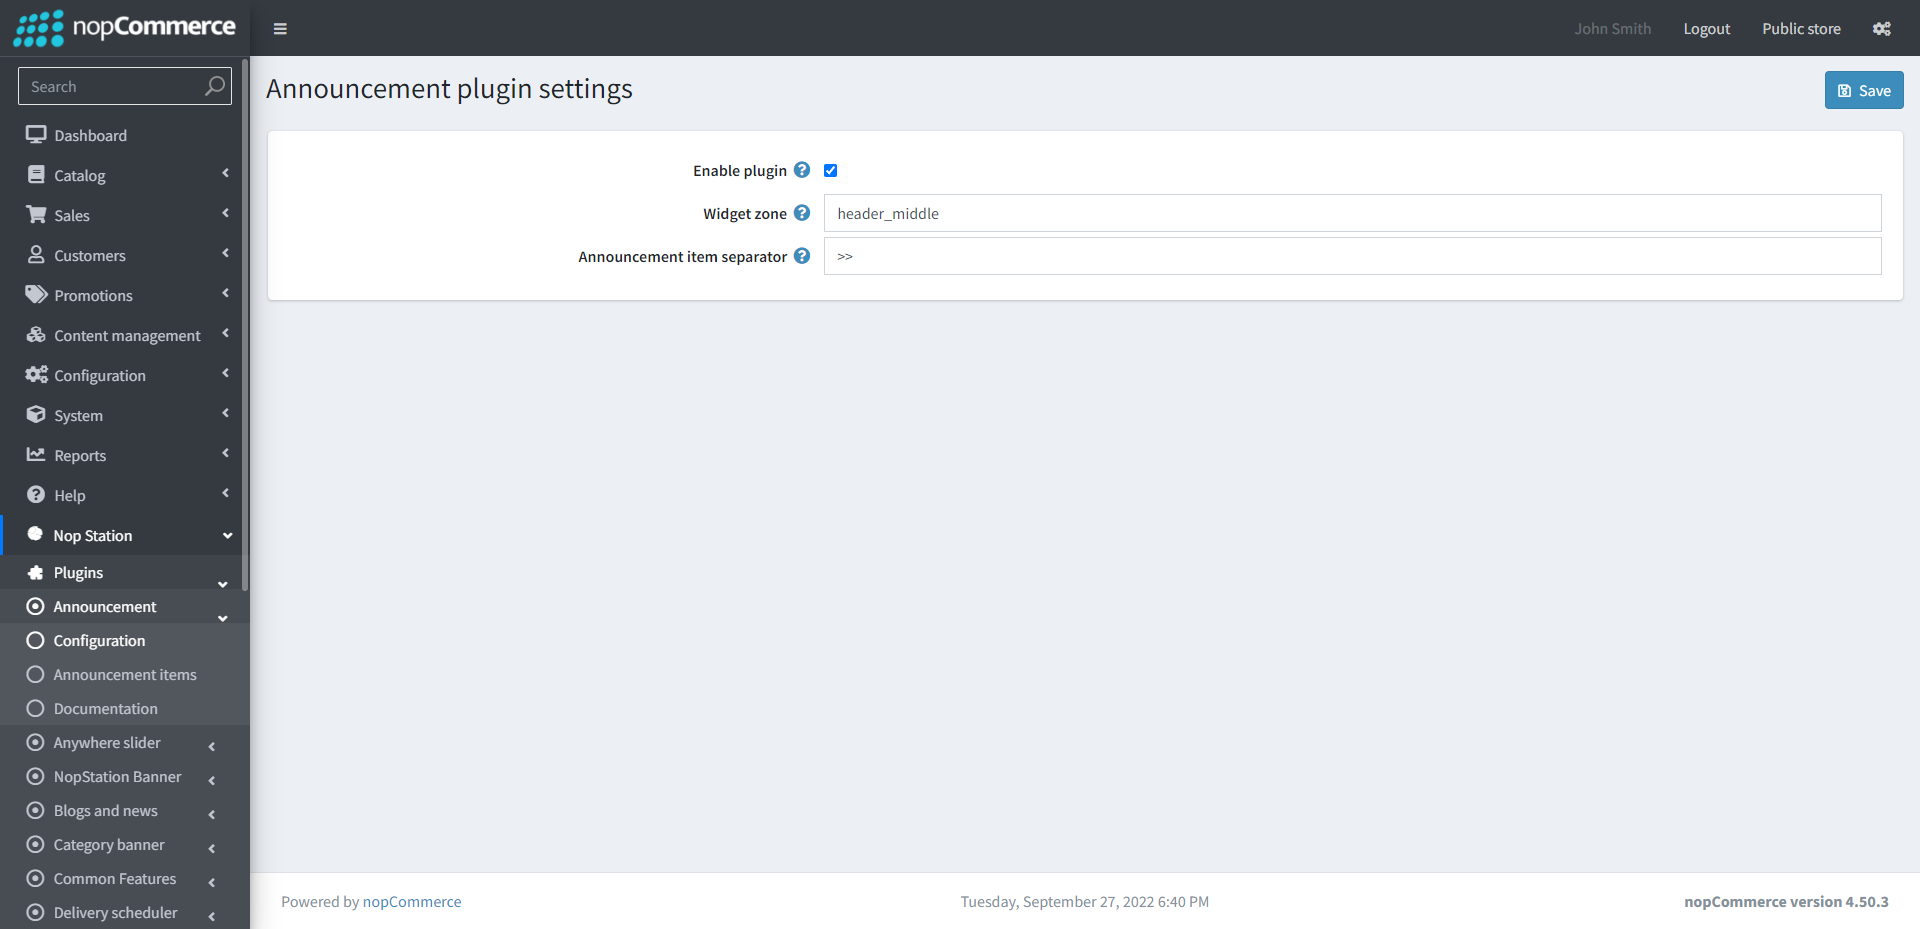
- Enable plugin: Determines whether the plugin is enabled or not.
- Widget zone: Enter the widget zone where you want to display the announcement in the public store
- Announcement item separator: Set Announcement item separator from here
ANNOUNCEMENT ITEMS
- Go to Admin → NopStation → Plugins → Announcement → Announcement items
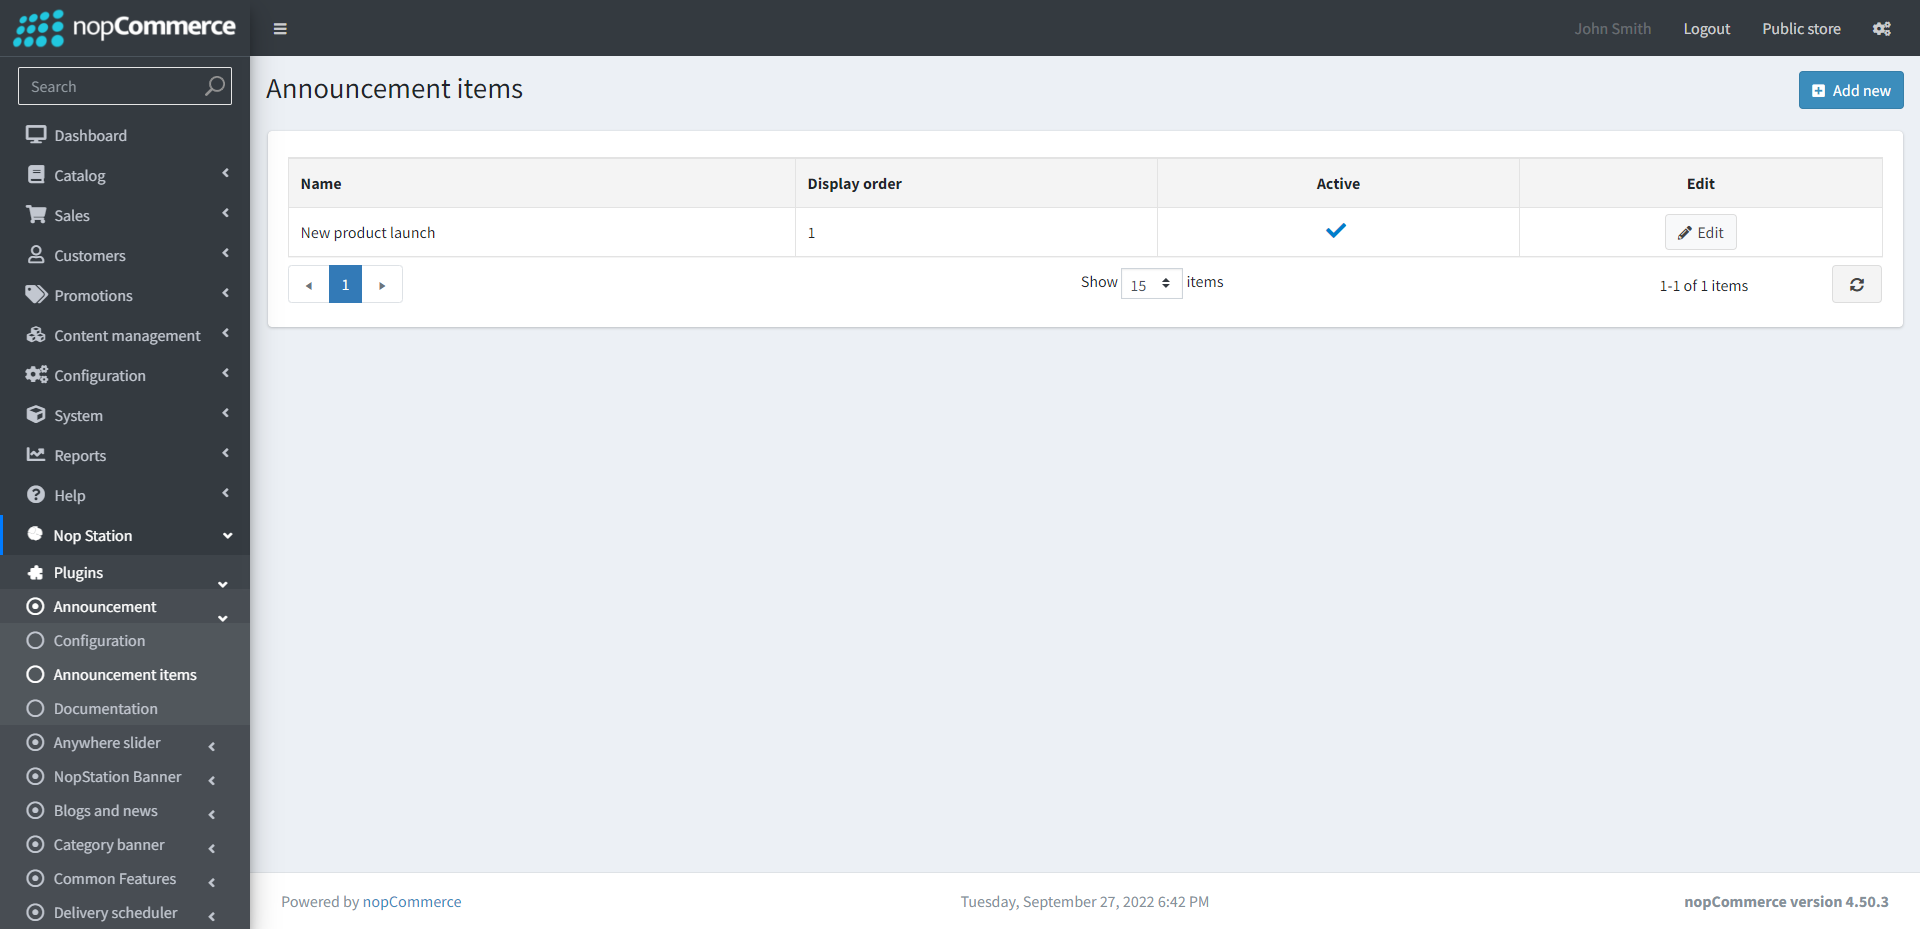
- Here, the list of announcements made can be seen
- Clicking on the Add new button, new announcements can be added as well
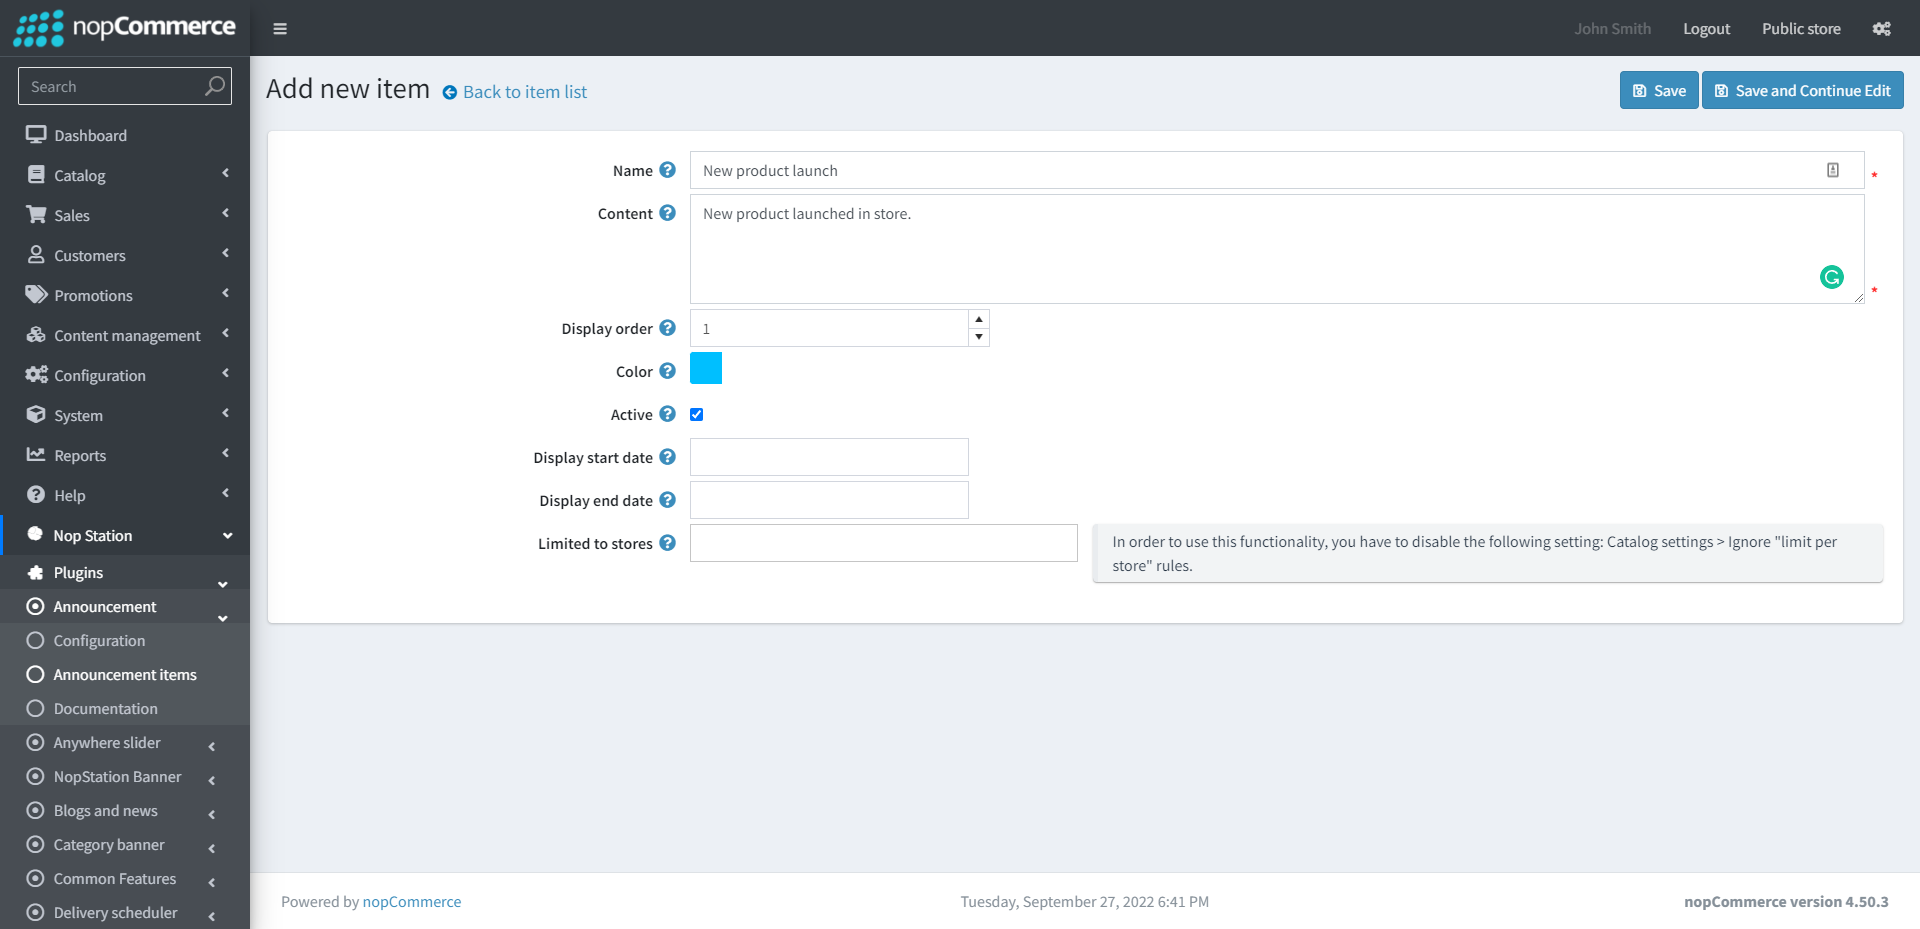
- Name: Enter the name of the item
- Content: Enter the announcement content
- Display order: Enter the display order of the item
- Color: Select the color of the item
- Active: Check the box to activate the plugin
- Display start date: Enter the display start date
- Display end date: Enter the display end date
- Limited to stores: Option to limit this widget item to certain stores only
PUBLIC VIEW
