


PRE-REQUISITES
- The plugin requires you to install the Nop-Station Core plugin first.
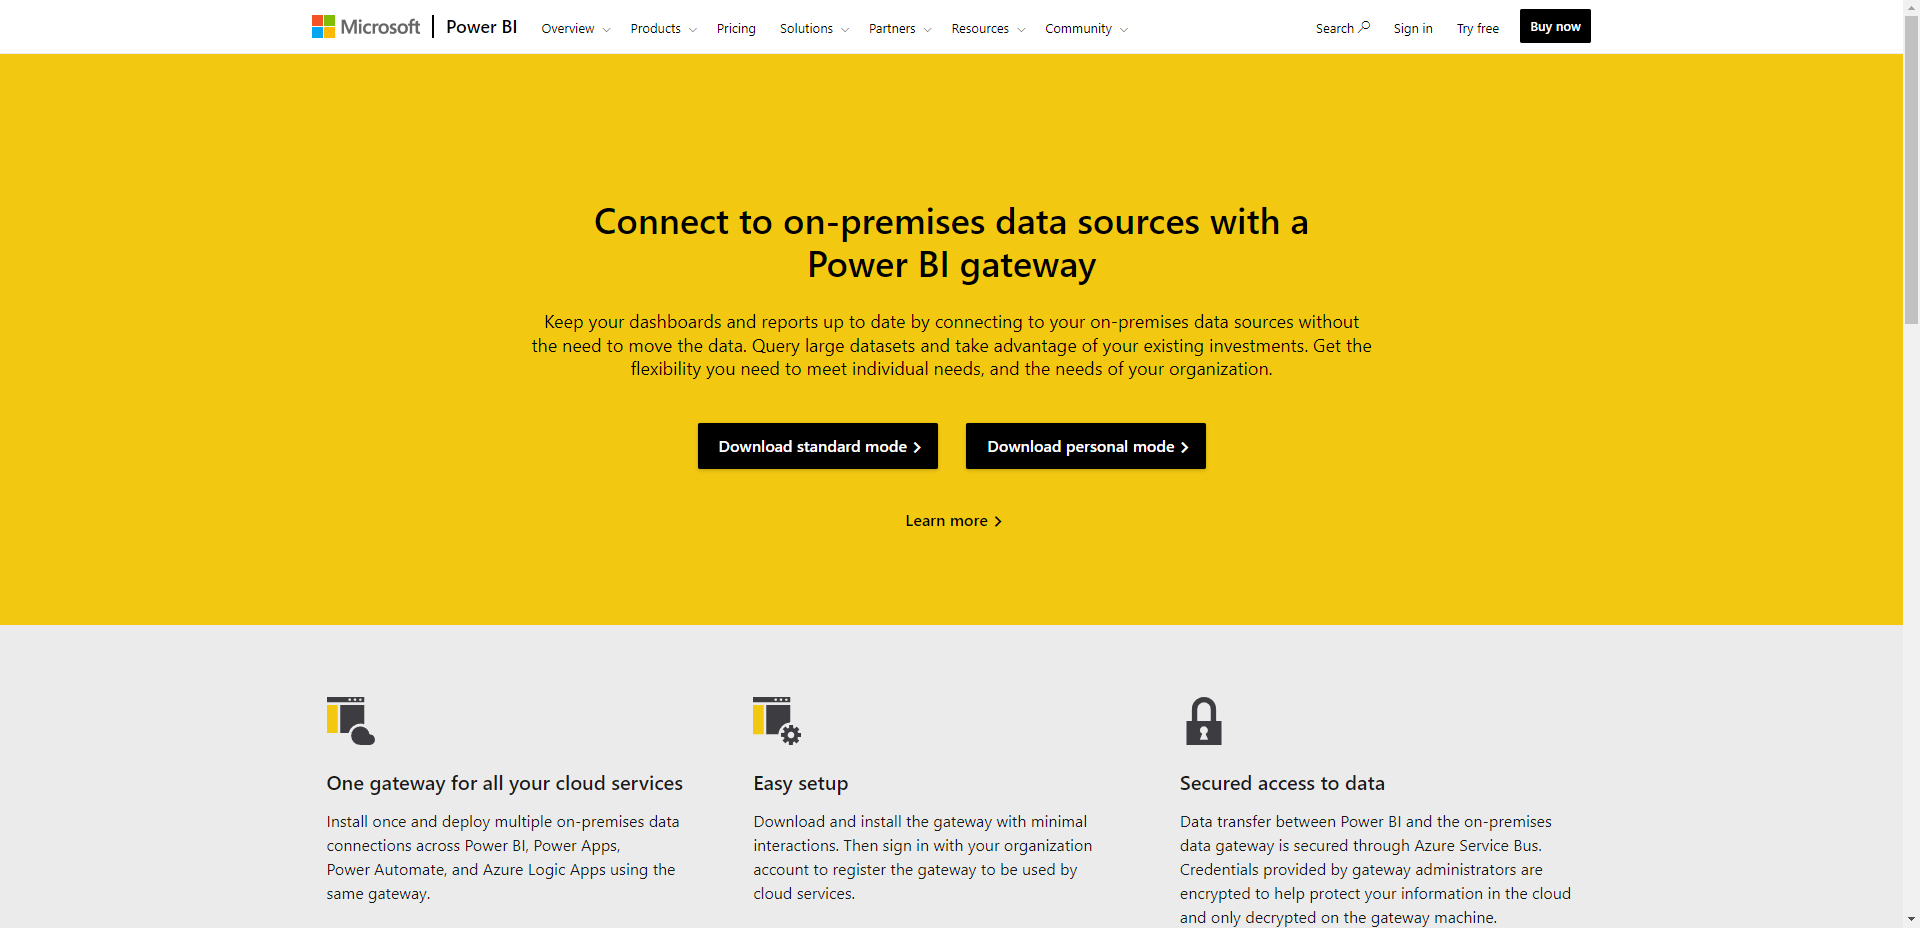
- Power BI Account and Gateway needed
INSTALLATION
- Download the NopStation Power BI Plugin from our store https://nop-station.com/customer/downloadableproducts
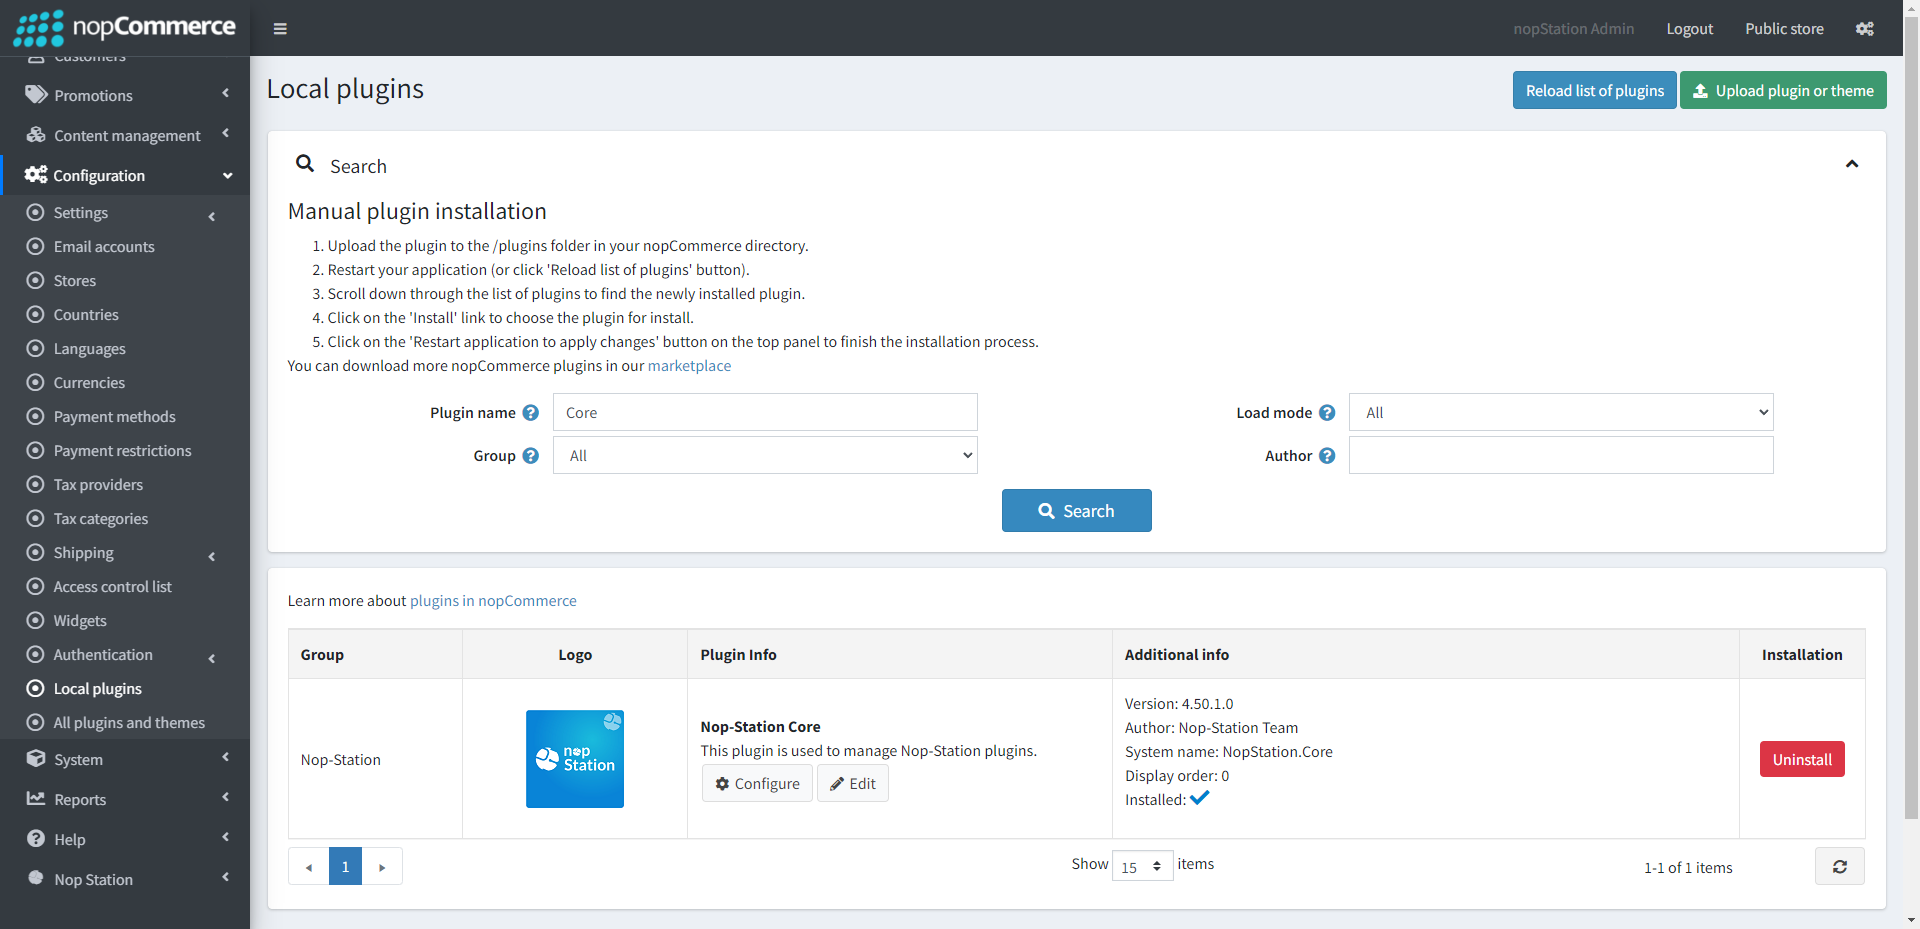
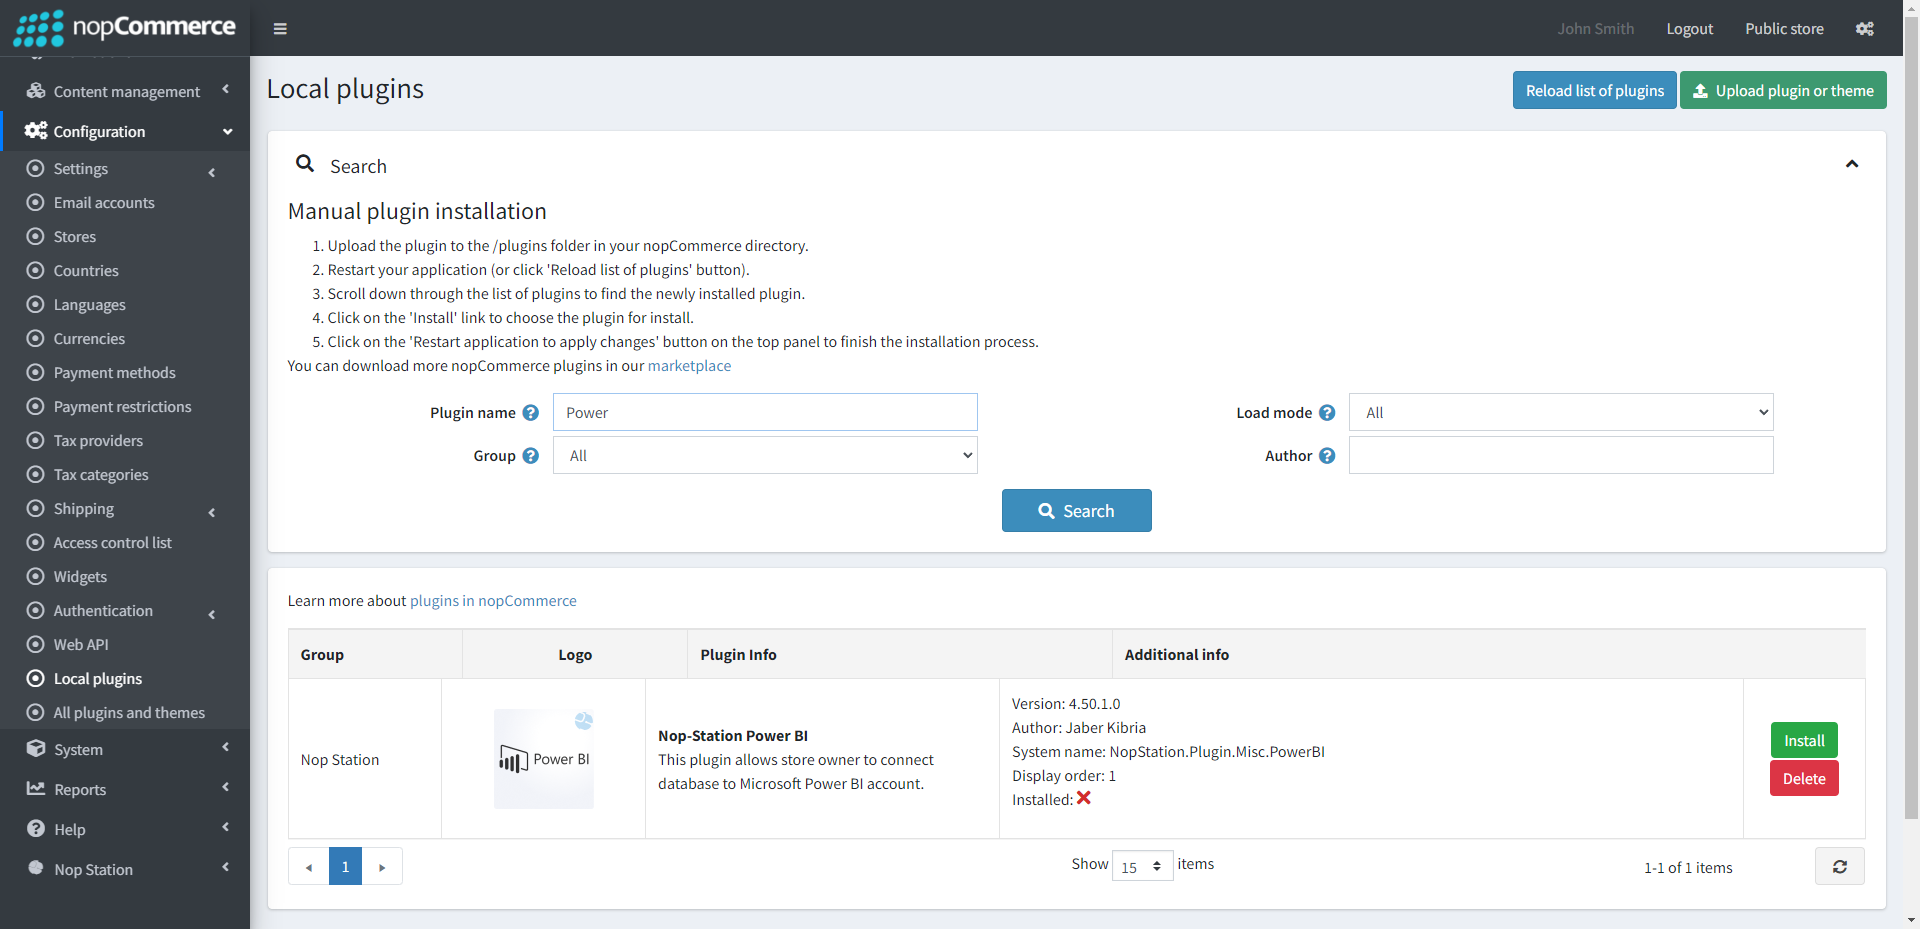
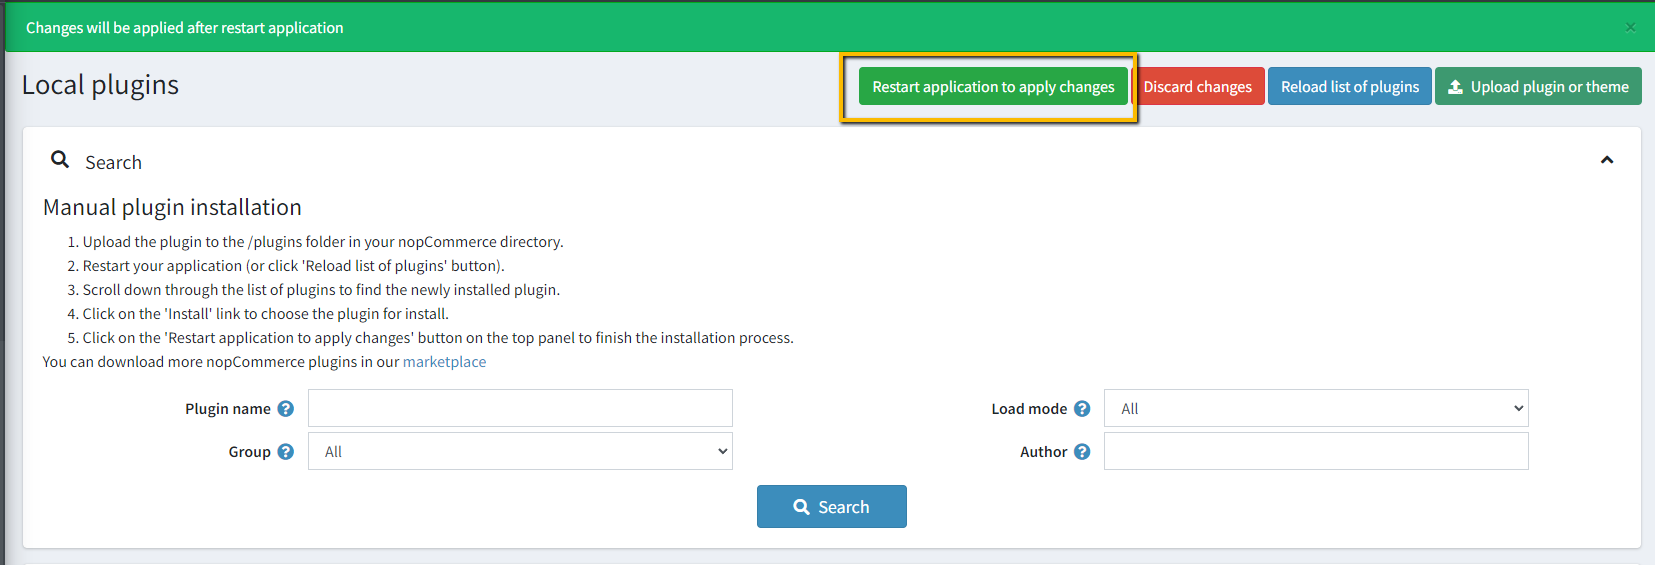
- Go to Administration → Configuration → Local plugins
- Upload the NopStation.PowerBI zip file using the "Upload plugin or theme" button
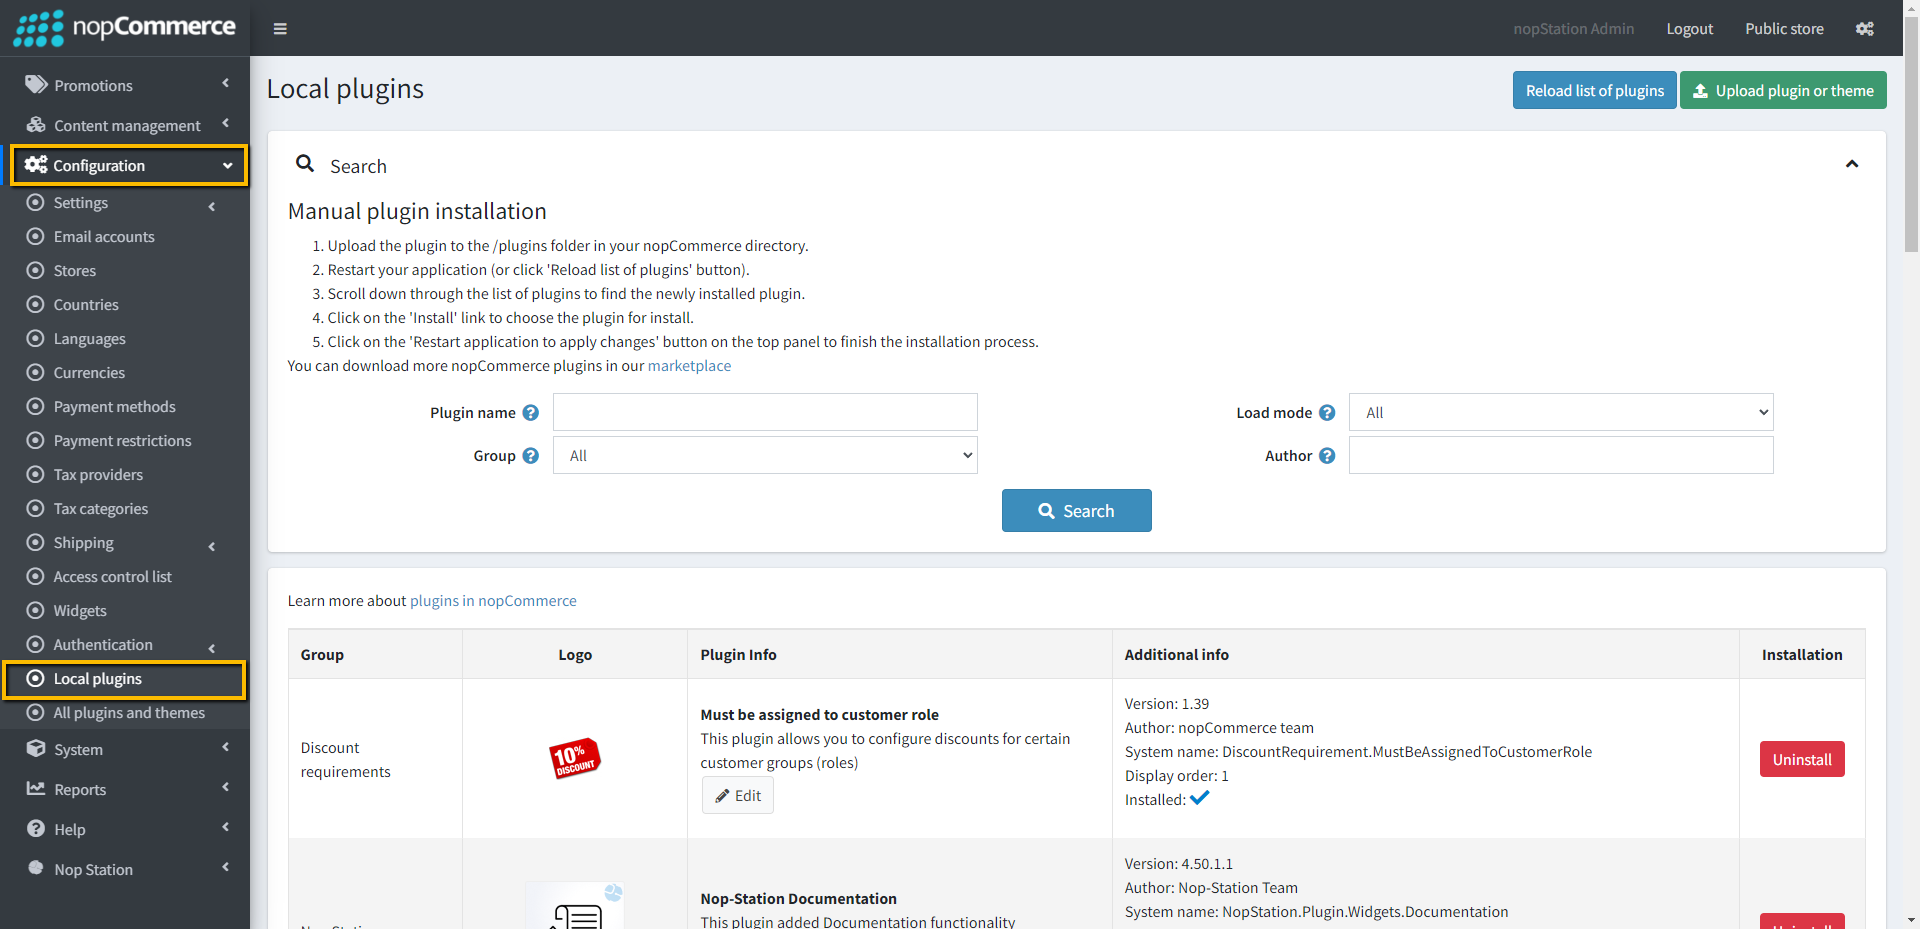
- Go to Administration, and reload the 'list of plugins'. Install 'Nop-Station Core' Plugin first and then install 'Nop-Station Power BI'
- To make the plugins functional, restart the application
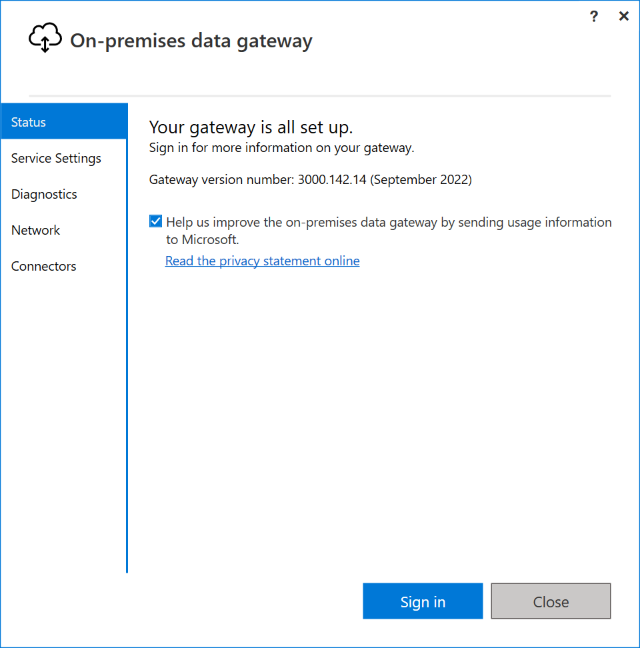
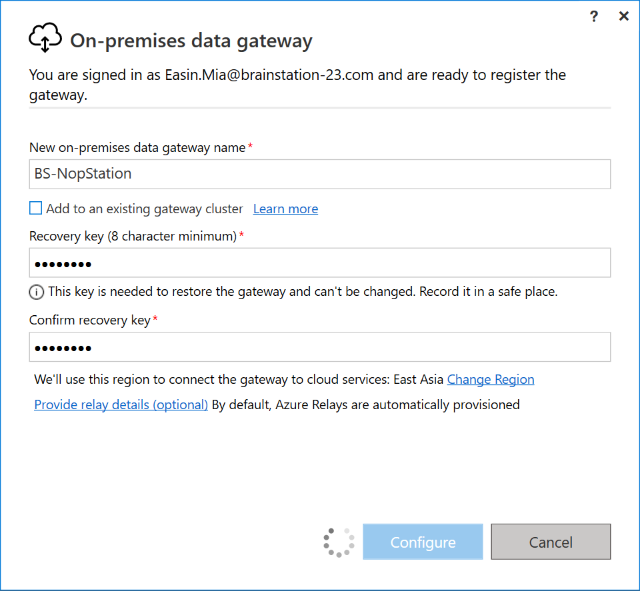
POWER BI ACCOUNT GATEWAY CONFIGURATION
POWER BI APPLICATION REGISTRATION
- Go to Power Bi apps
- Register an application for Power BI. Application type will be Native (for apps that run on client devices, such as Android, iOS, Windows, etc.)
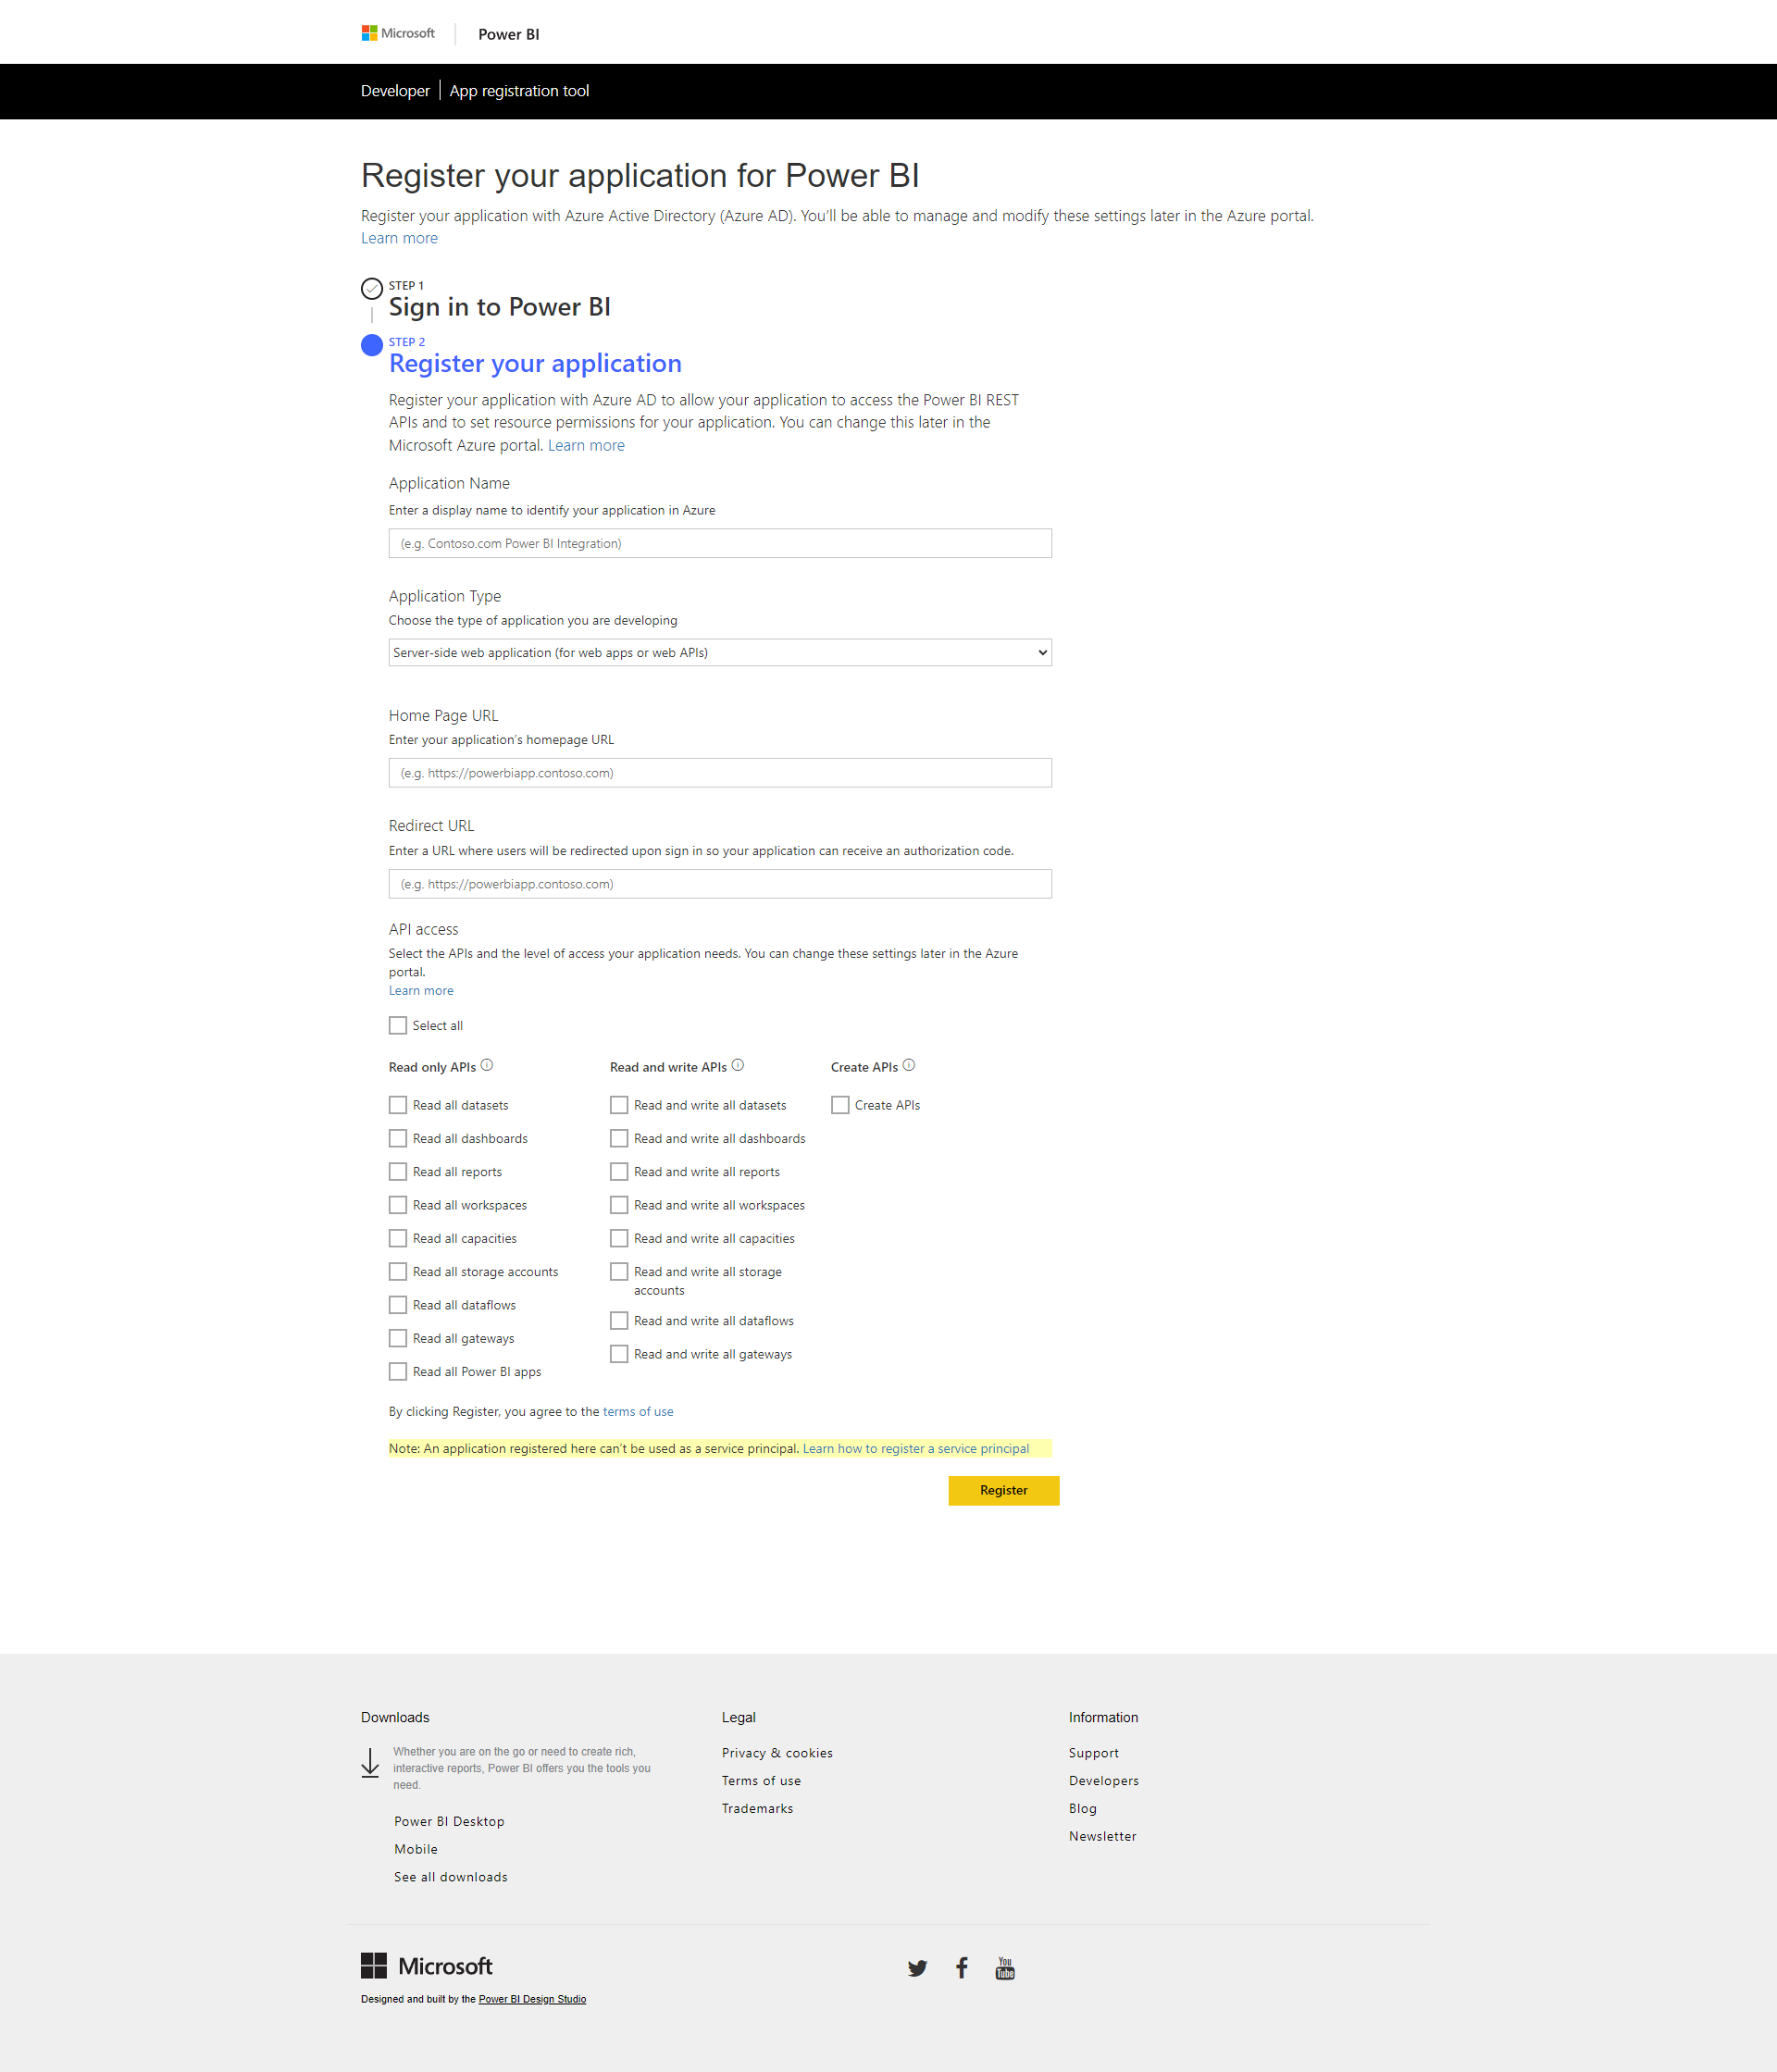
- Check to Select all in the API access section
- Click the Register button. Copy the Application ID and save it to the plugin configuration page
PLUGIN CONFIGURATION
- Select a database for Data Warehouse. Check to Use same db for report to use your eCommerce store database as a Power BI data warehouse. If you want a separate database for that, keep it unchecked and click Edit database configuration
- Enter database connection values and click the Save button. It will create the database (if not exists) automatically. Make sure your desired report database server is accessible from your application and Power Bi gateway**
- If the database is created successfully, it will show Database status as Connected, and Send data to report db button will appear**
- Click Send data to report db button**
- Click the Start button**
- If the report database (either the same database or a separate one) Integrated Security is set to True (Windows authentication), then insert the machine username and password
Note: ** for separate report database only
POWER BI DATASET PUBLICATION
- Go to the plugin configuration page
- Click Publish .pbix button
- Enter Import name (dataset name) and click the Start button
- After a while, the User code field and Verify user button will appear. Copy the User code and click Verify user button. It will open a popup window, where you authorize the user
- Paste the User code in the popup window. Click Next and complete the Power Bi login process
- After completing the authorization process, the popup window will be closed and a list of registered Gateway lists will appear. Select a gateway and click the Save button
- Go to Power Bi Datasets Click on (...) and then Settings
- Expand the Gateway connection tab
- Click on the right arrow button of your selected gateway
- Select a datasource (Nop Datasource) from Maps to the dropdown list
- Click Apply button
- To set the scheduler for auto data refresh, expand the Scheduled refresh tab and set time and zone