


PRE-REQUISITES
- The plugin requires you to install the Nop-Station Core plugin first.
INSTALLATION
- Download the Google Analytics 4 plugin from our store: https://nop-station.com/customer/downloadableproducts
- Go to the Administration section of your site.
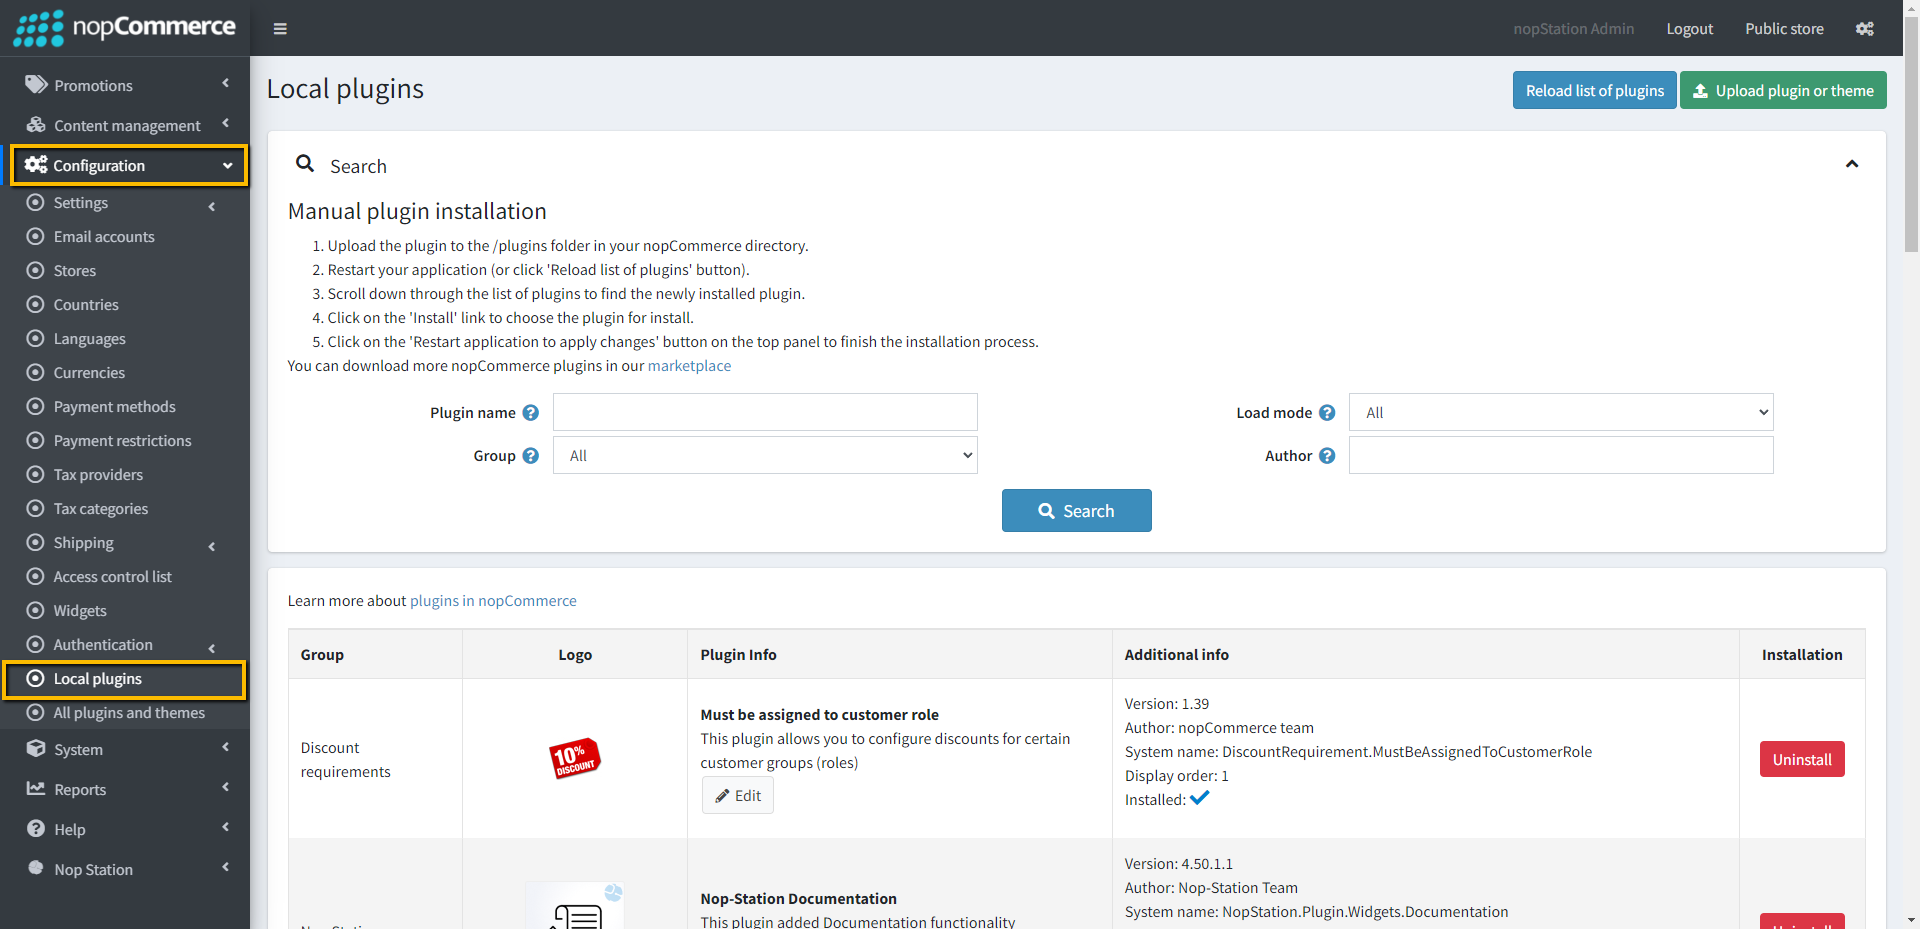
- Then go to Configurations > Local Plugins.
- Find and Click on the 'Upload plugin or theme' button on the top right.
- Select the NopStation.Plugin.Widgets.GoogleAnalytics.zip file.
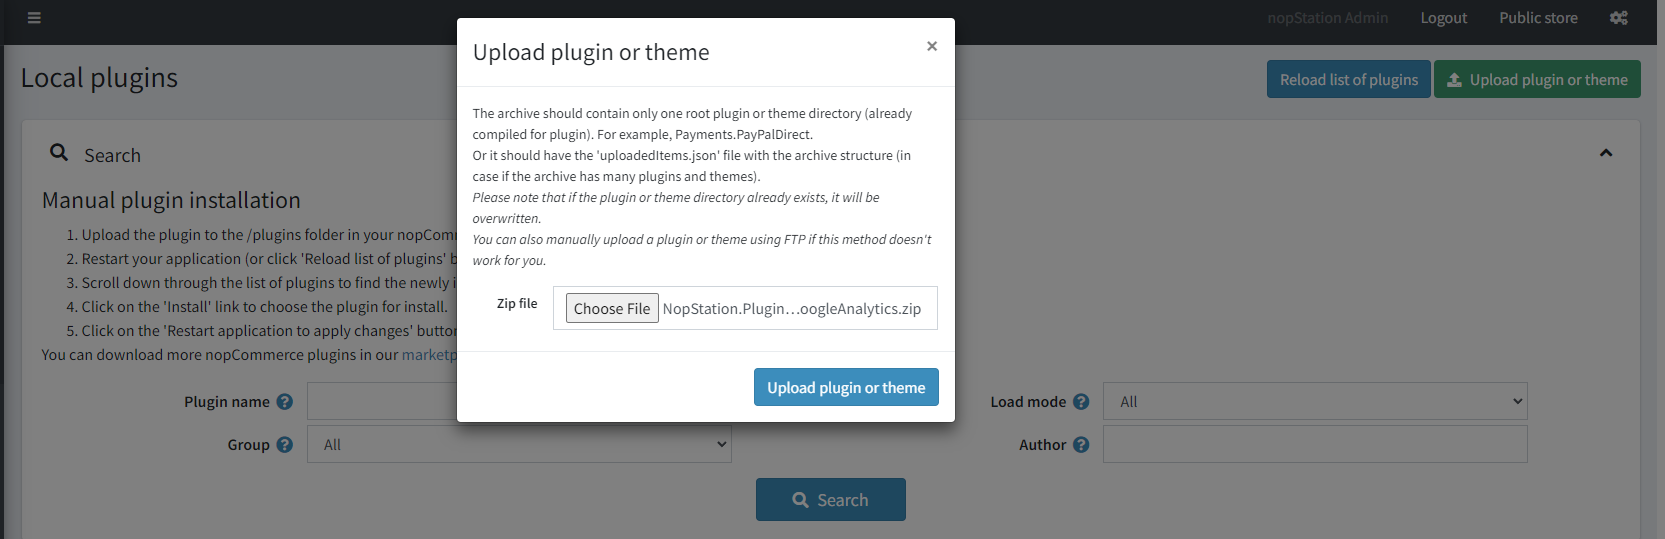
- Upload the file using the 'Upload plugin or theme' button.
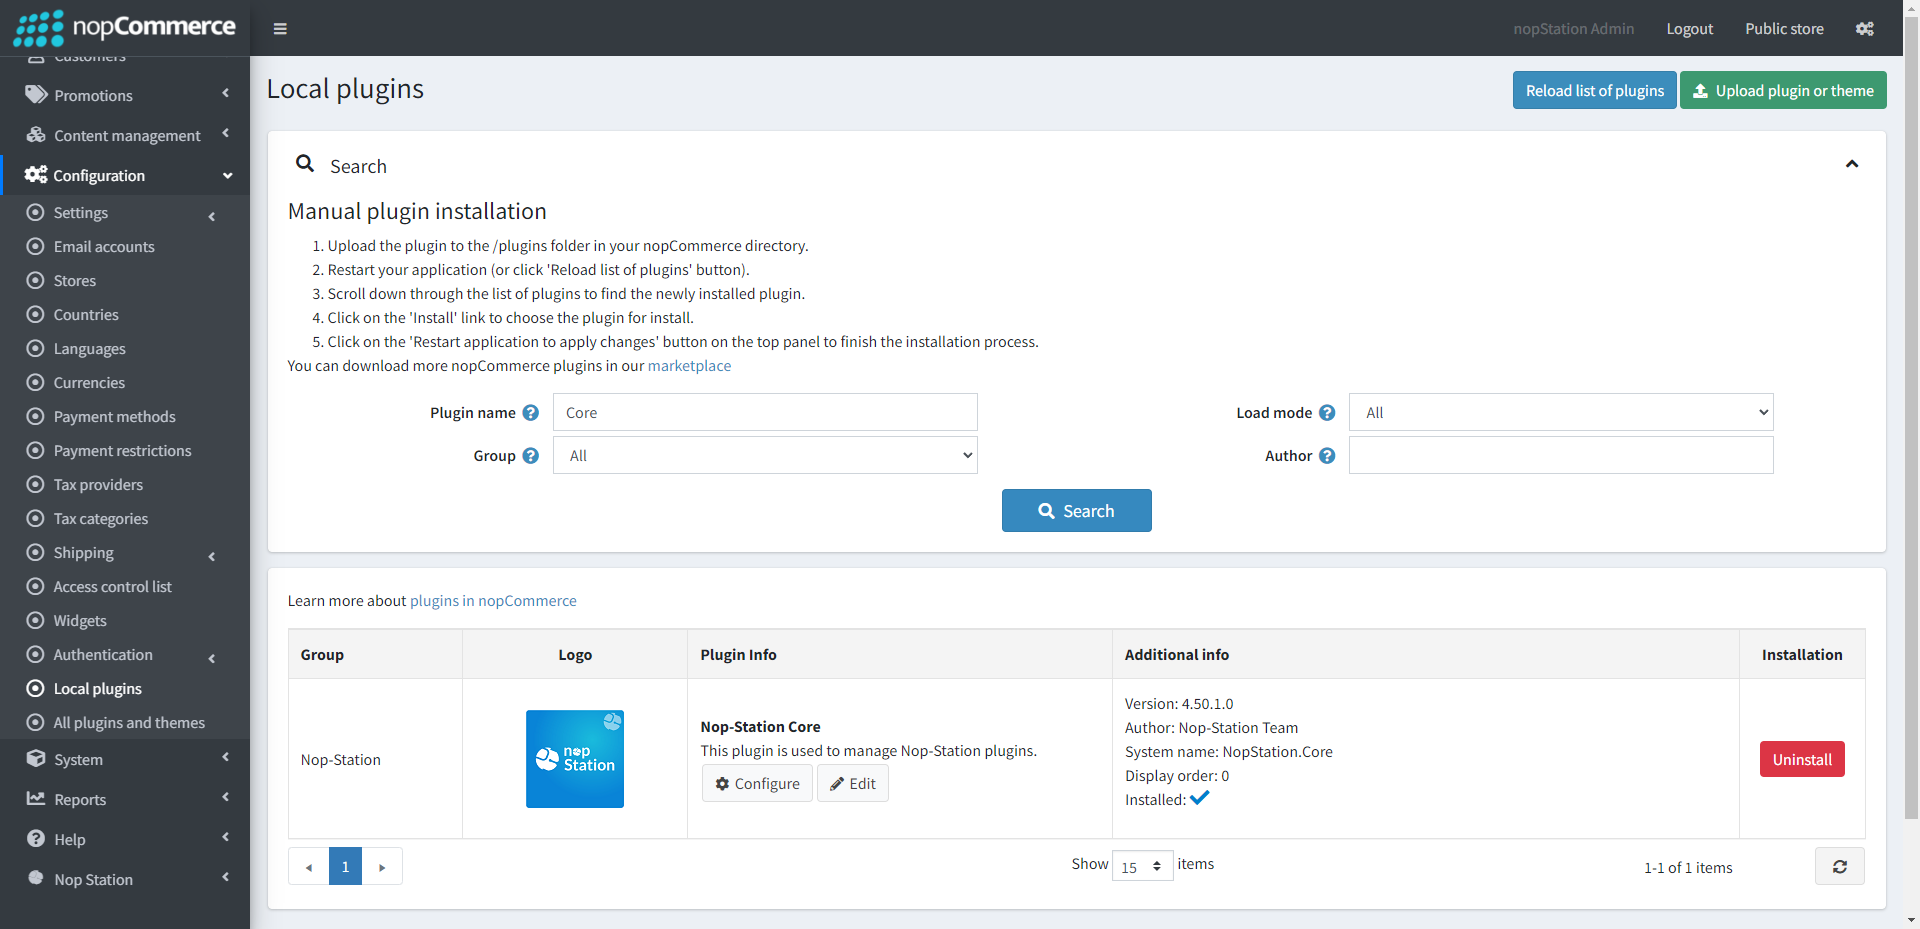
- After uploading the plugin go to Administration. Install 'Nop-Station Core' Plugin first and then install 'Google Analytics 4' plugin.

- Restart the application.
CONFIGURATION
- Go to Configurations > Local Plugins.
- Search or scroll down to find the Google Analytics 4 plugin.
- Click the Edit button in the plugin info section.
- Click the Enabled checkbox to enable the plugin
GOOGLE ANALYTICS 4 SETUP
- Create a Google Analytics account and follow the wizard to add your website.
- Copy the Tracking ID from Google Analytics into the ID field of plugin configuration.
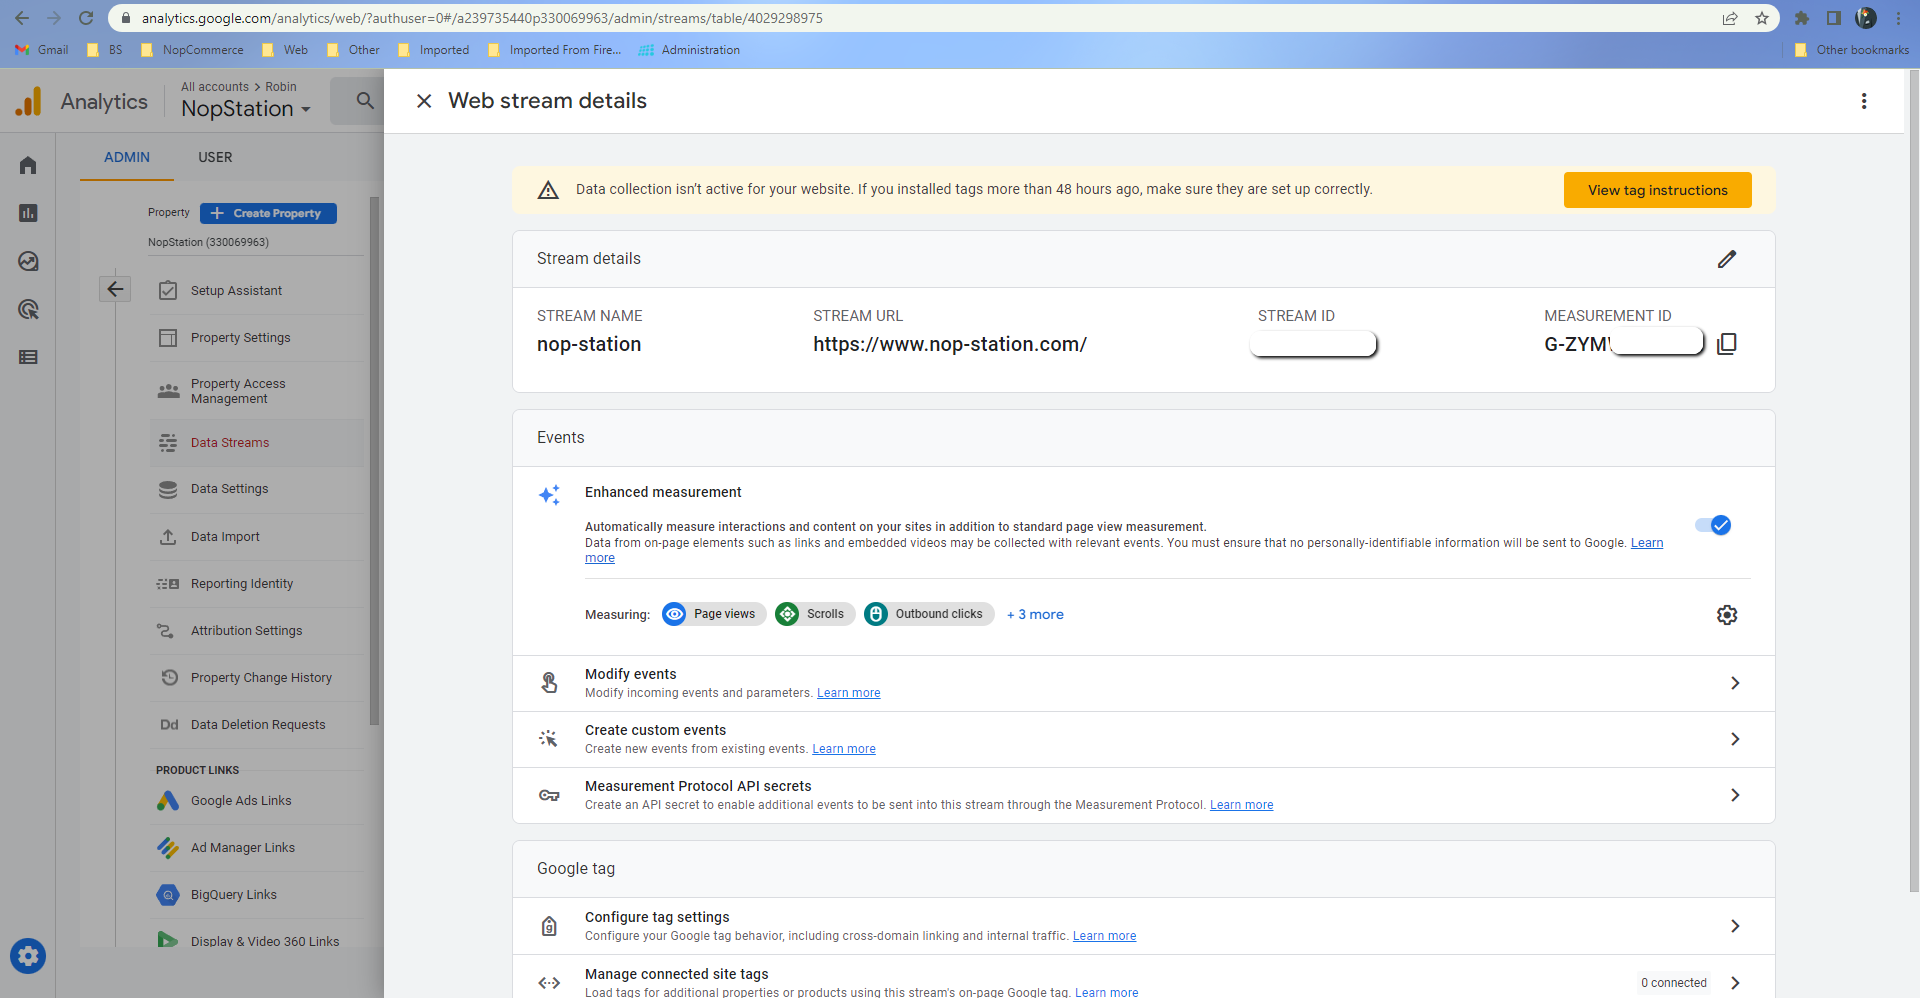
- In Google Analytics click on the Measurement Protocol API secrets under Events.
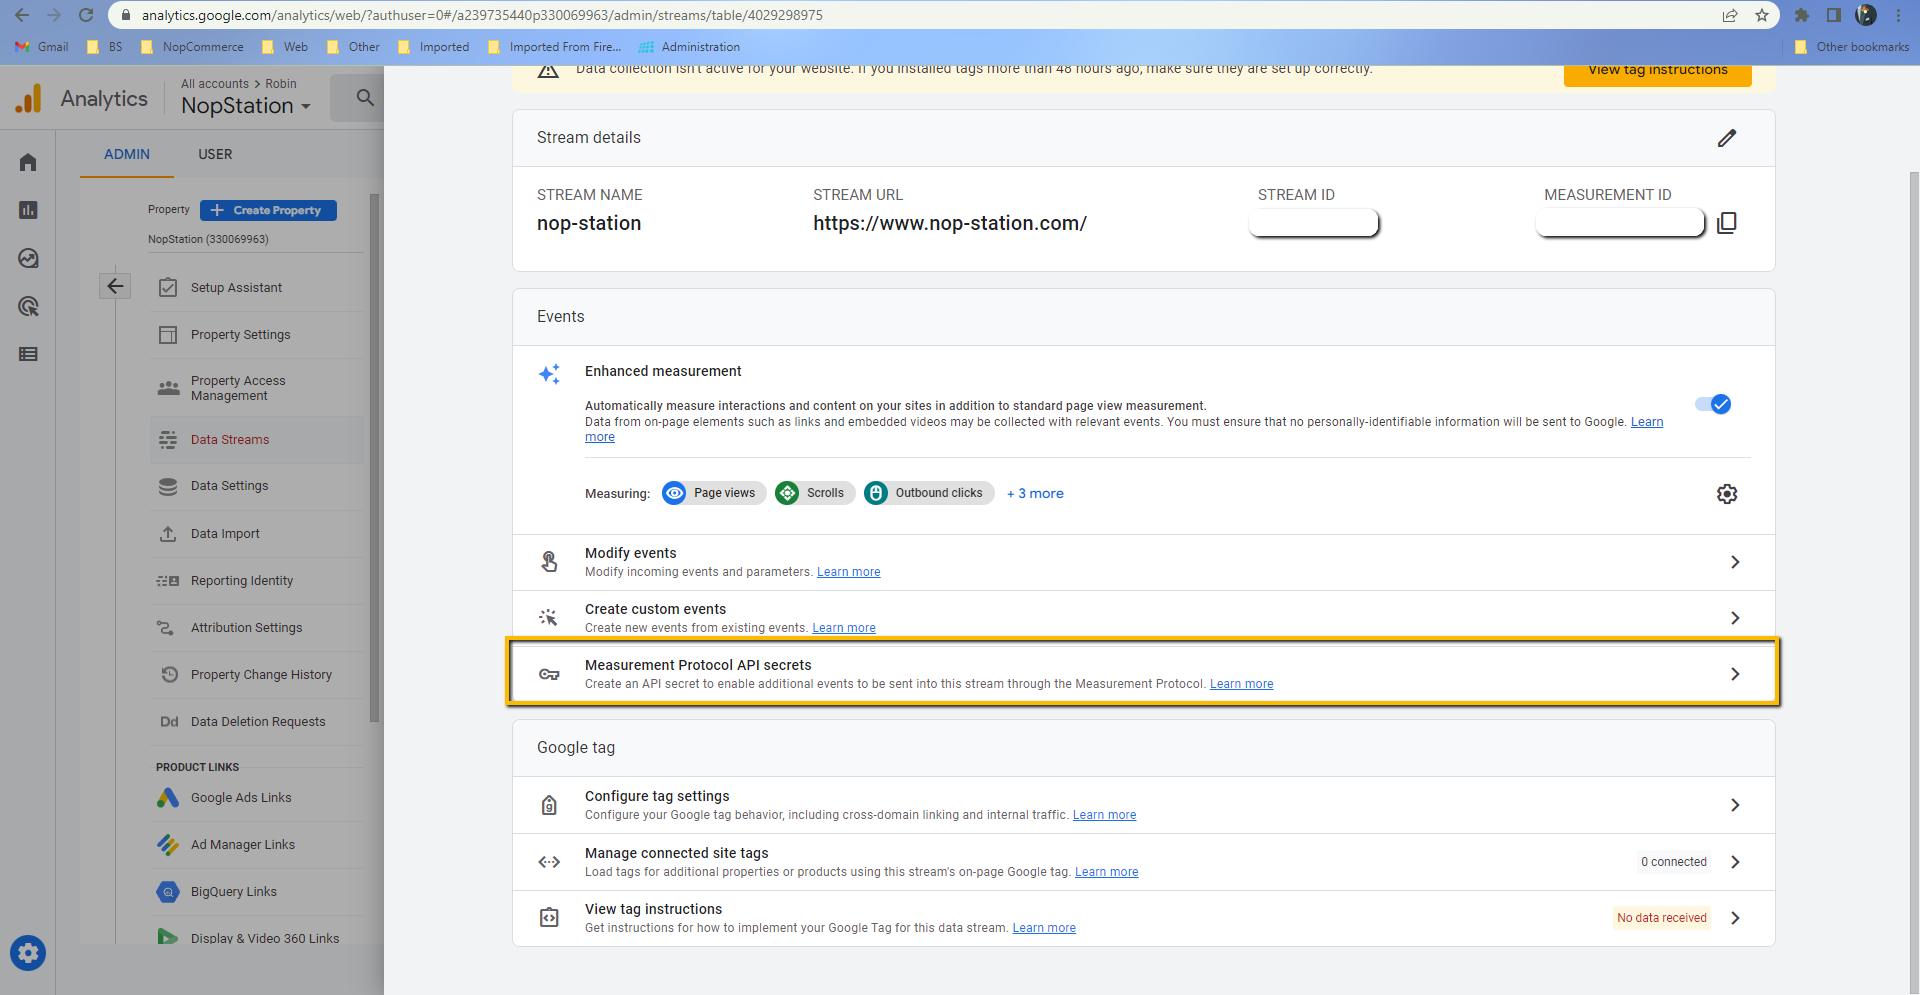
- Click on Create button and follow the instructions to create a new API secret.
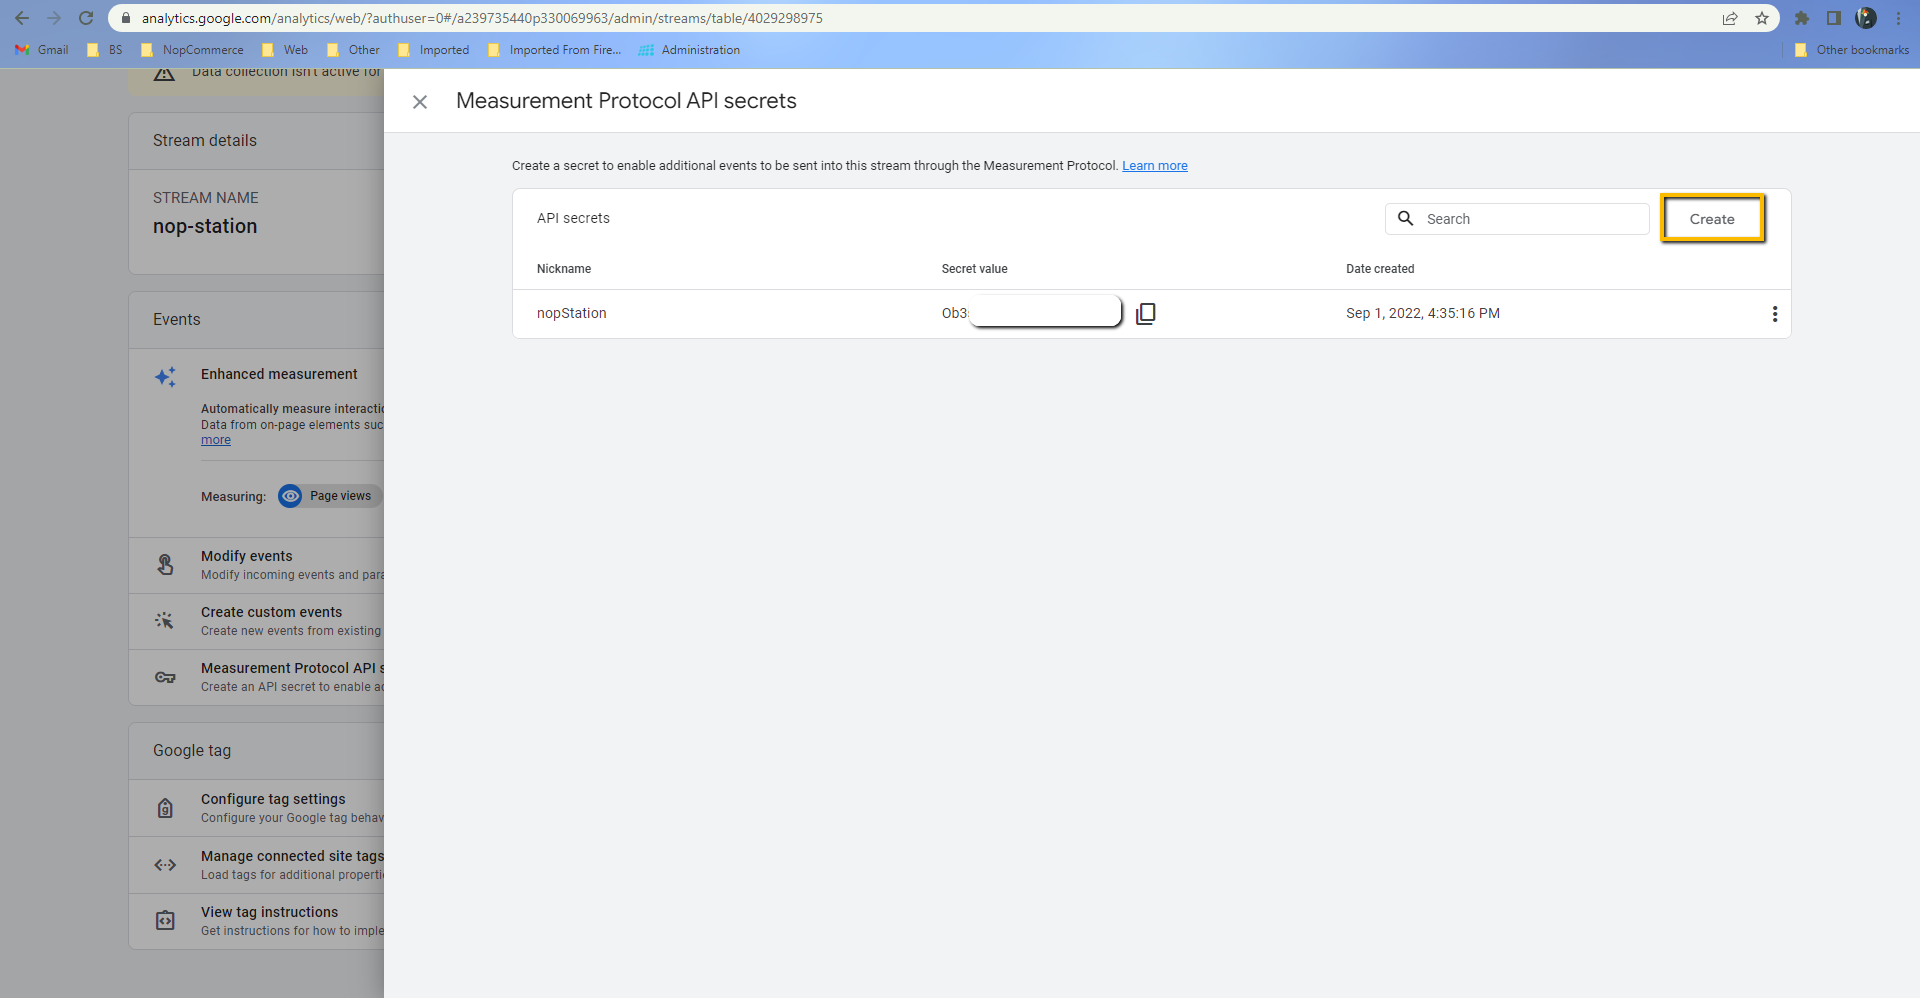
- Copy the API secret.
- Enter the Api secret key into the Enter Api secret field.
- You can enable eCommerce features by checking the enable eCommerce checkbox.
- You can send data through JavaScript by checking the Use JS to send eCommerce info checkbox.
- You can include tax data by checking the Include Tax checkbox.
- You can send customer ID by checking the Include customer ID checkbox.
