PRE-REQUISITES
- The plugin requires you to install the Nop-Station Core plugin first.
INSTALLATION
- Download the Vendor Banner Plugin from our store https://nop-station.com/customer/downloadableproducts
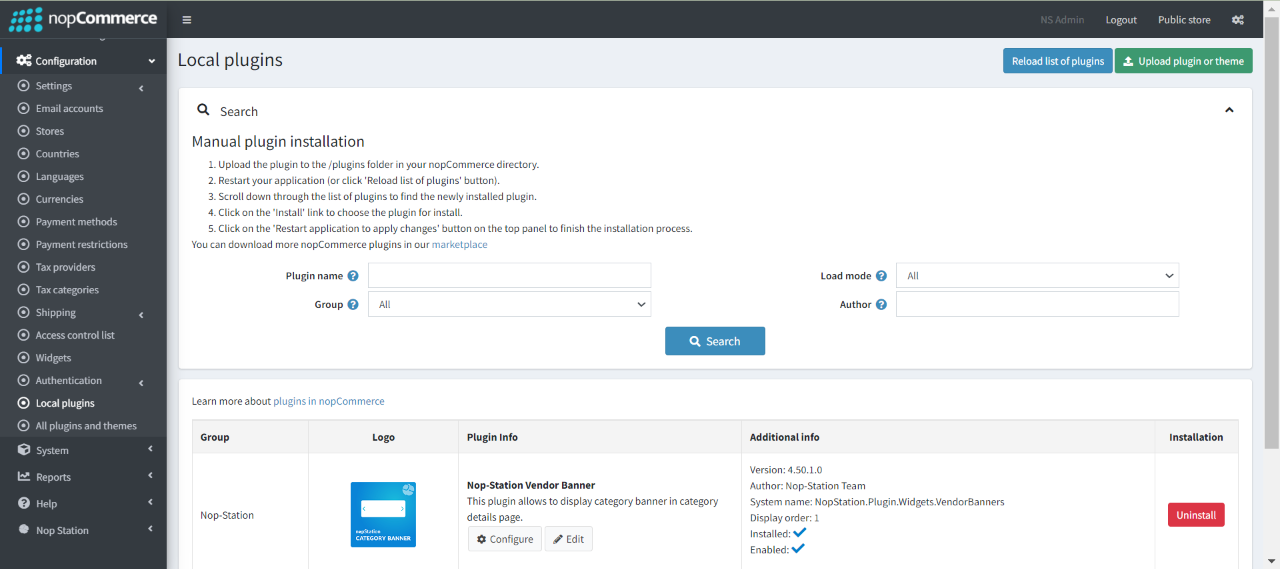
- Go to Administration → Configuration → Local plugins
- Upload the NopStation.VendorBanner zip file using the "Upload plugin or theme" button
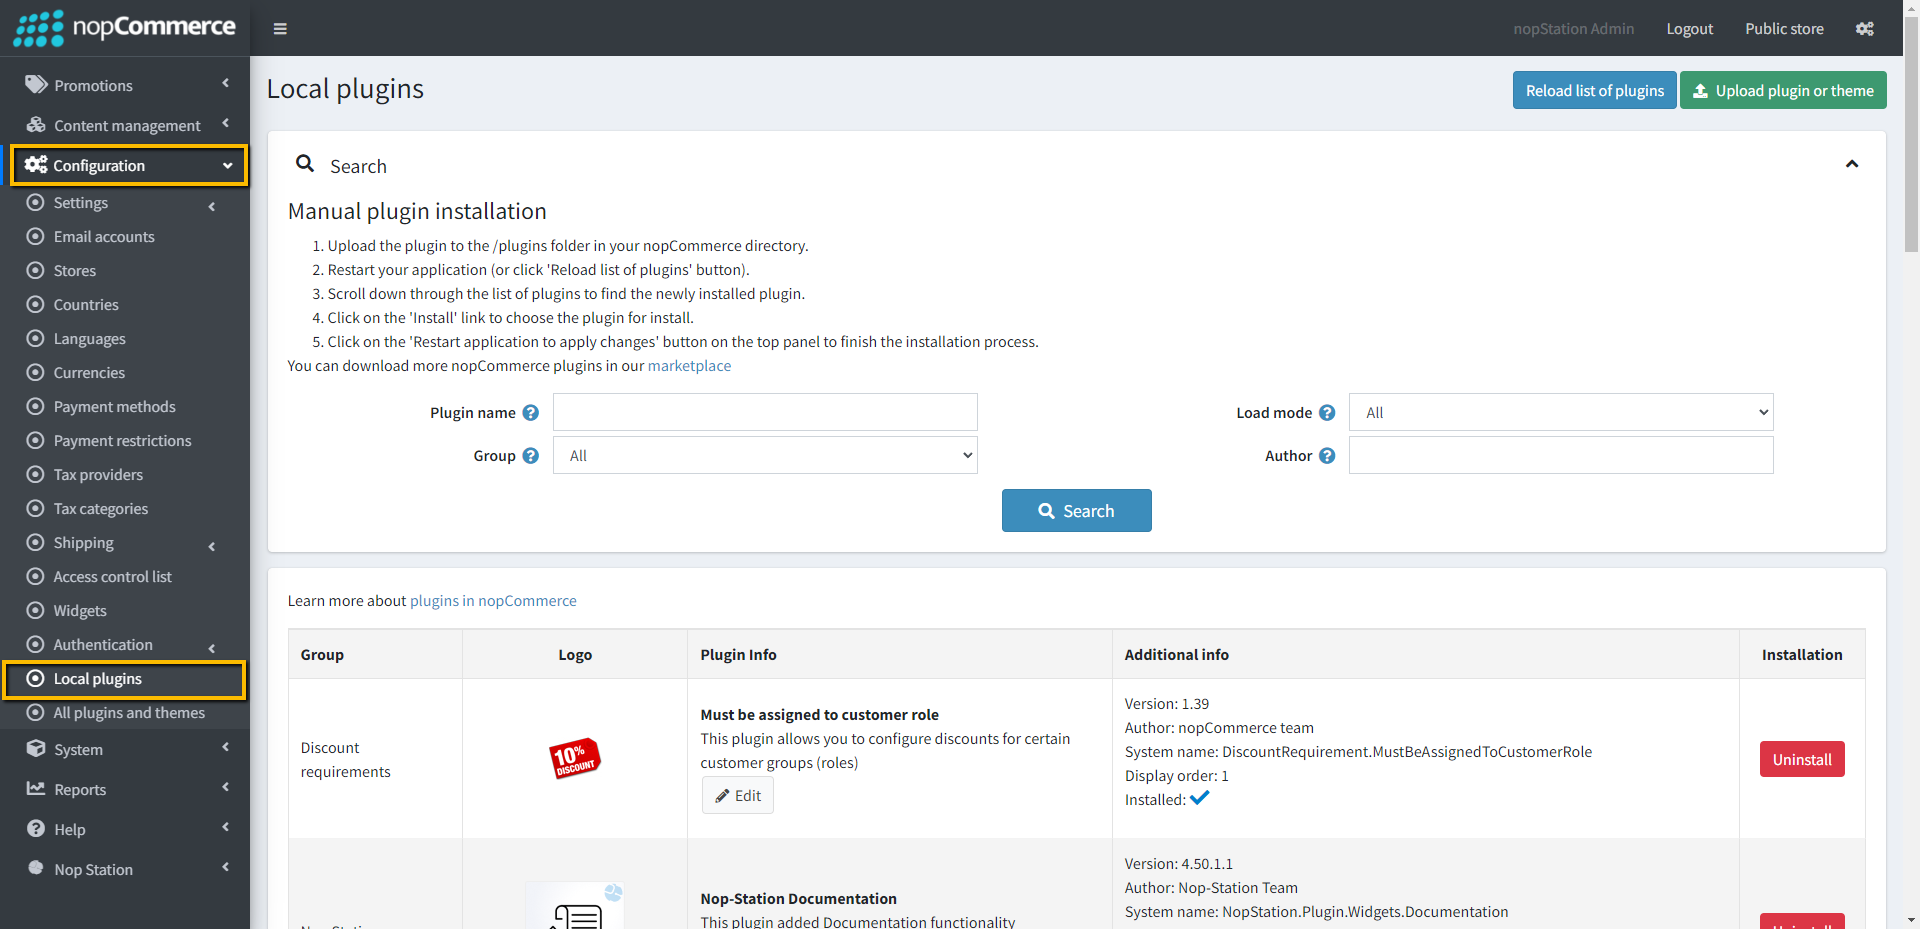
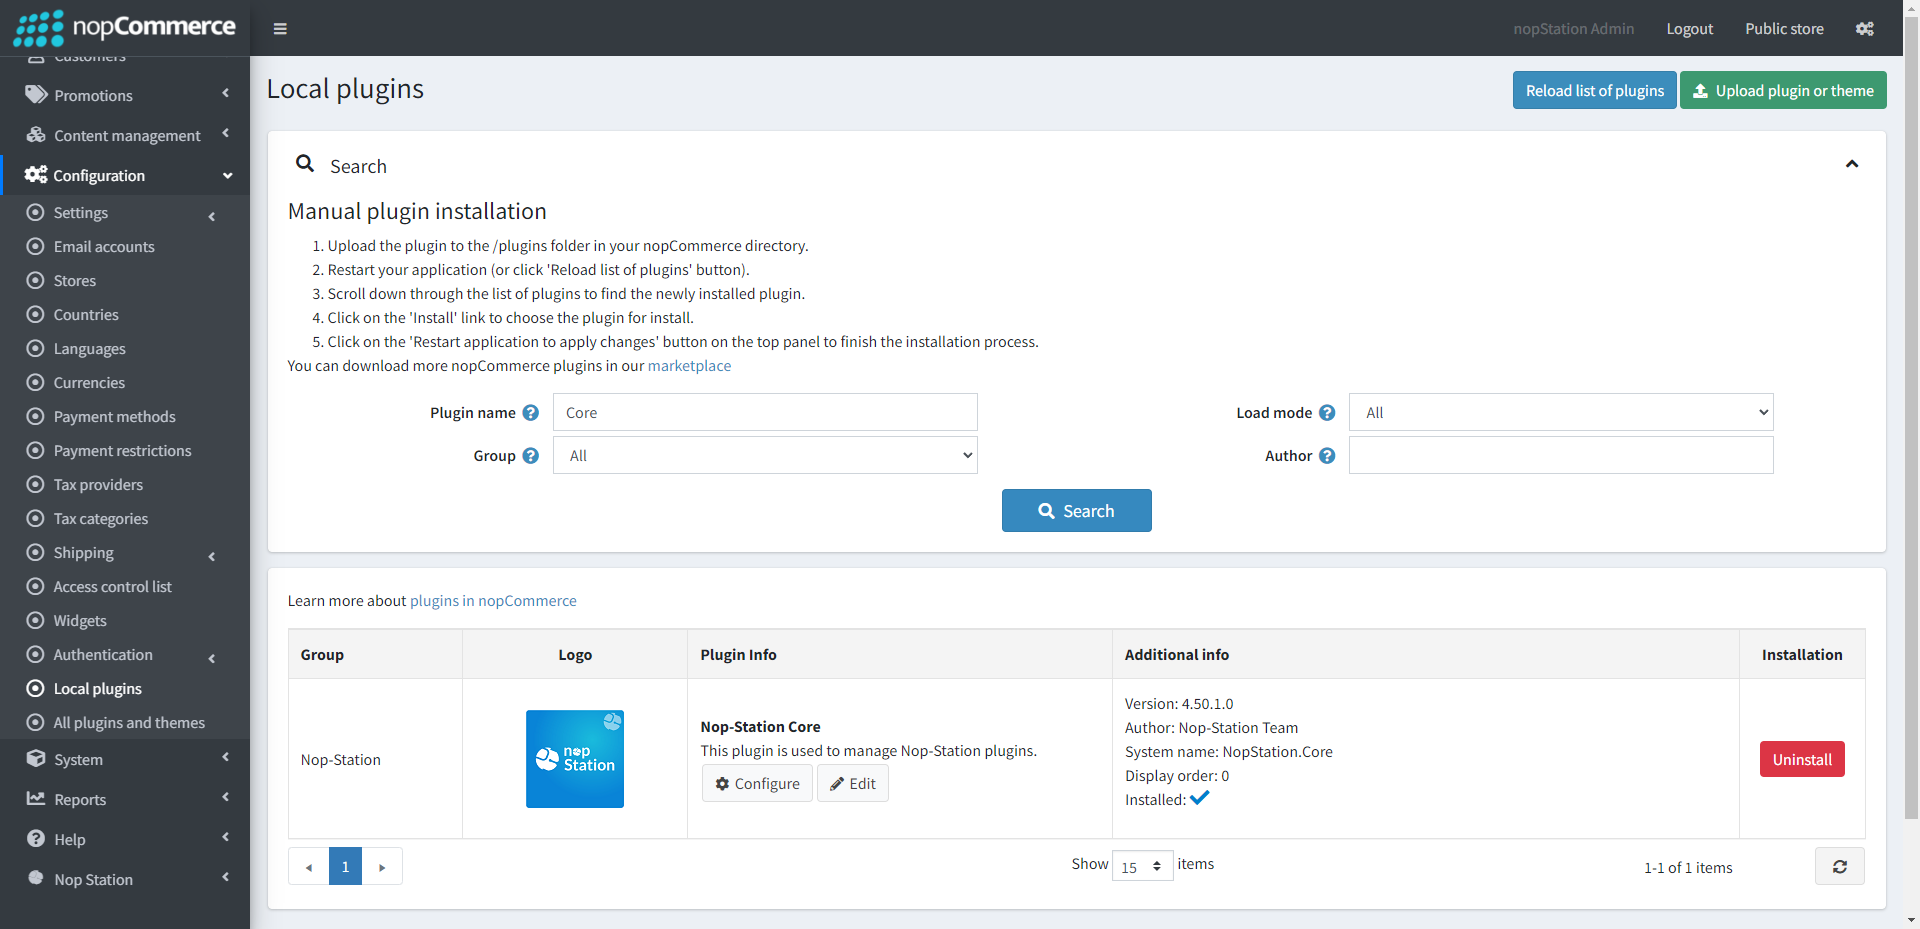
- Go to Administration, reload the 'list of plugins'. Install 'Nop-Station Core' Plugin first and then install 'Nop-Station Vendor Banner'
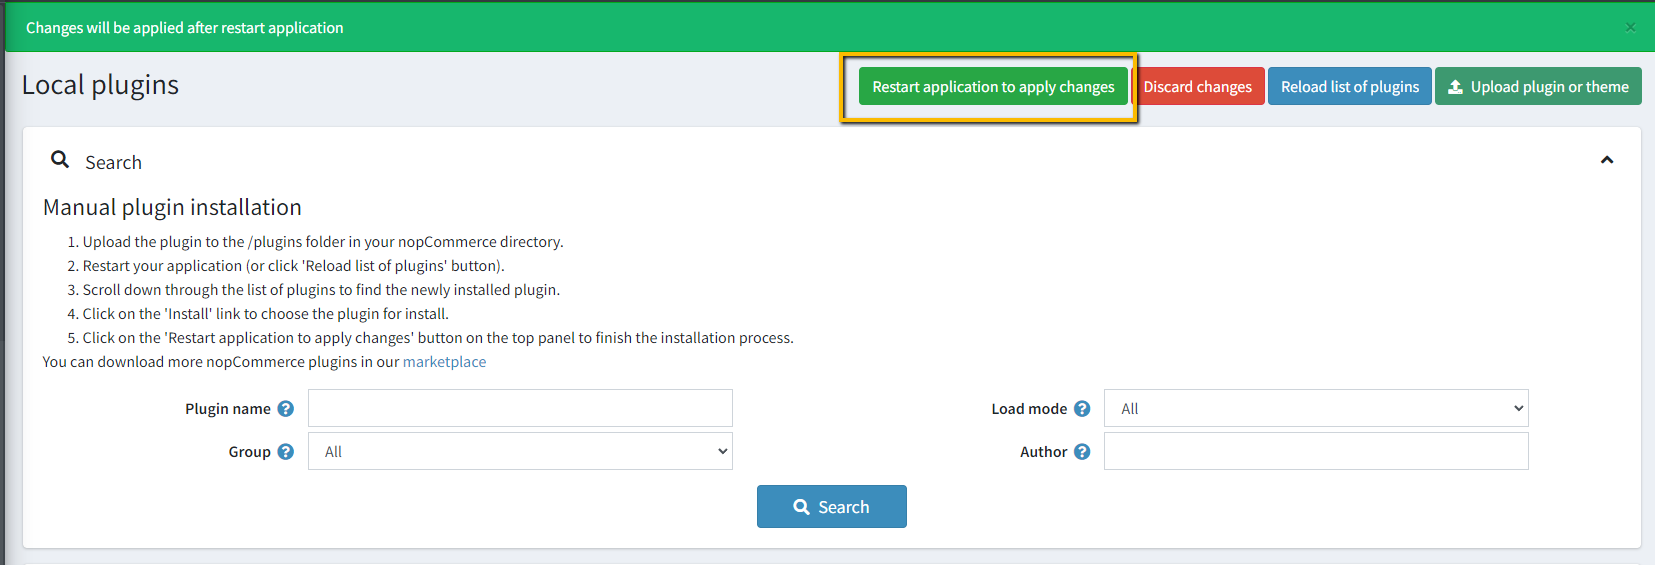
- To make the plugins functional, restart the application
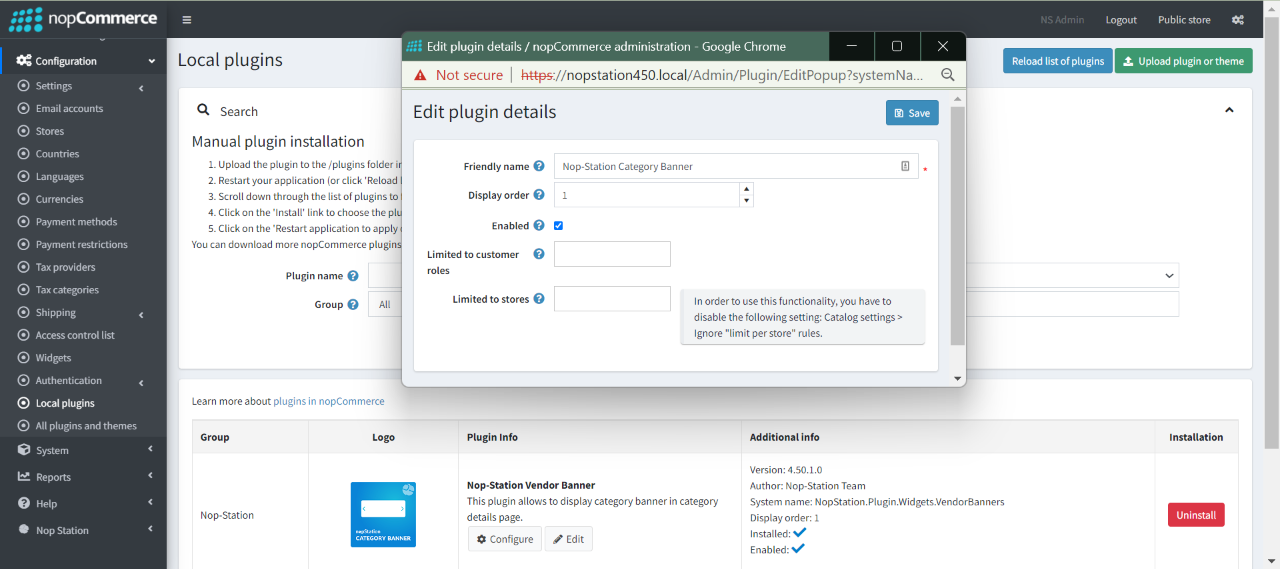
- Enable the plugin with 'Edit' option and Configure it
CONFIGURATION
- Go to Admin → Nop Station → Plugins → Vendor Banner → Configuration
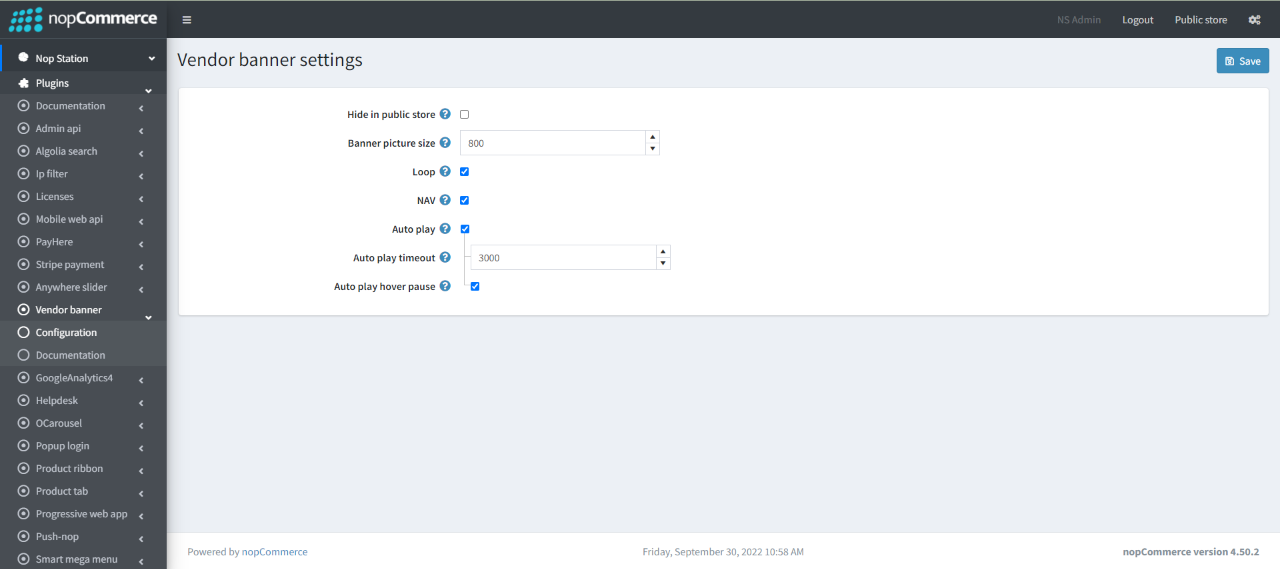
- You can hide/show your content from this configure page
- You can set the picture size from the banner picture size option
- If you enable the loop option it will be applied for the banner slider when multiple banners are uploaded for the same banner
- The nav enable will display the previous and next button in the banner slider when multiple banners are uploaded for the same banner
- The auto play enables you to animate the slider automatically in the banner slider when multiple banners are uploaded for the same banner
- It's autoplay interval timeout in millisecond. It will be applied for the banner slider when multiple banners are uploaded for the same banner
- Auto play hover pause enables pause slider on mouse hover
- To add vendor banner you need to Go to Customers → Vendor → Edit option of a vendor. Then add the picture in the banner section
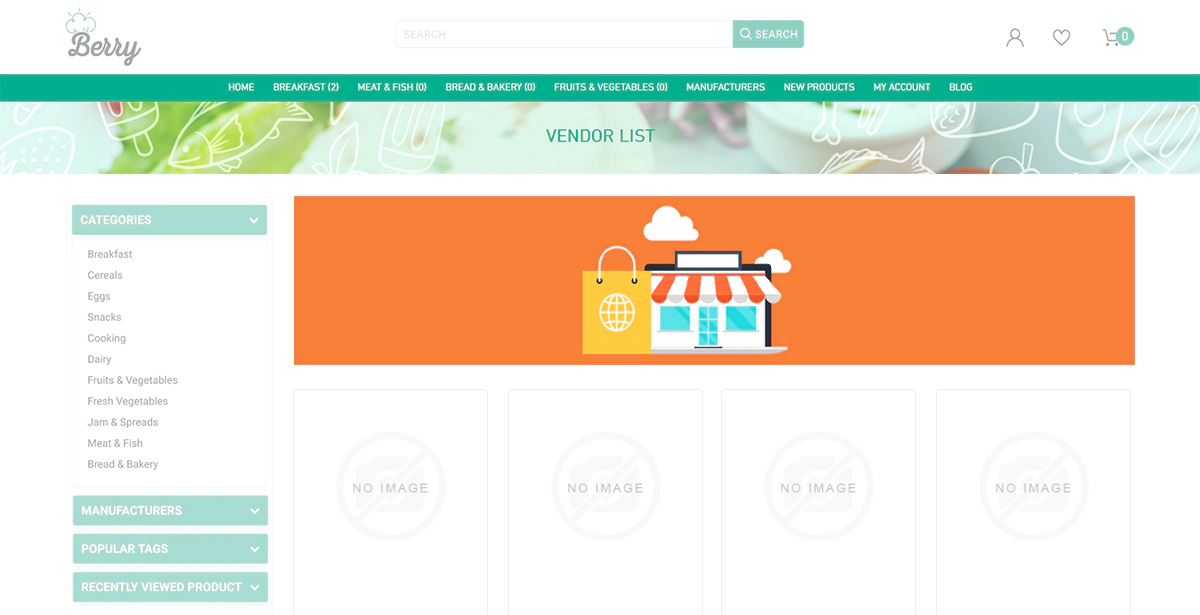
PUBLIC VIEW