


PRE-REQUISITES
- The plugin requires you to install the Nop-Station Core plugin first.
INSTALLATION
- Download the Nop-Station IP Filter Plugin from our store https://nop-station.com/customer/downloadableproducts
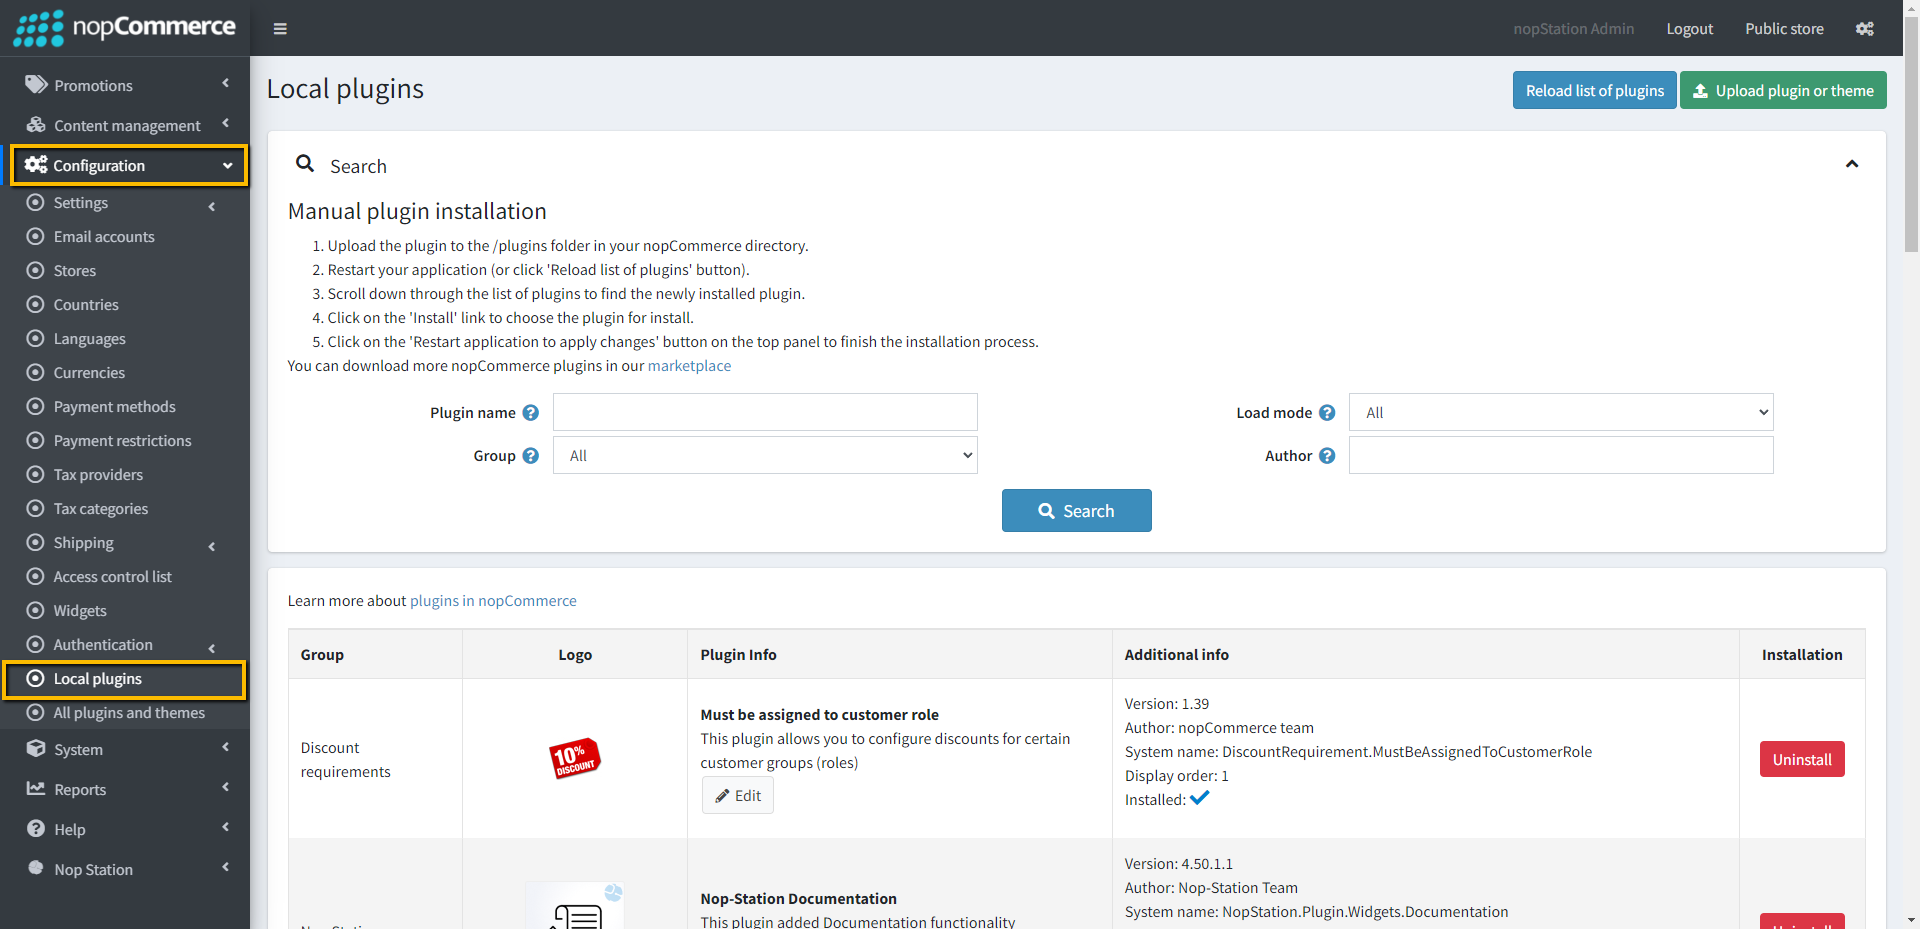
- Go to the Administration section of your site.
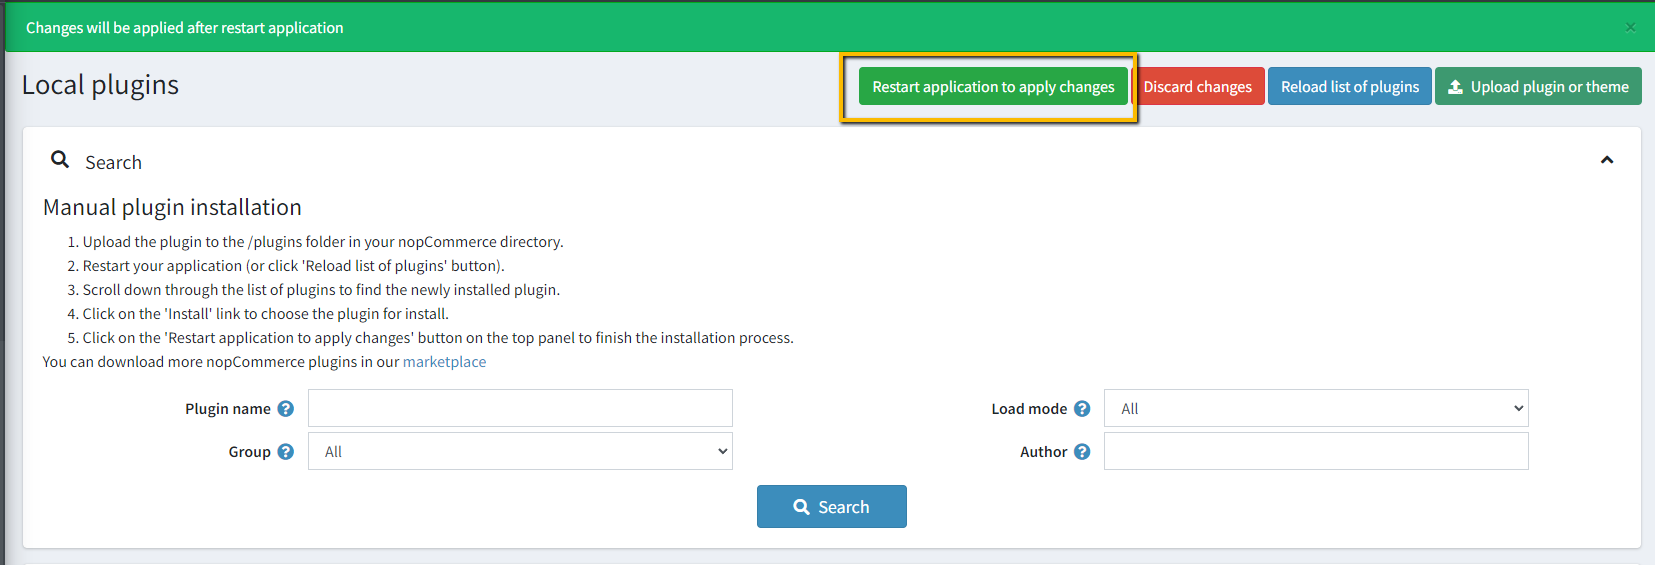
- Then go to Configurations > Local Plugins.
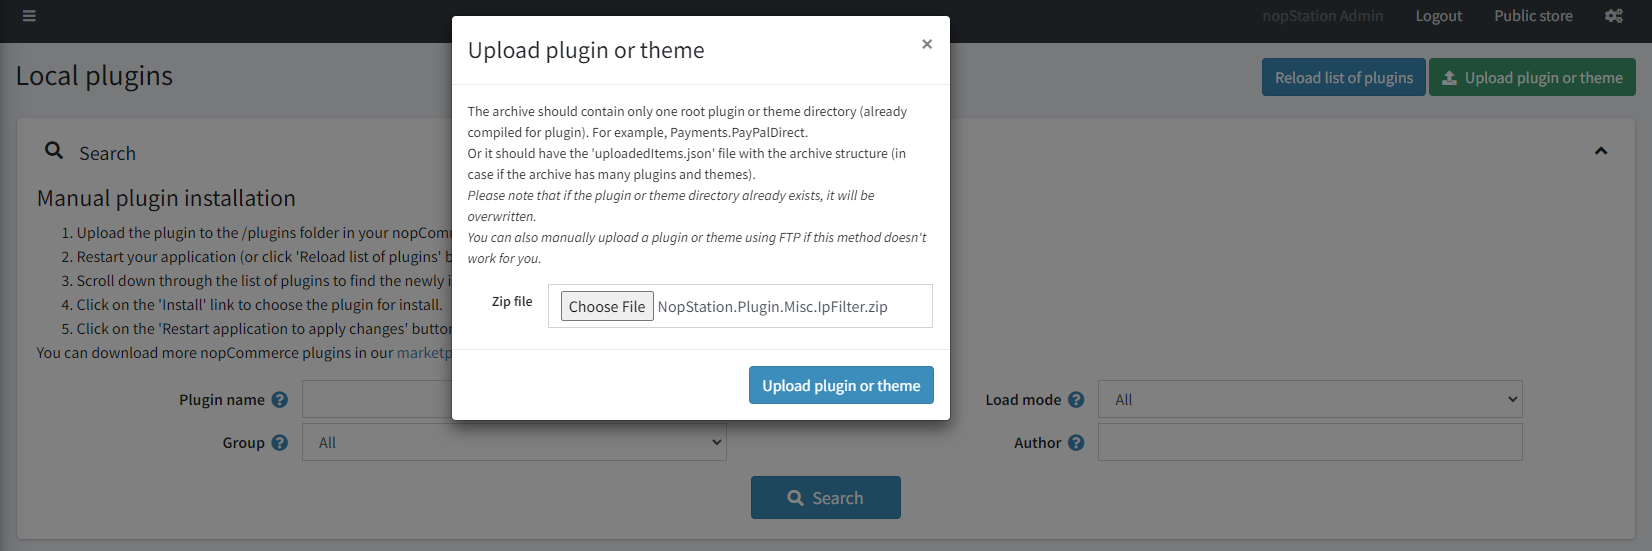
- Find and Click on the 'Upload plugin or theme' button on the top right.
- Upload the NopStation.IPFilter zip file using the "Upload plugin or theme" button
- Go to Administration, reload the 'list of plugins'. Install 'Nop-Station Core' plugin first and then install 'Nop-Station IP Filter'
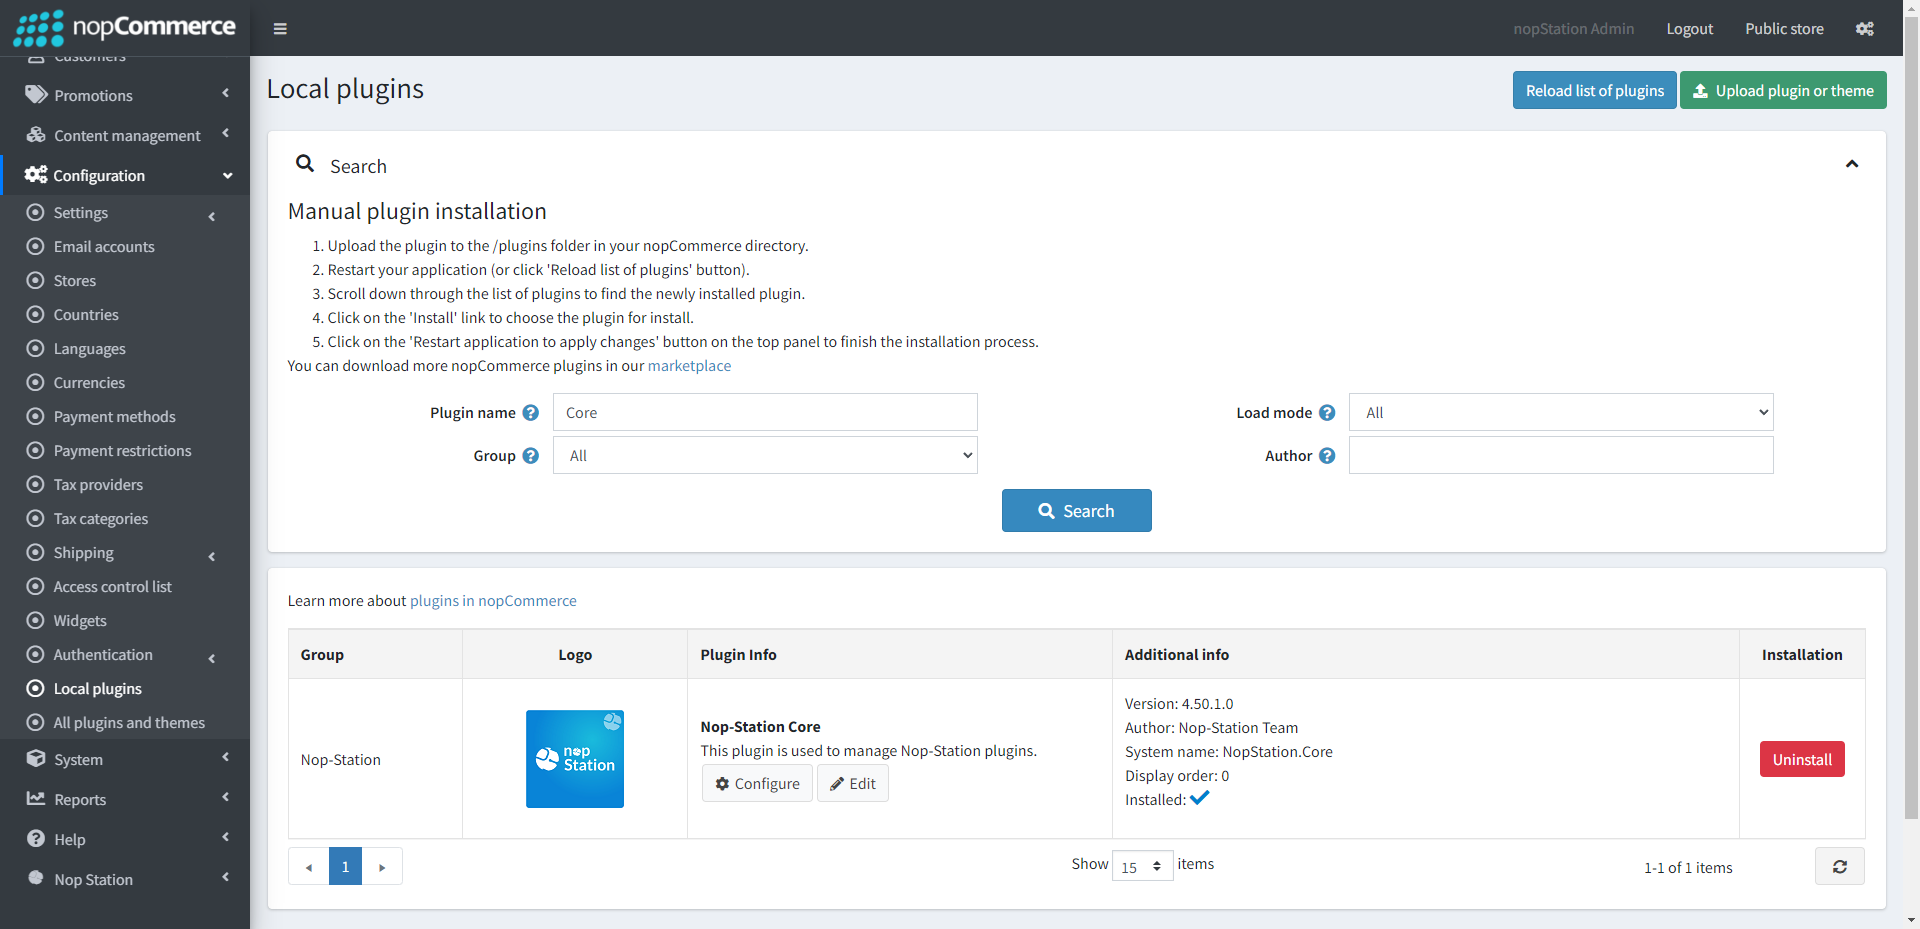

- To make the plugins functional, restart the application.
- Enable the plugin with 'Edit' option and Configure it.
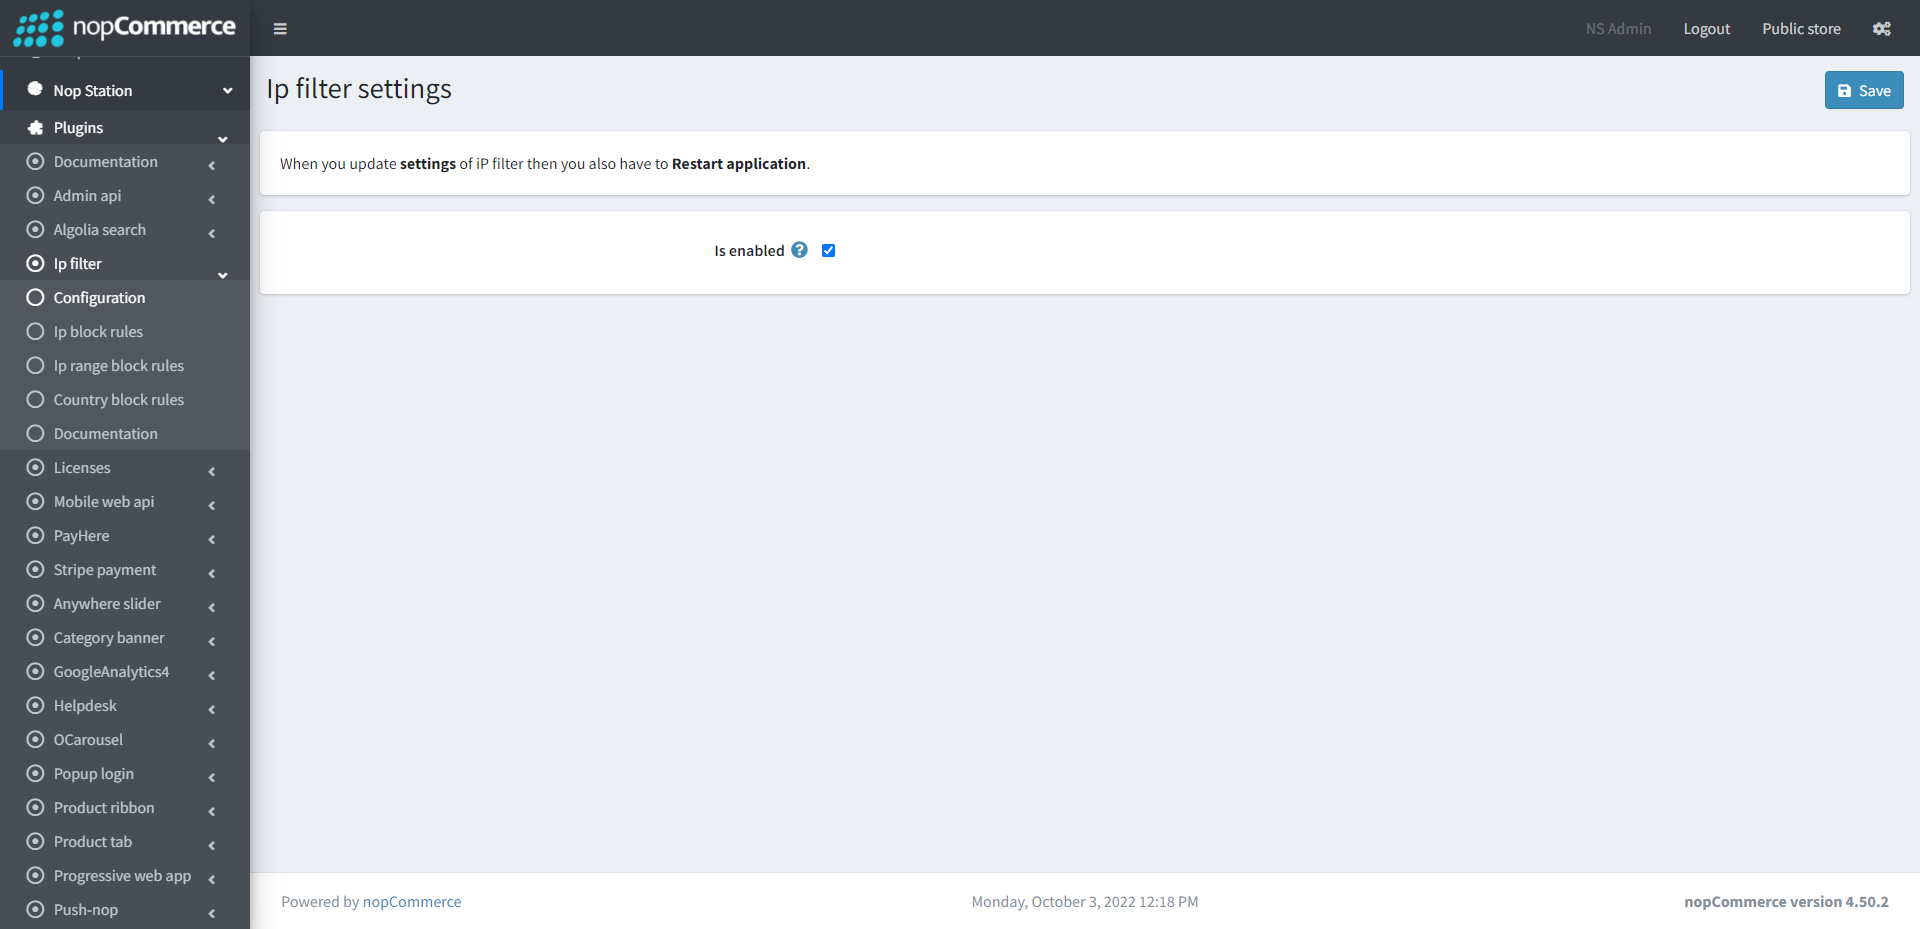
CONFIGURE
- Go to Admin → Nop Station → Plugins → Ip filter → Configuration
- Is enabled: Check the box to enable the plugin
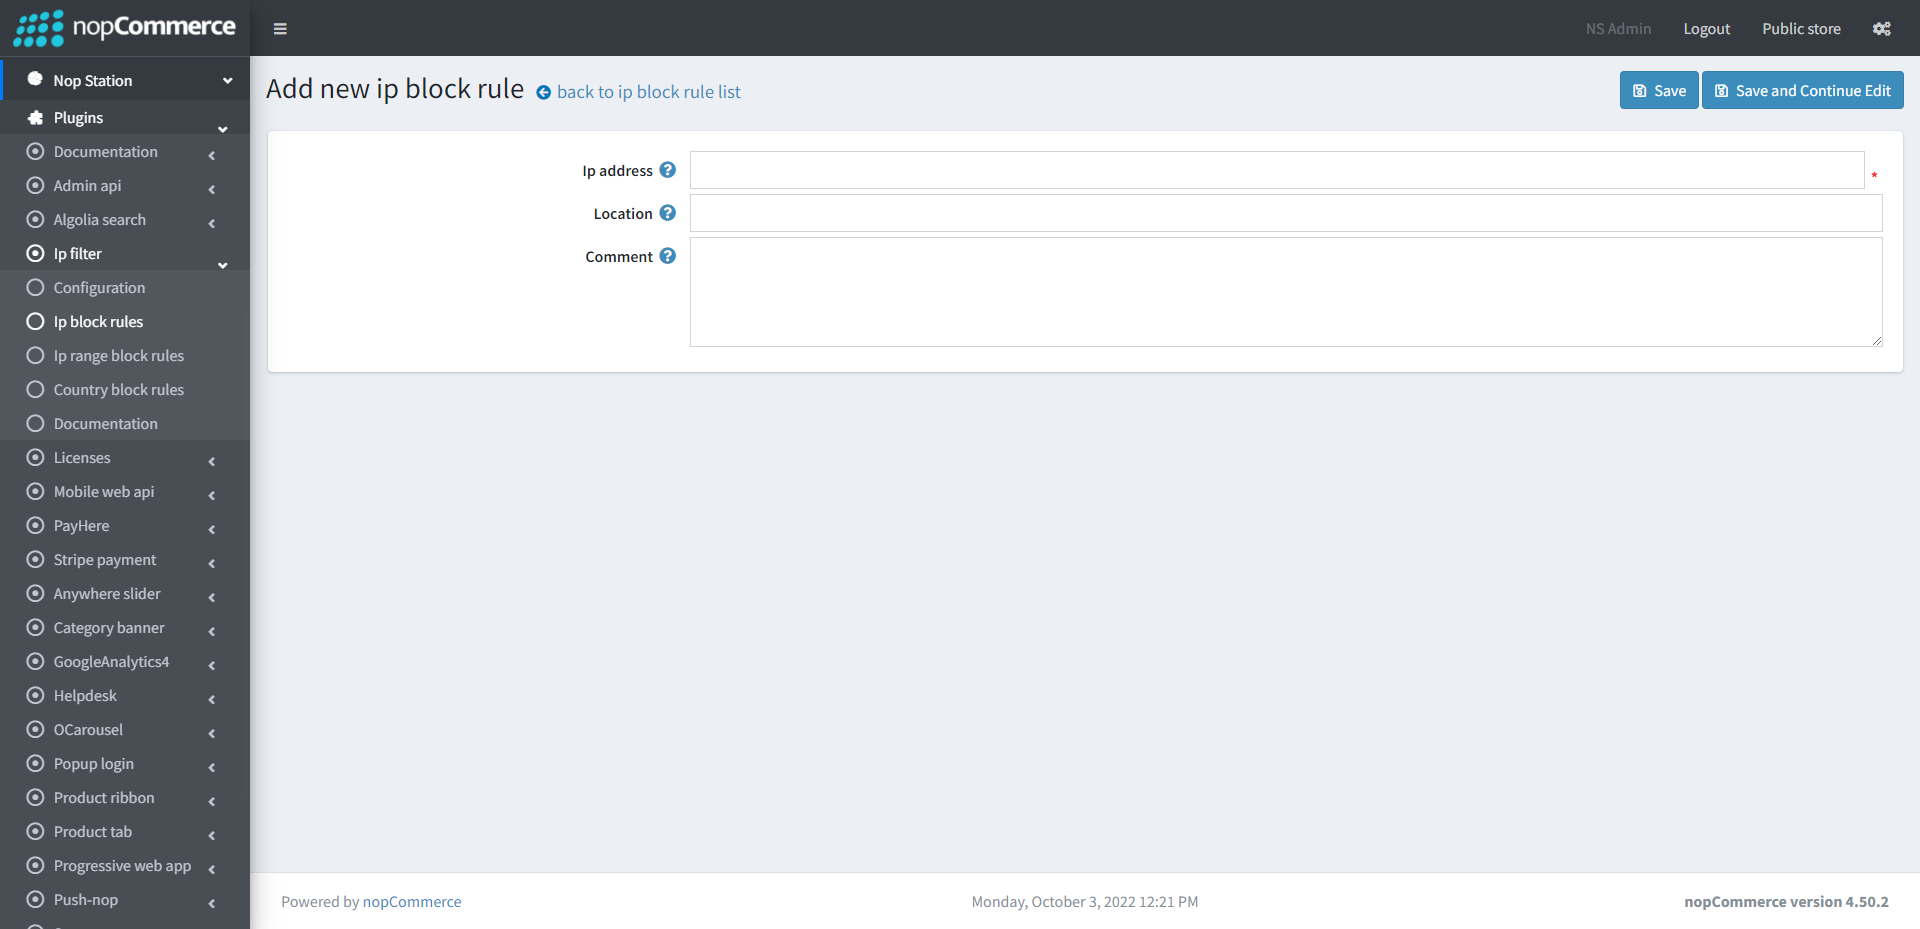
IP BLOCK RULES
- Go to Admin → Nop Station → Plugins → Ip filter → Ip block rules
- Here you can see the list of blocked IPs
- New IPs can be blocked from here by clicking on Add new button.

- Ip address: Define IP address here
- Location: Define the location of IP address
- Comment: Add comment if necessary
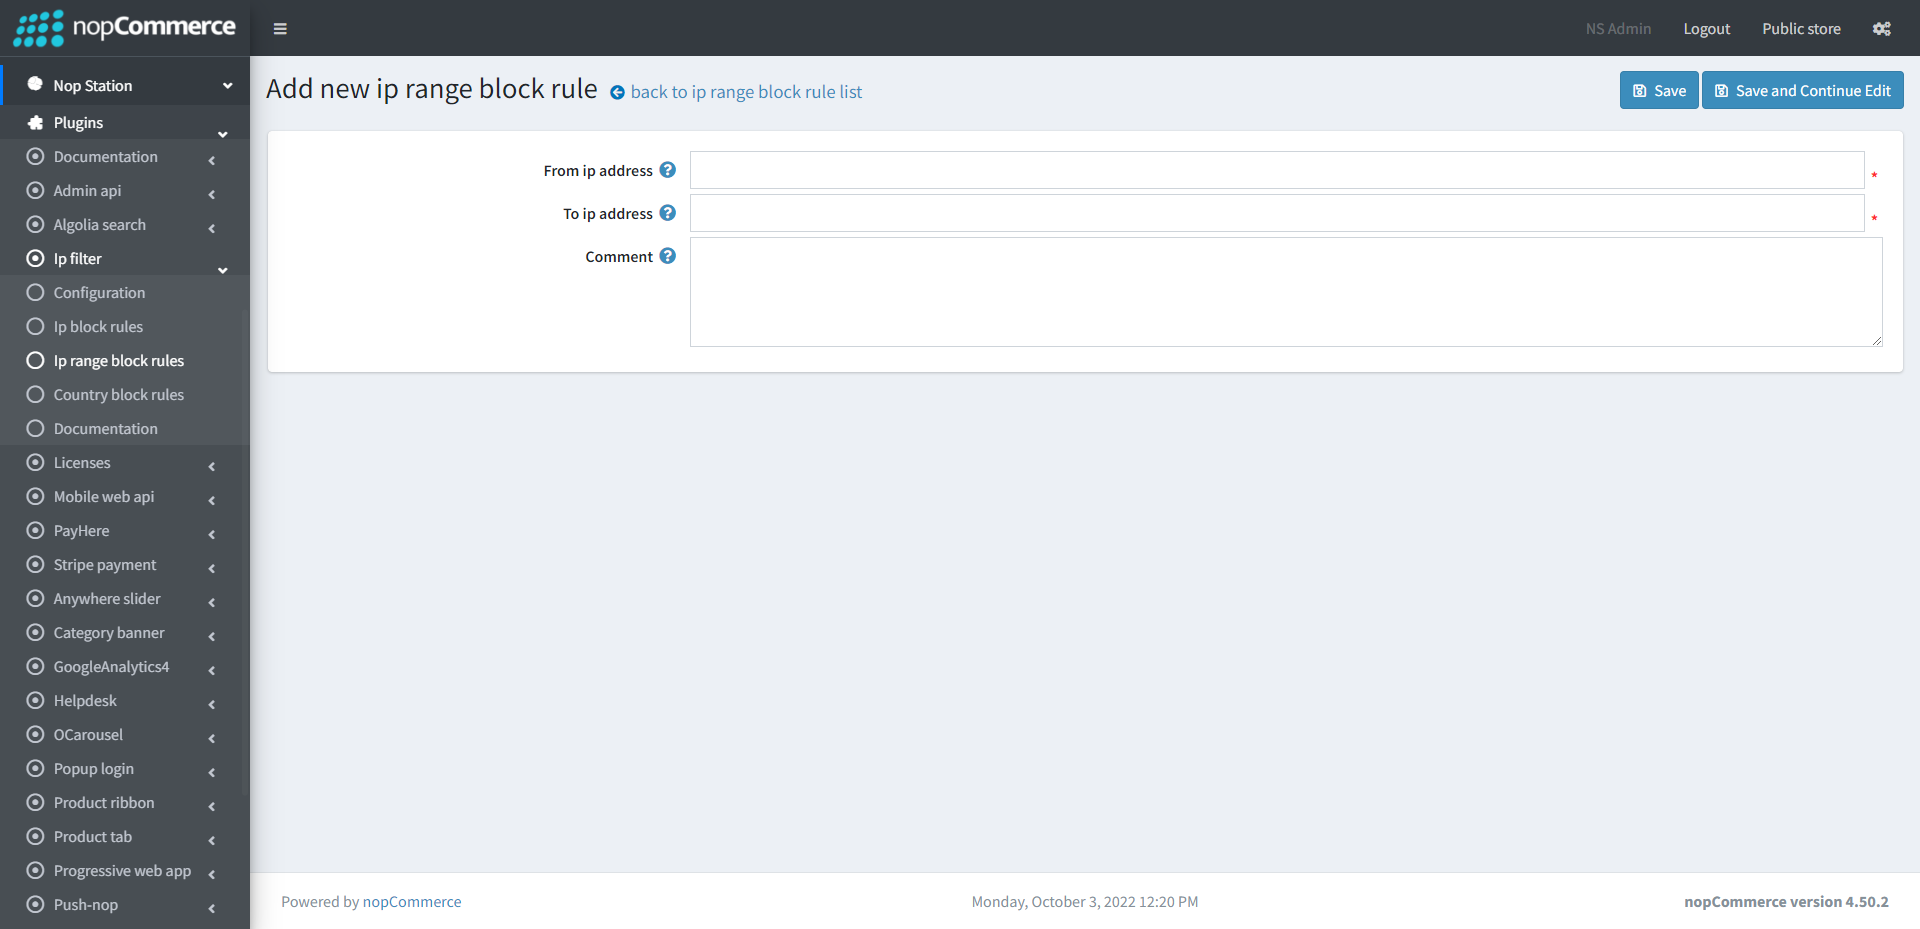
IP RANGE BLOCK RULES
- Go to Admin → Nop Station → Plugins → Ip filter → Ip range block rules
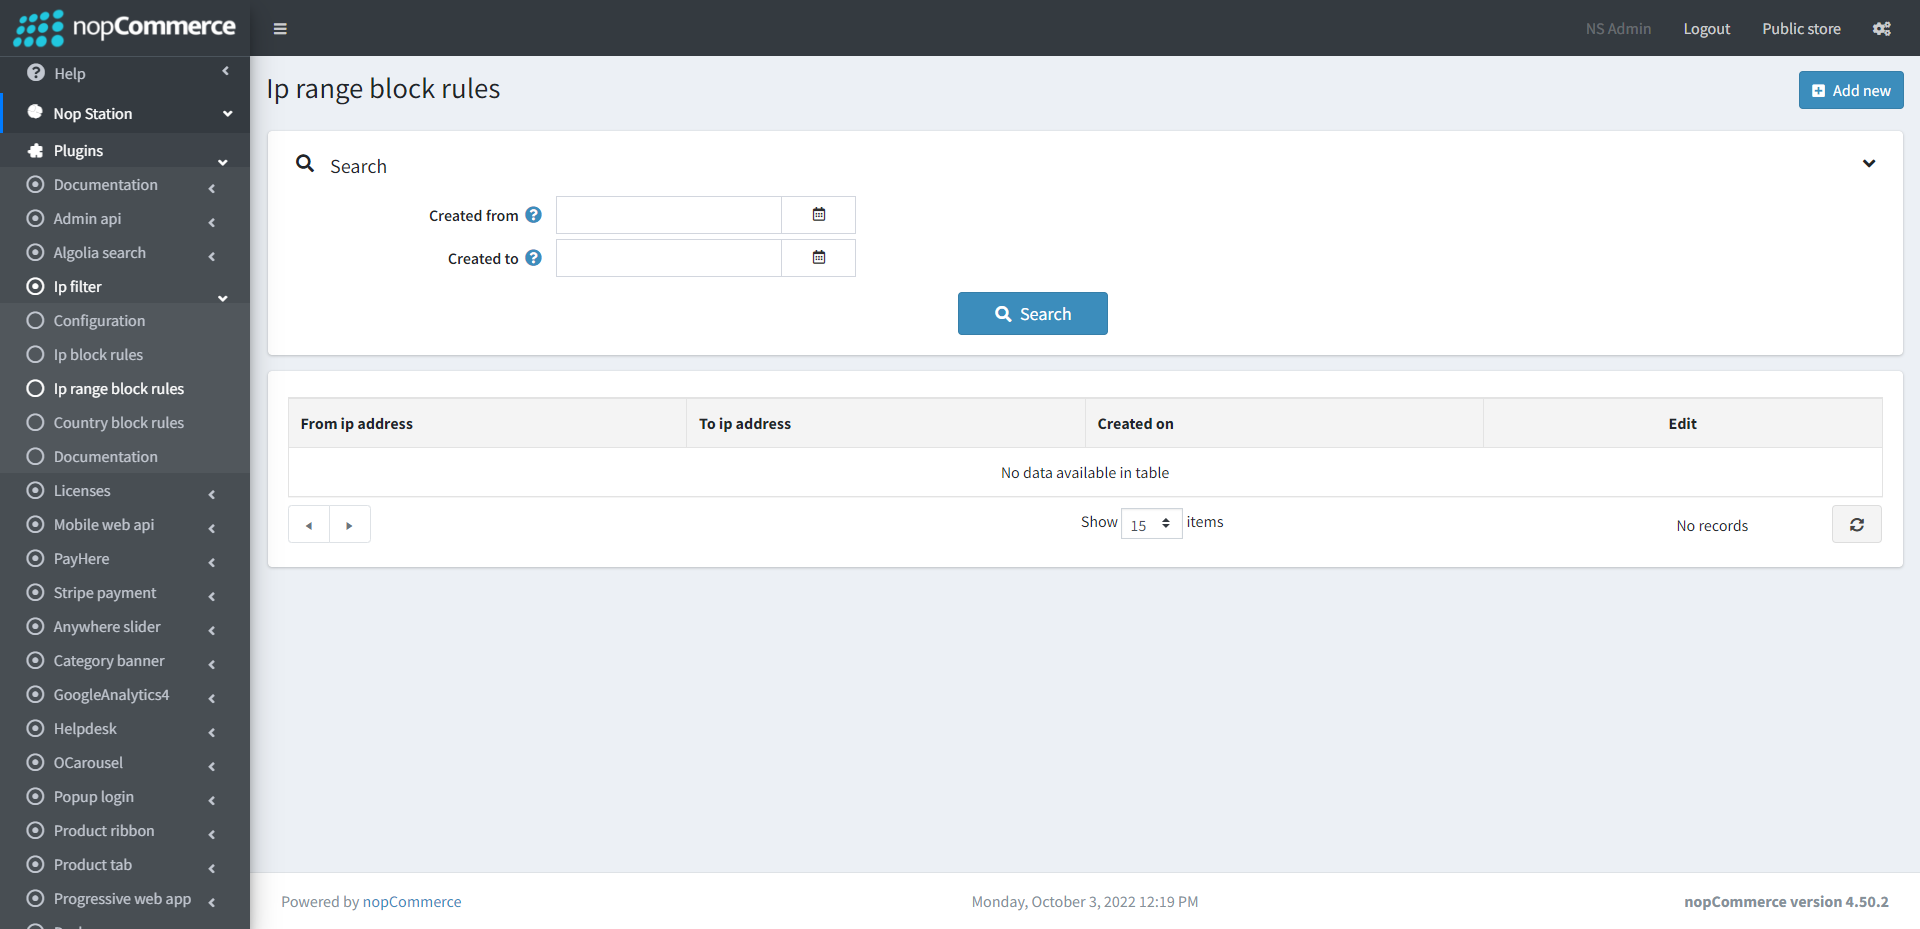
- Here you can see the list of blocked range IPs
- New IP ranges can be blocked from here by clicking on Add new button
COUNTRY BLOCK RULES
- Go to Admin → Nop Station → Plugins → Ip filter → Country block rules
- Here you can see the list of blocked countries
- New countries can be blocked from here by clicking on Add new button
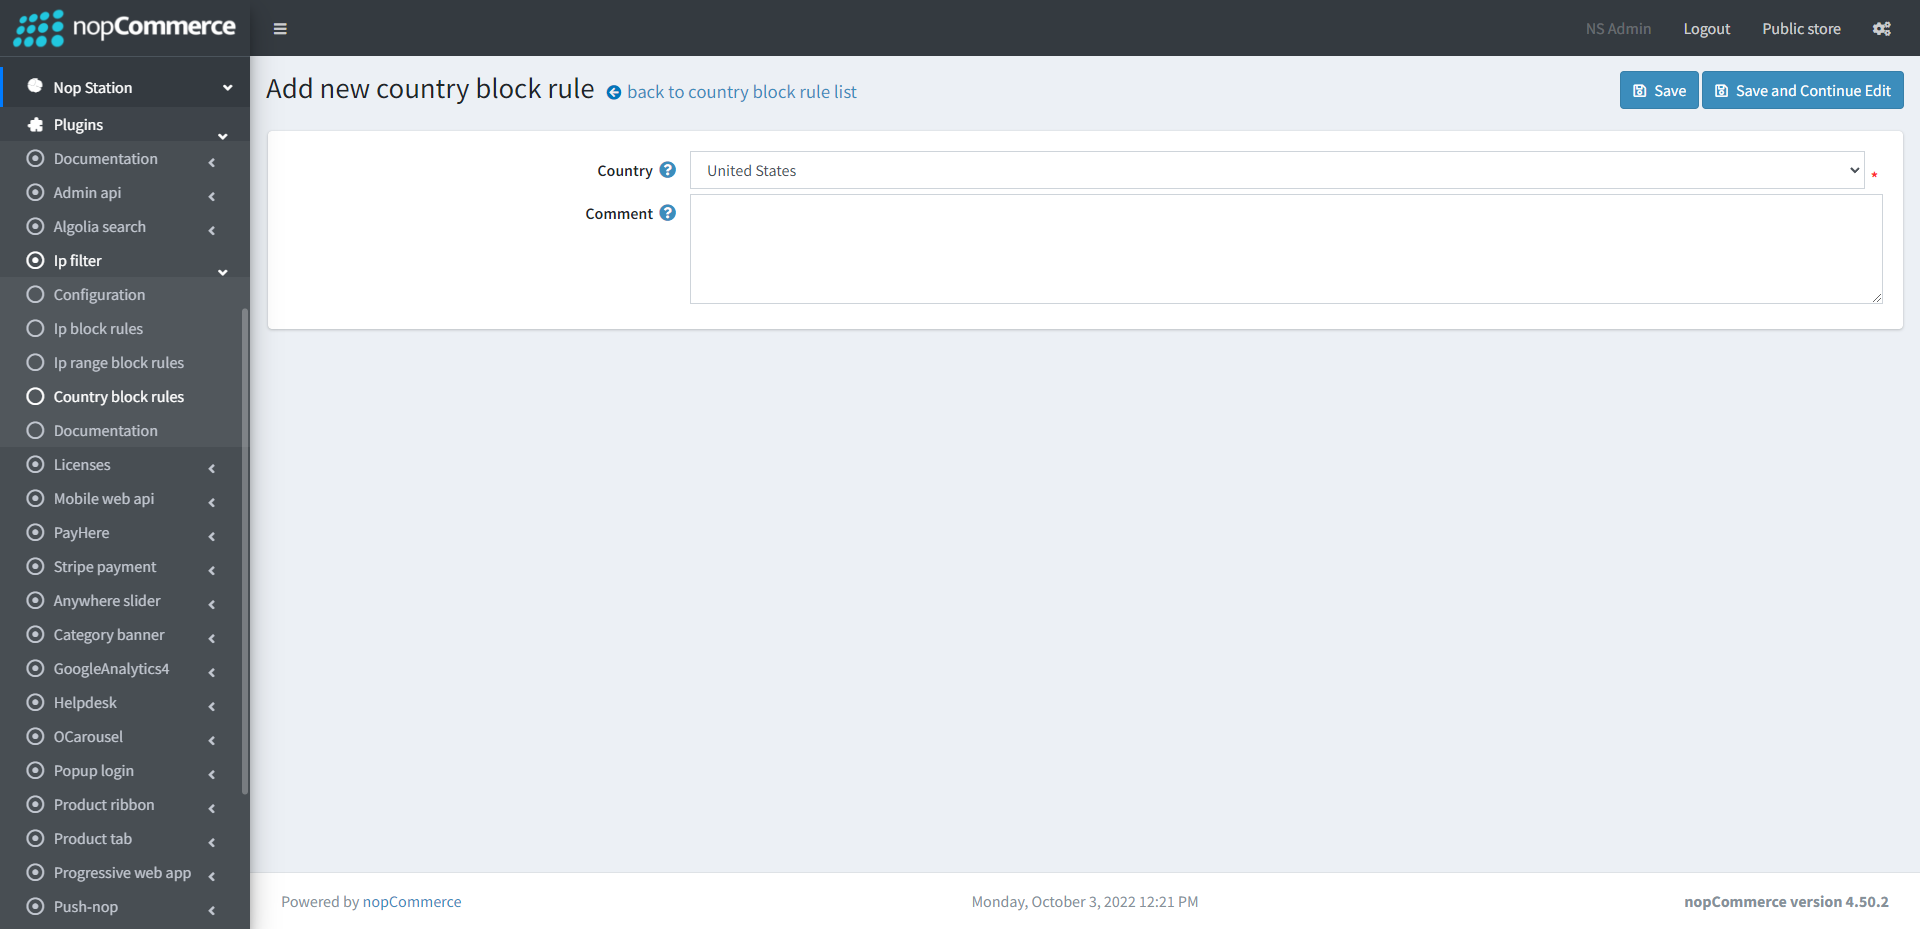
- Country: Select the country to be blocked
- Comment: Add comment if necessary