PRE-REQUISITES
- The plugin requires you to install the Nop-Station Core plugin first.
- This plugin requires you to have an AWS account
INSTALLATION
- Download the Nop-Station Amazon Personalize Plugin from our store https://nop-station.com/customer/downloadableproducts
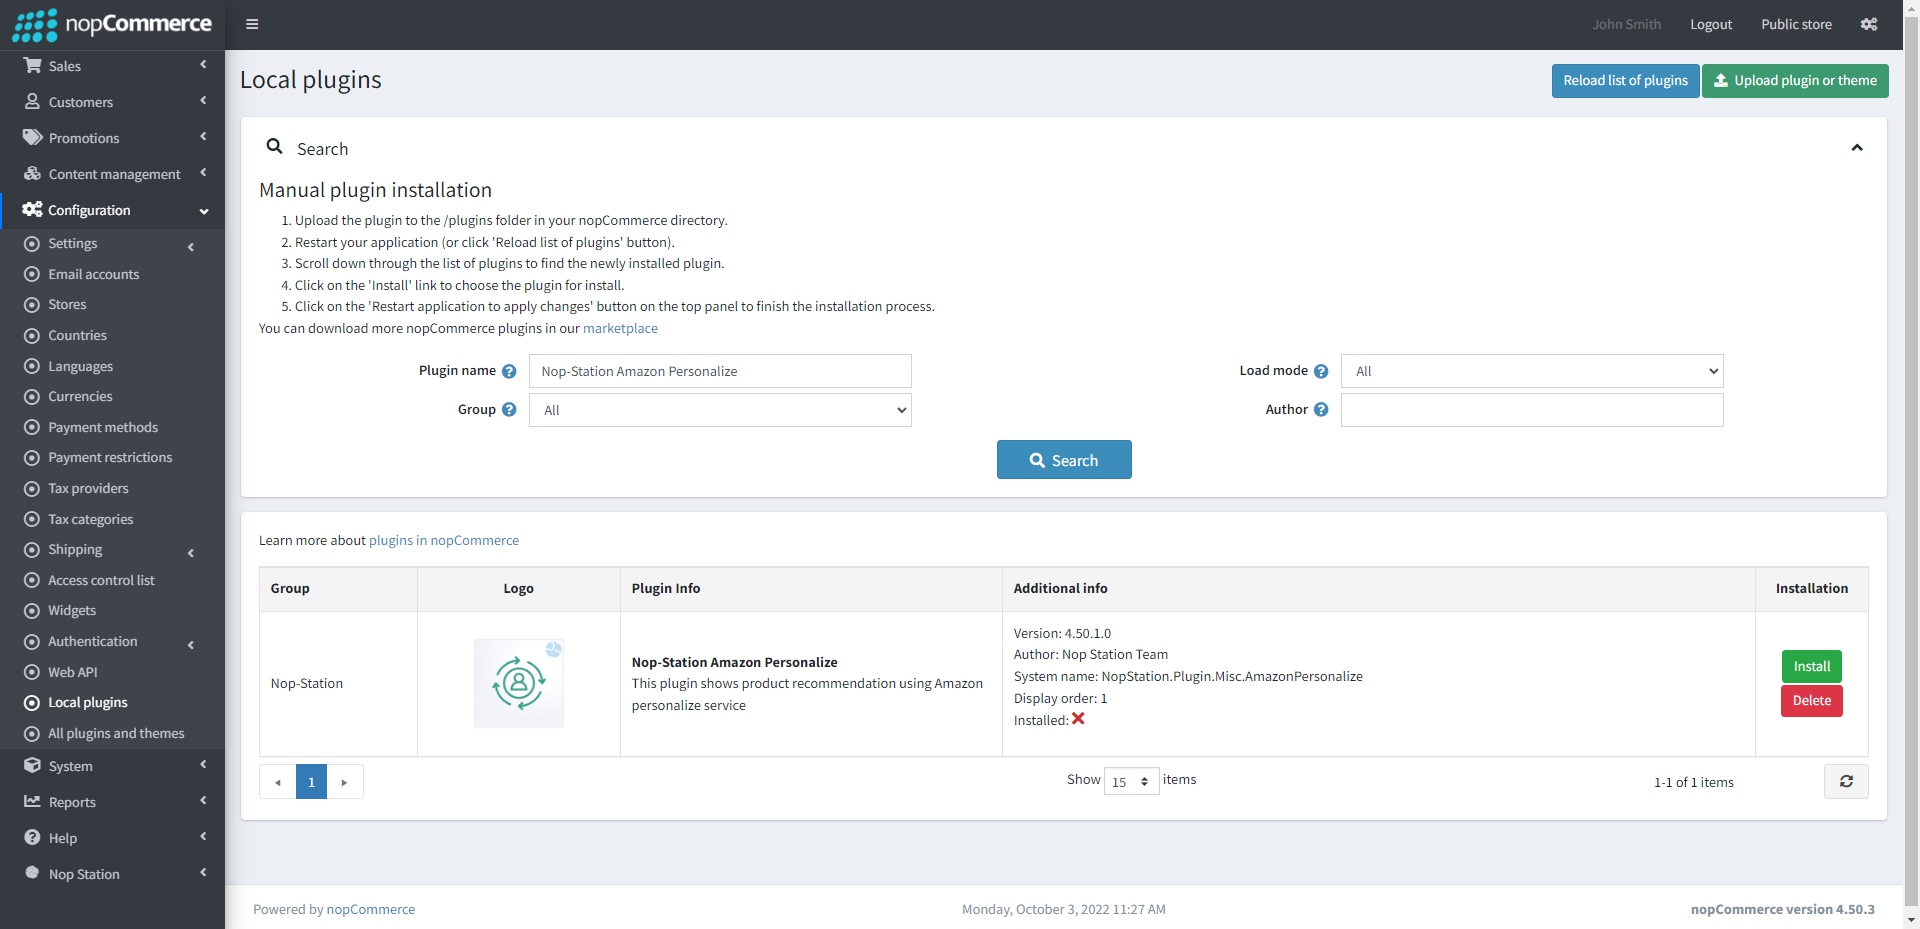
- Go to Administration → Configuration → Local plugins
- Upload the NopStation.AmazonPersonalize.zip file using the 'Upload plugin or theme' button
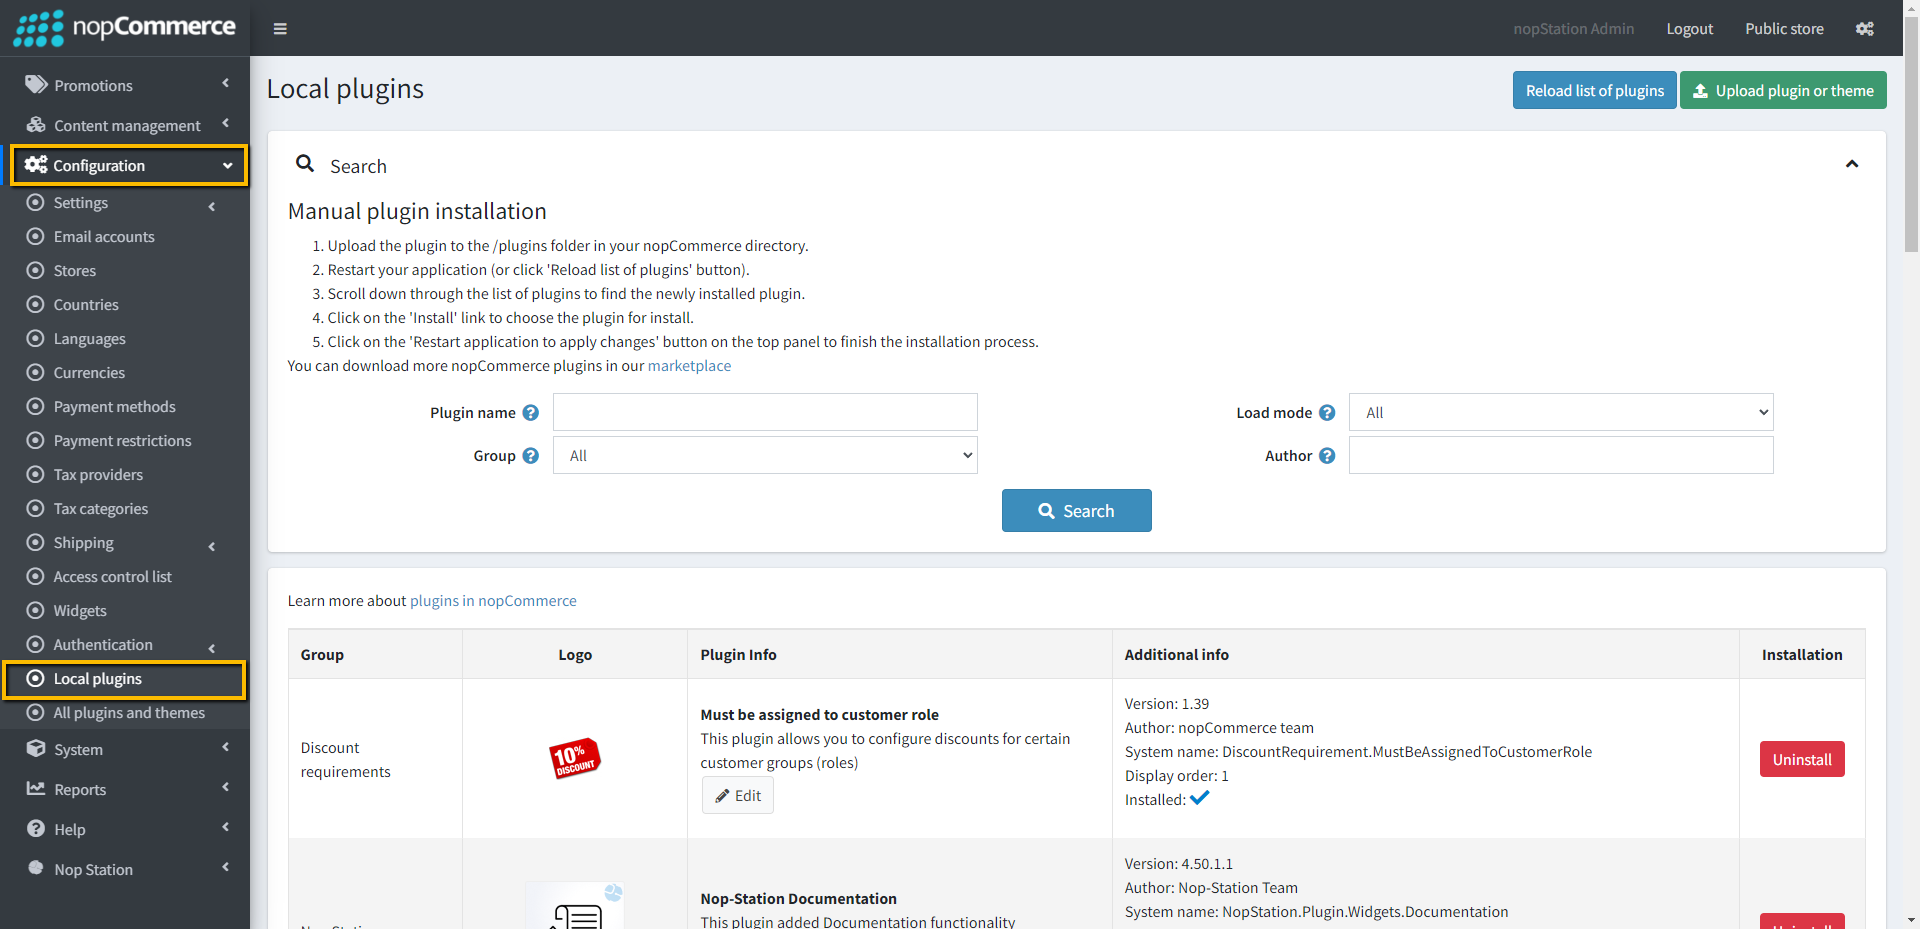
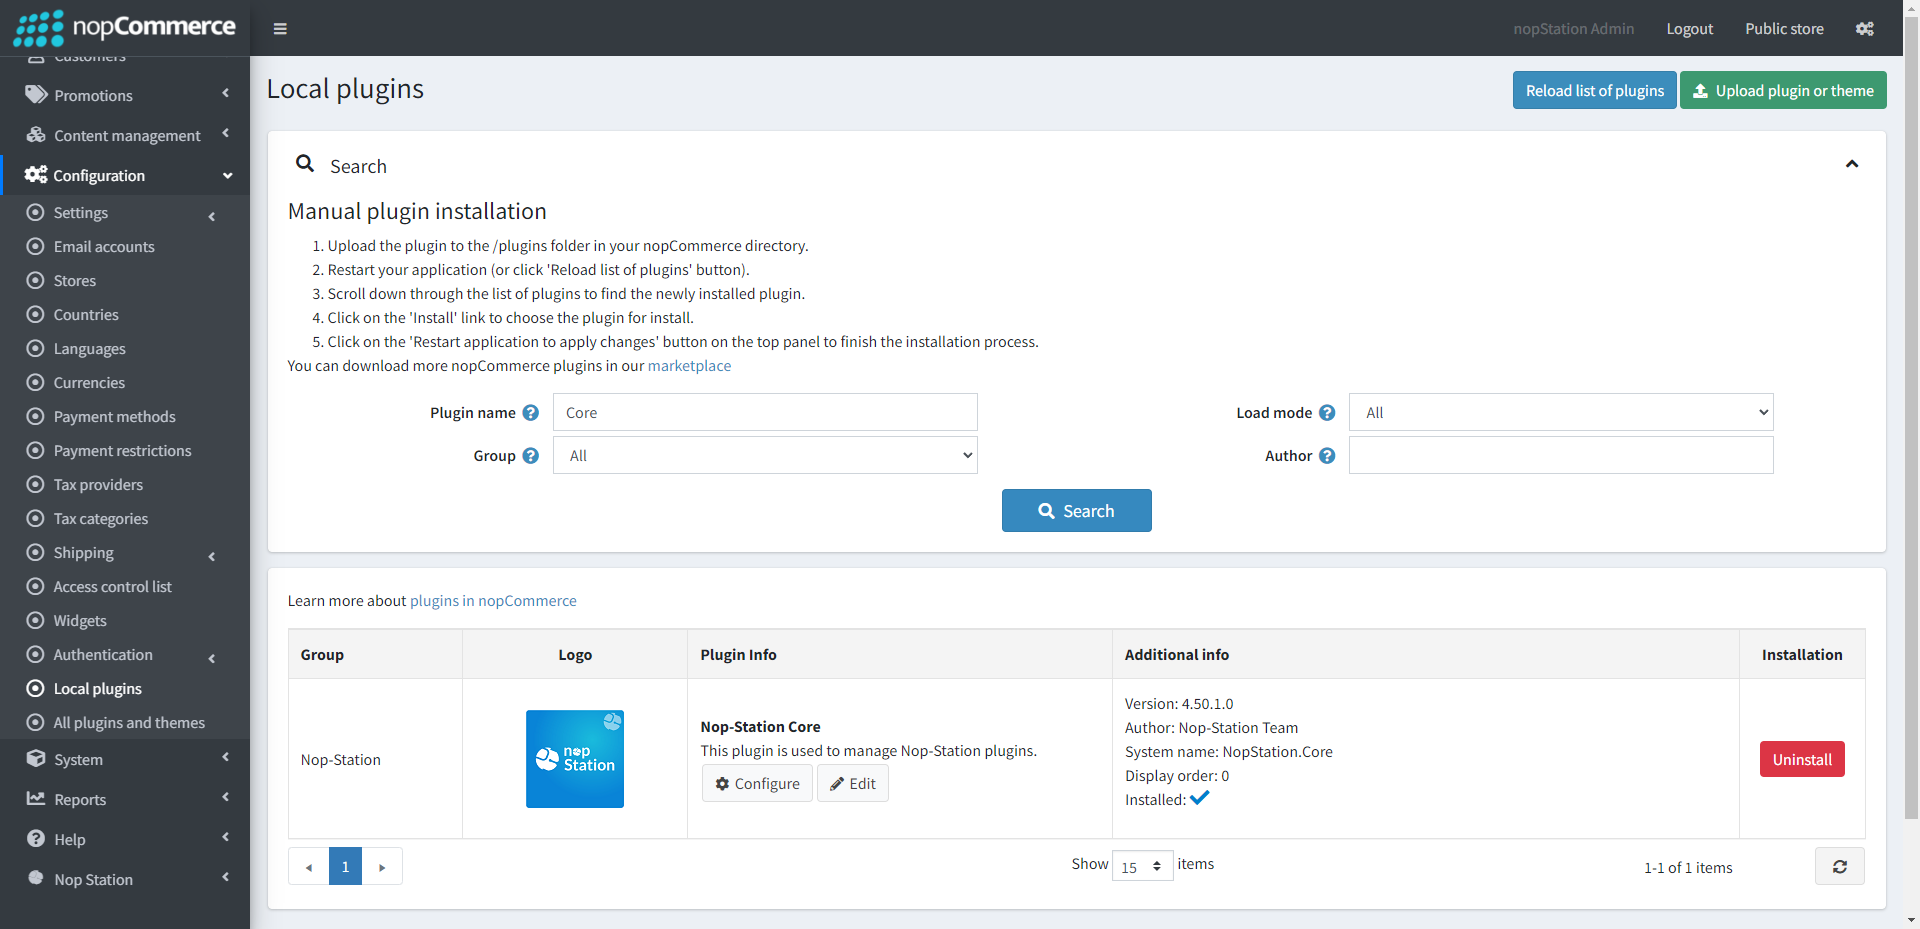
- Go to Administration and reload the 'list of plugins'. Install the 'Nop-Station Core' plugin first and then install the "Nop-Station Amazon Personalize"
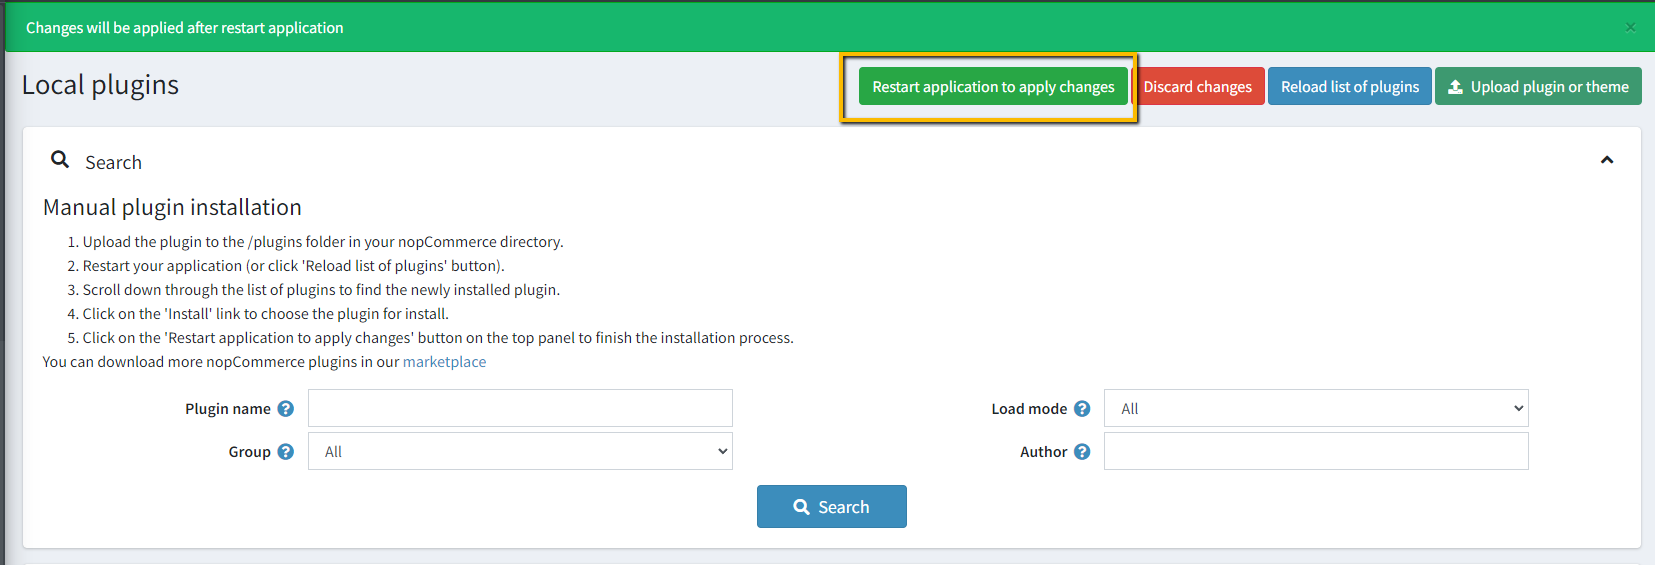
- To make the plugins functional, restart the application
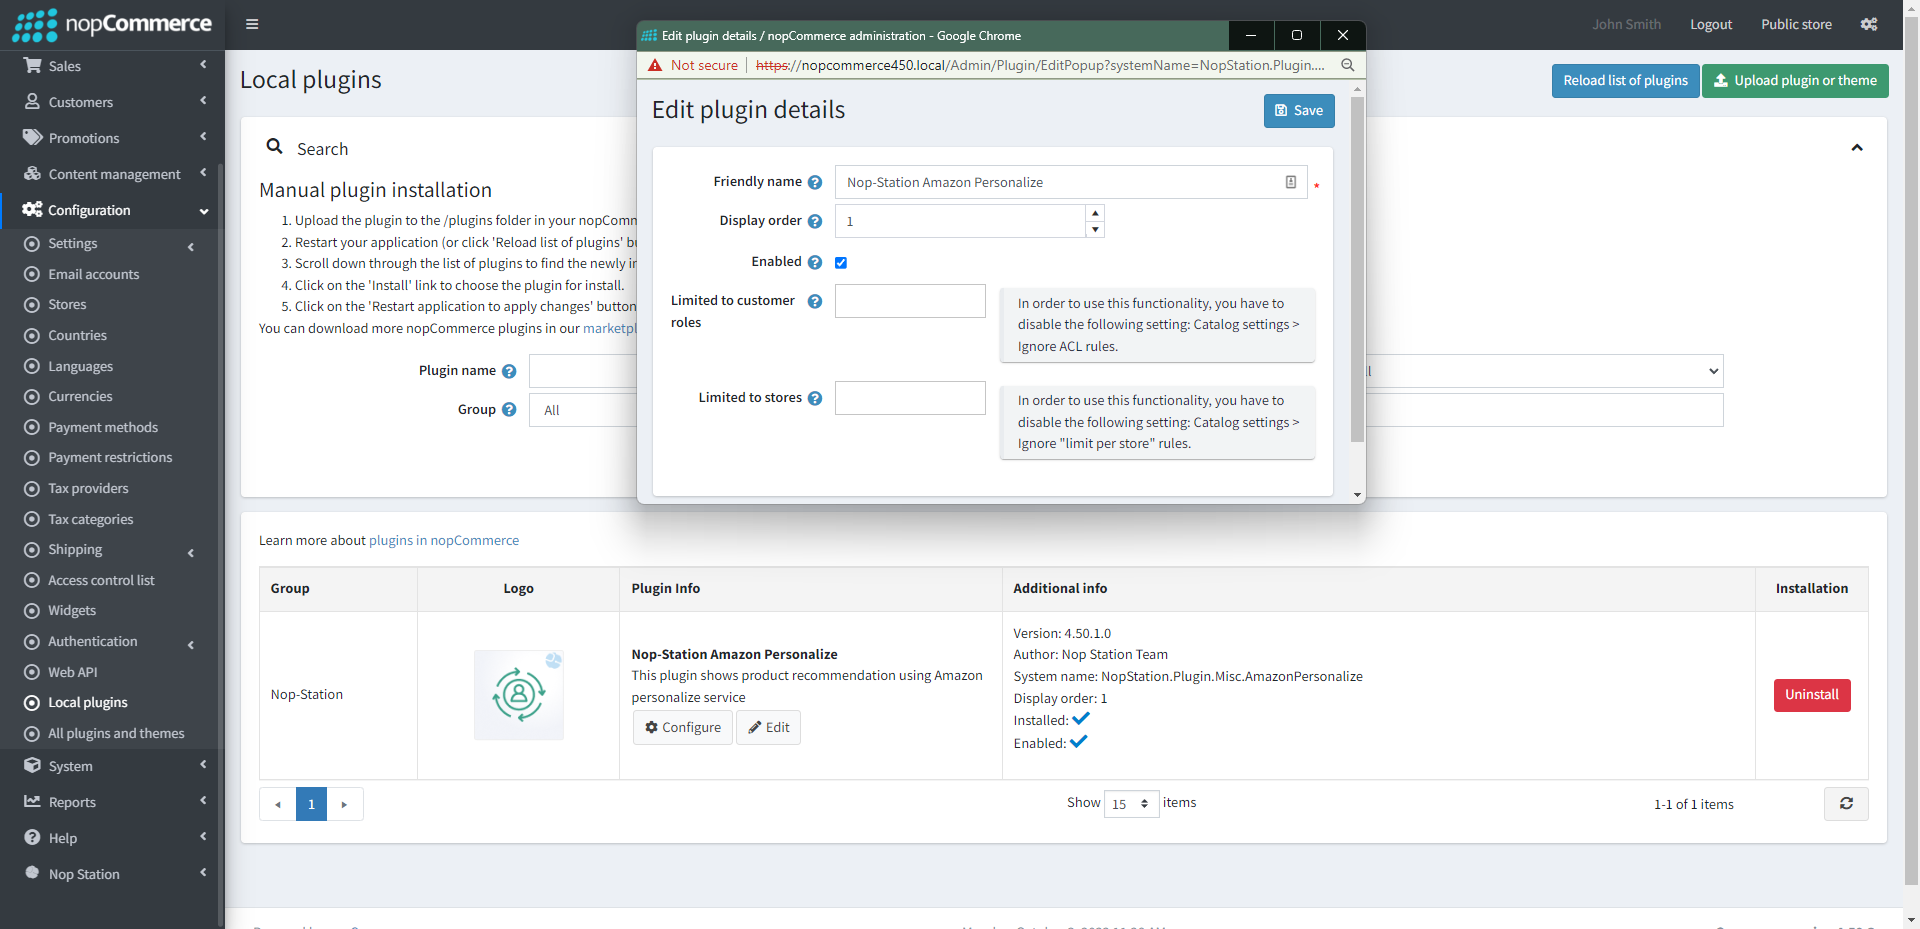
- Enable the plugin with the 'Edit' option and configure it
CONFIGURATION
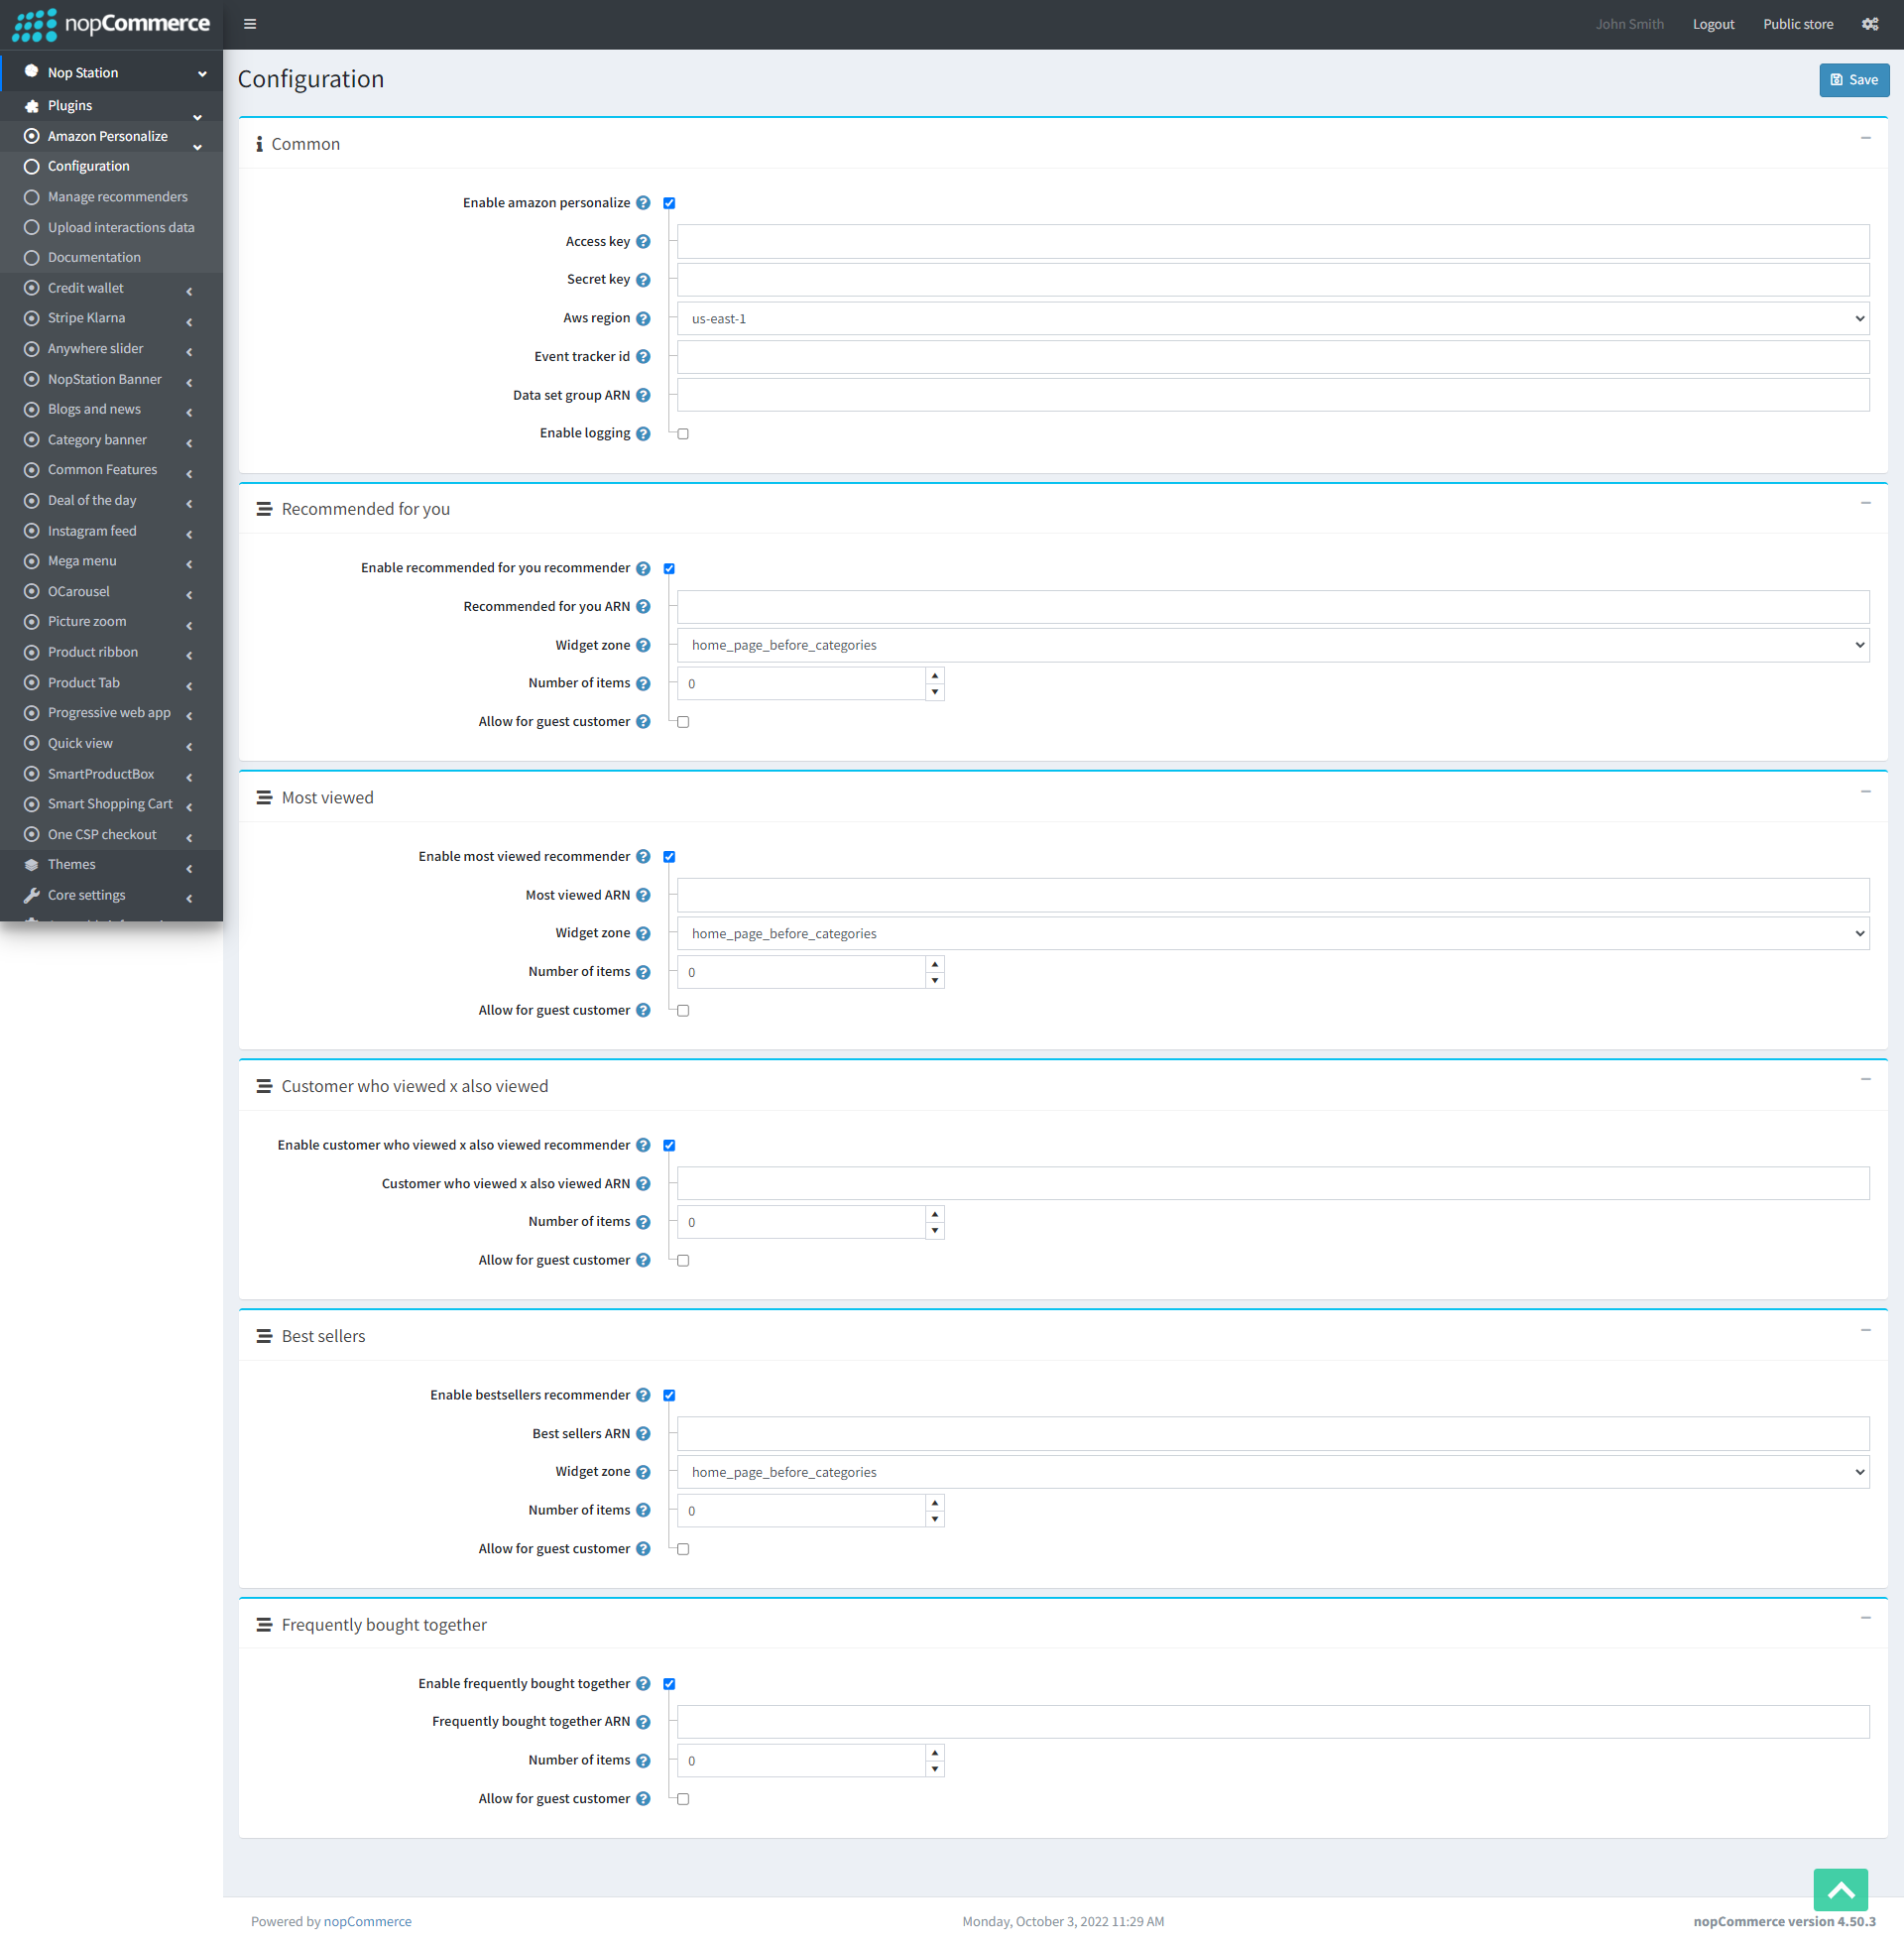
- Go to Admin → NopStation → Plugins → Amazon Personalize → Configuration
- Enable Multi-store configuration for either All stores or any selected store (in case of running more than one store from a single nopCommerce installation)
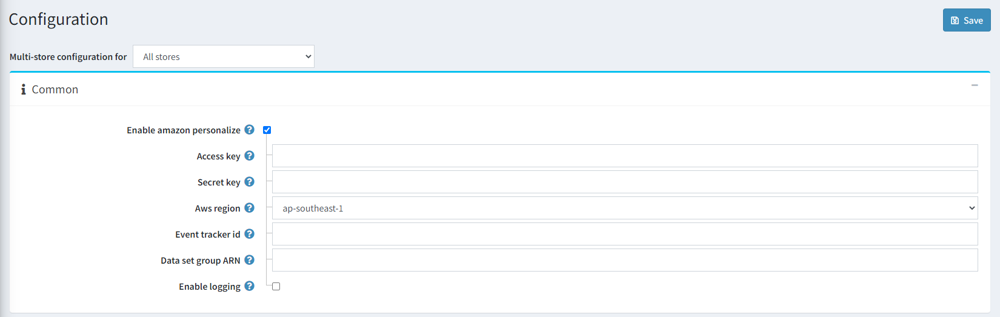
- Enable Amazon Personalize: Check the box to enable the amazon personalize plugin
- Provide IAM user's Access key and Secret key, Aws region, Event tracker id, and Data set group ARN. You will get Data set group ARN when you create data set group and after creating Event tracker you will get event tracker id
- Enable logging: Check the box "Enable logging" if you want to log the events data while sending to AWS personalize
Manage Recommenders:
- Go to Admin → NopStation → Plugins → Amazon Personalize → Manage recommenders
- Click "Start" button on your desired recommender from "Start or Stop" column
- Once started, Status of the Recommender will change from "Inactive" to "Active"

AWS configuration:
Steps:
- Setup permission for AMI user
- Provide Amazon personalize access to Amazon S3 resources
- Create Domain dataset group
- Create a schema and Interactions dataset
- Import interactions data
- Create an Event tracker
Important notes:
With Amazon Personalize, you pay only for what you use, and there are no minimum fees and no upfront commitments. You can check the Amazon Personalize pricing from here.
The minimum data requirements to train a model are:
- 1000 records of combined interaction data
- 25 unique users with at least 2 interactions each
Amazon Personalize automatically retrains the models backing your recommenders every 7 days. This is full retraining that creates entirely new models based on the entirety of the data in your datasets. With Recommended for you use cases, Amazon Personalize updates the existing models every two hours to include new items in recommendations with exploration.
Important notes:
- To use Amazon Personalize, you have to set up permissions that allow IAM users to access the Amazon Personalize console and API operations. You also need to set up permissions that allow Amazon Personalize to perform tasks on your behalf and to access resources that you own. Go to this link: Setting up permissions - Amazon Personalize
- Then you need to give Amazon Personalize access to Amazon S3 resources. Giving Amazon Personalize access to Amazon S3 resources - Amazon Personalize
- Create Dataset group:
Login to AWS console. Then go to AWS personalize. Your screen will look like below.
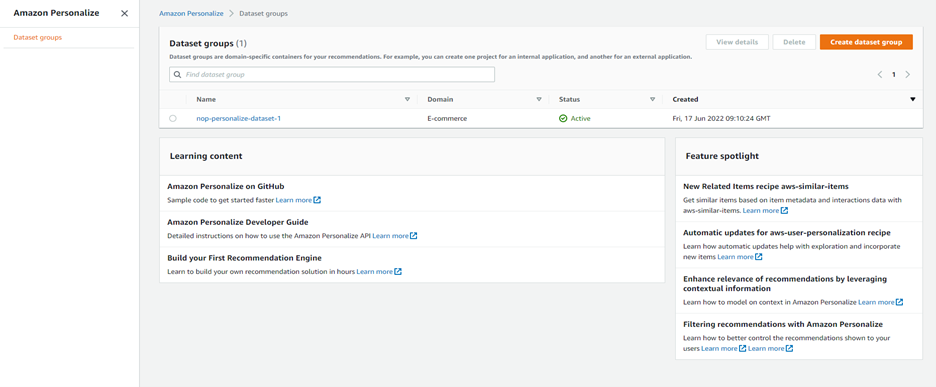
Then click Create dataset group.
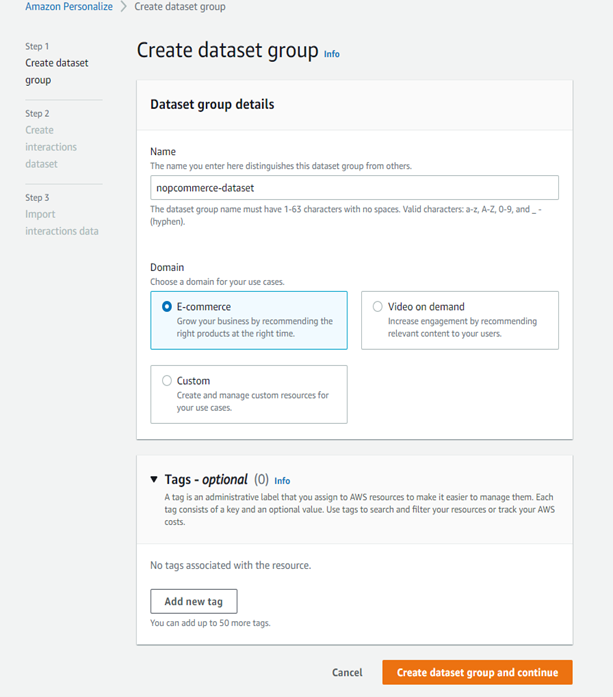
Upon clicking Create dataset group, your screen will look like bellow.

Enter your dataset group name in Name field. Then select E-commerce domain. Then click Create dataset group and continue
After creating dataset group, you need to create interactions dataset.
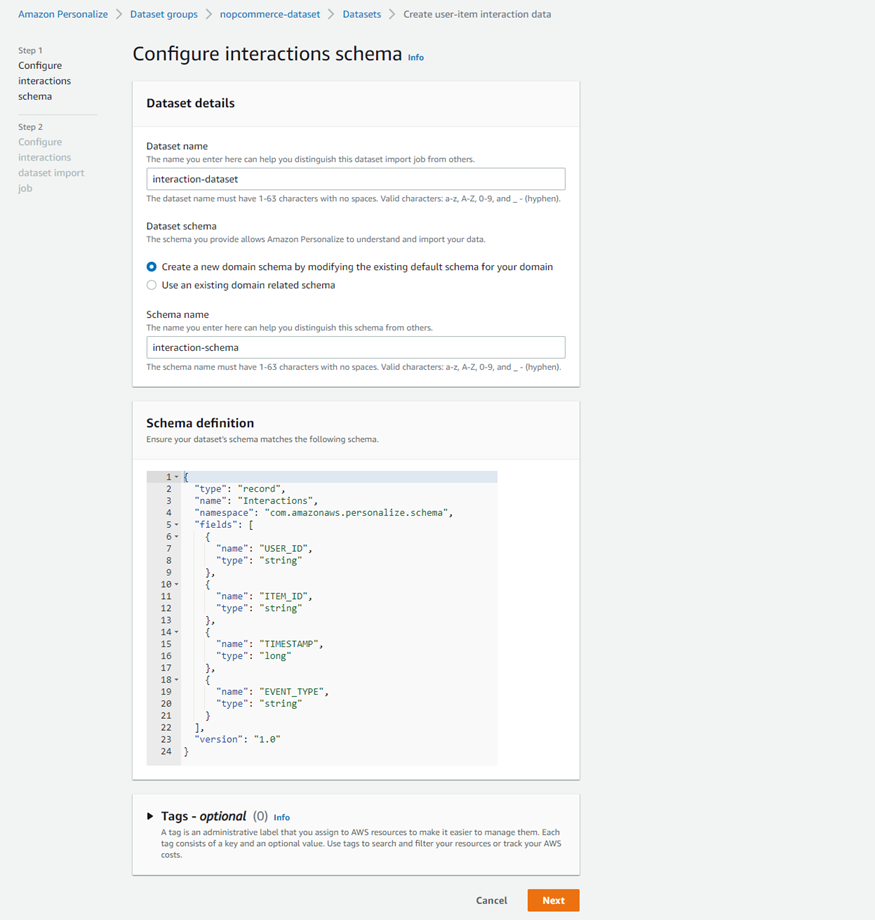
Put dataset name, then select Create a new domain schema by modifying the existing default schema for your domain in Dataset domain and put schema name like above. Then click next and you will go to step 2.
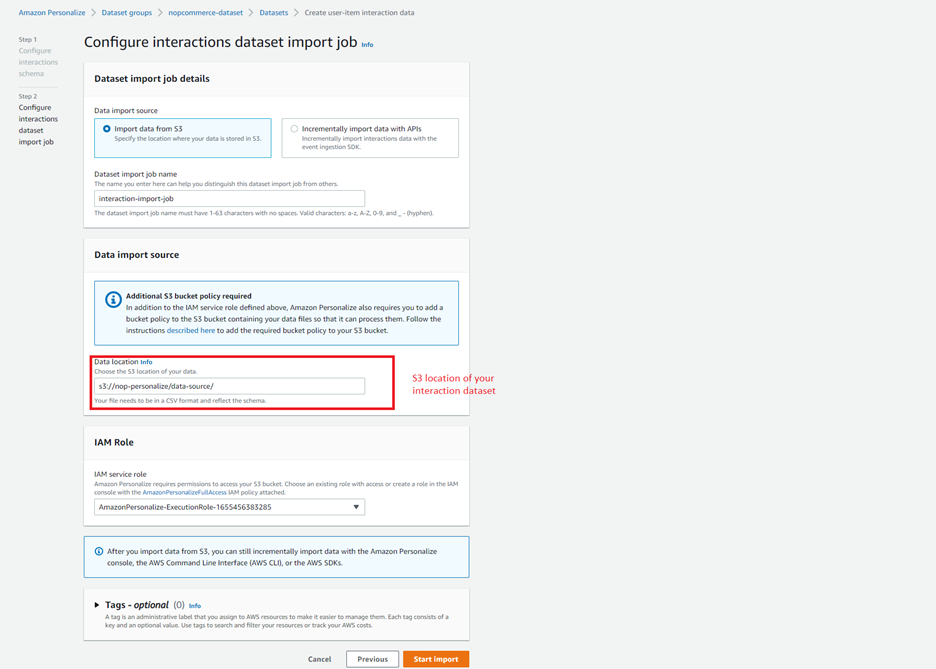
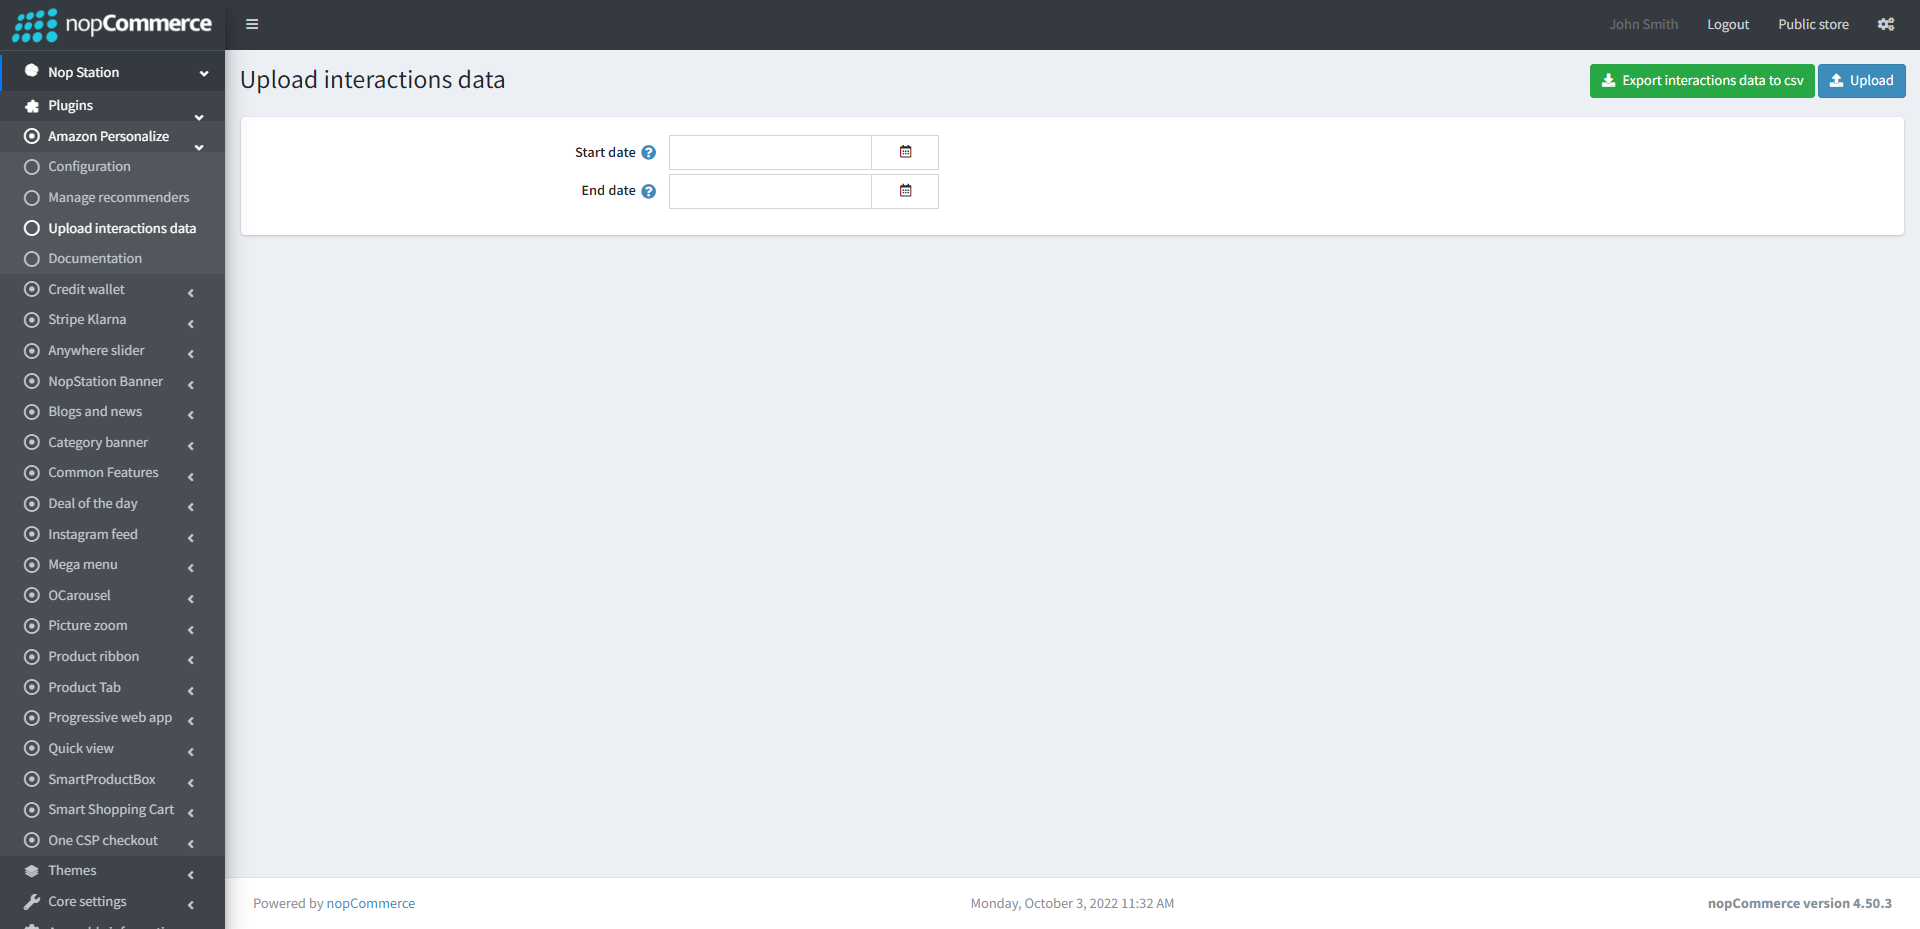
You can choose Import data from S3 or Incrementally import data with APIs. From our plugin, you can download interaction CSV for Import data from S3. If you choose Incrementally import data with APIs you can upload interaction data directly to schema from our plugin. For Incrementally import data with APIs you don't need to upload CSV file to S3.
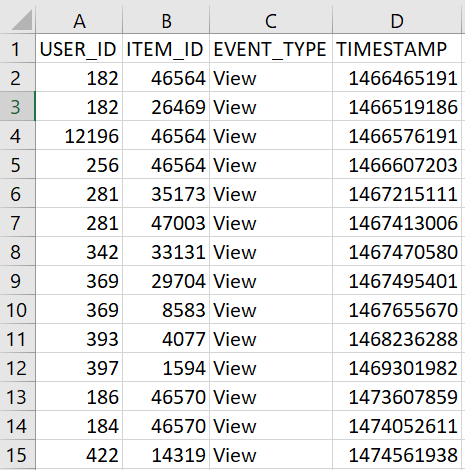
In Data import source you need to put your Interaction dataset csv file location in S3 bucket. Because amazon personalize initially import data from S3. You must upload Interaction dataset excel file in S3 bucket. In picture we upload csv file in that location. Csv row/ header name will be same as Schema Definition. Csv will look like this.
In IAM role you can create one or select an existing one. Then click start, import and interaction data will create and it will take some time. After interaction data creation complete window will look like bellow.
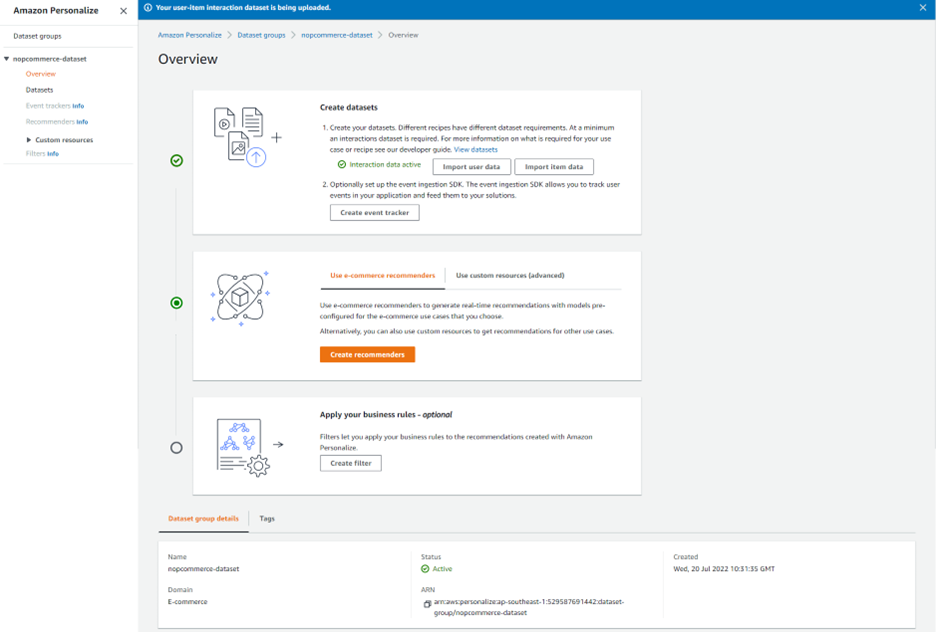
Then click Create event tracker. We need an event tracker for post-event while a customer views products and purchases. These events will add to Interaction dataset and AWS personalize will automatically update recommender
![]()
Click Next and event tracker will be created. Then you will need event tracker ID.
![]()
Click finish. Then we need to create recommenders.

Click Create recommenders. We will create 5 recommenders
- Recommended for you
- Best Sellers
- Most viewed
- Customer who viewed X also viewed
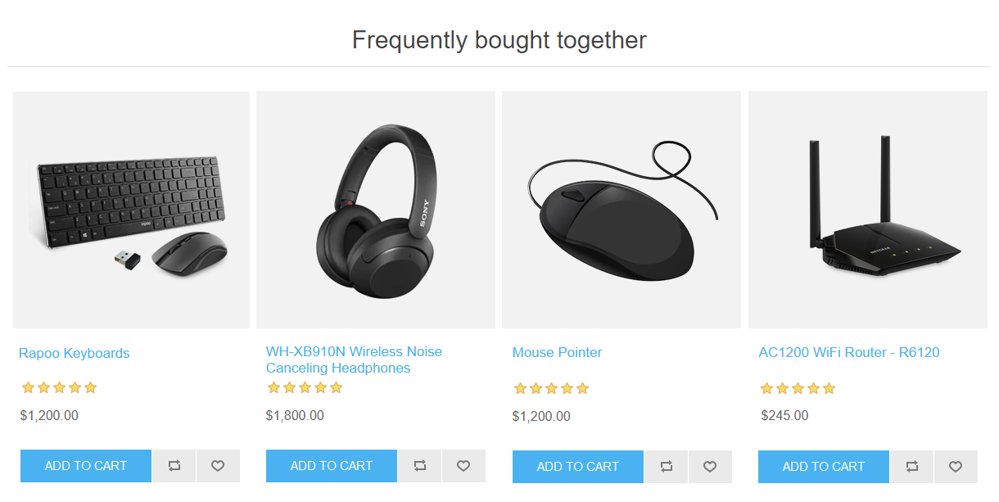
- Frequently bought togather
Put names for all recommenders.
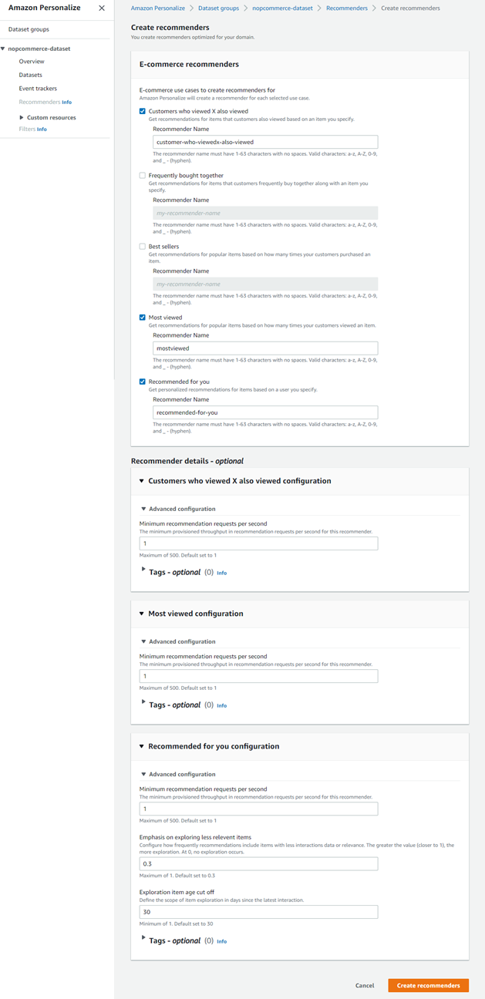
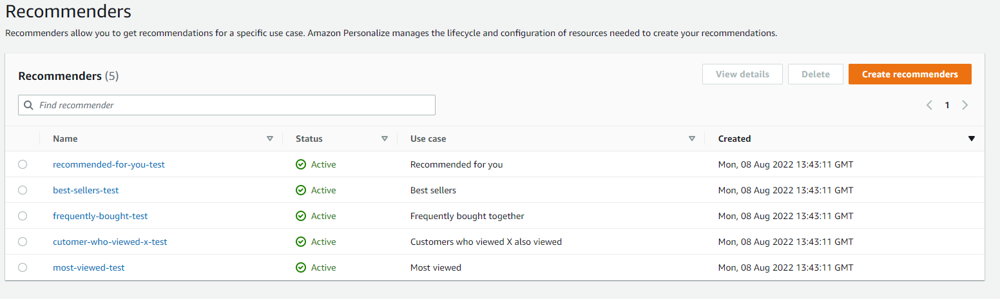
Click Create recommenders. All five recommenders will be created and it will take some time to create. After successful creation, all recommender status will be Active
Now in the plugin configuration, we must set Tracker id, Dataset arn.
![]()
You can find tracker id here.
![]()
Now put Event tracker id and data set group arn in Plugin configuration. Admin → Nop Station → Amazon Personalize → Configuration.
If you configure correctly you can see all created recommenders in Admin → Nop Station → Amazon Personalize → Manage Recommenders like this.

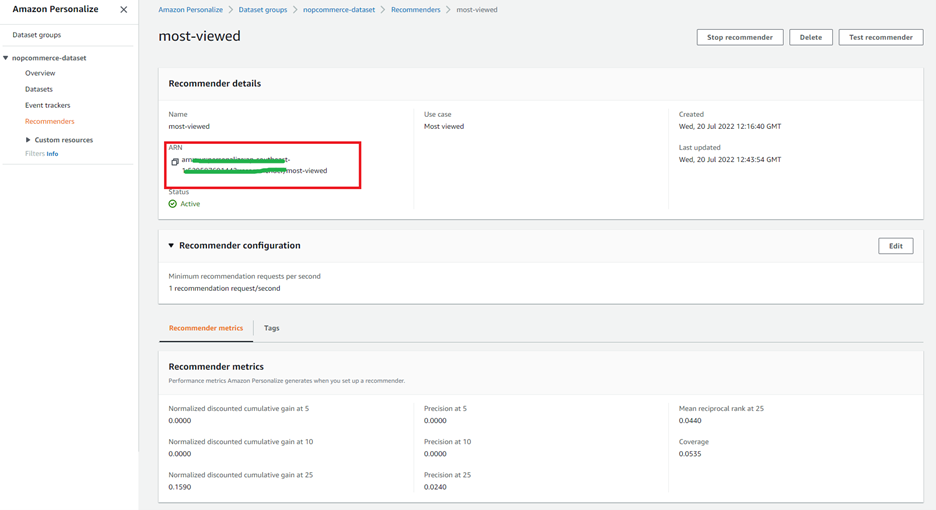
Now you can enable and configure any recommendation. Go to Admin → Nop Station → Amazon Personalize → Configuration. Put values in fields and in Recommender ARN, you must put recommender arn that you created. It can be any recommender arn.
You can find recommender arn in specific recommenders in AWS console. Here, the Most viewed recommender is shown as an example.
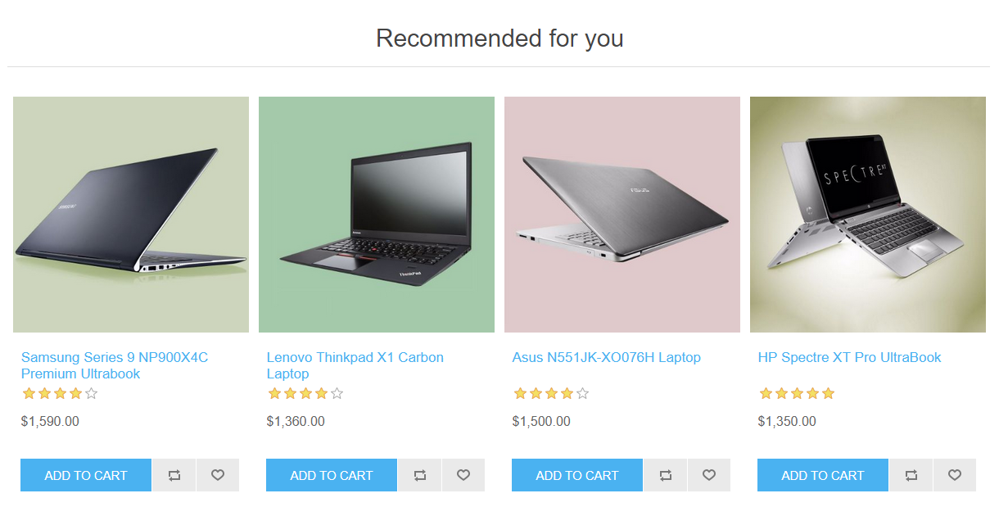
If all configuration is perfectly done you can see recommendations in your Public store.
Recommended for you:
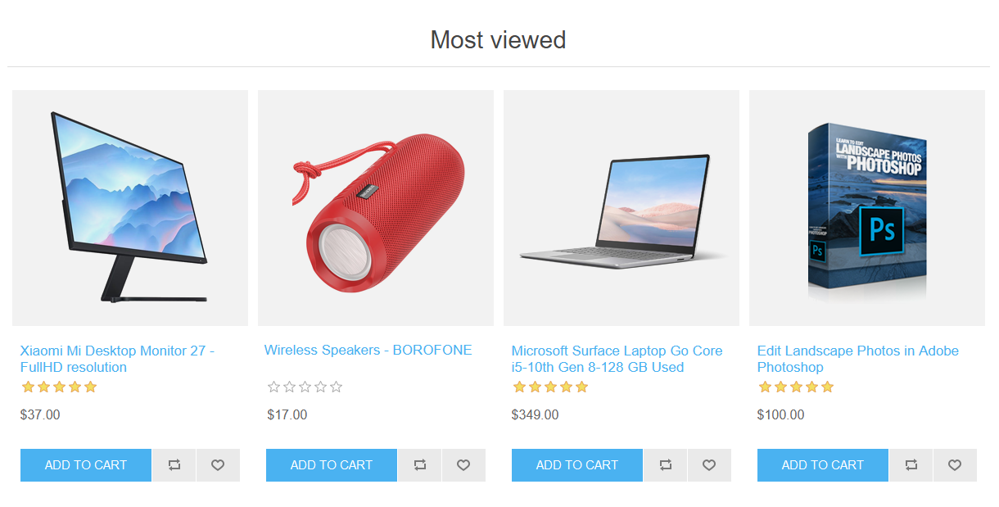
Most viewed:
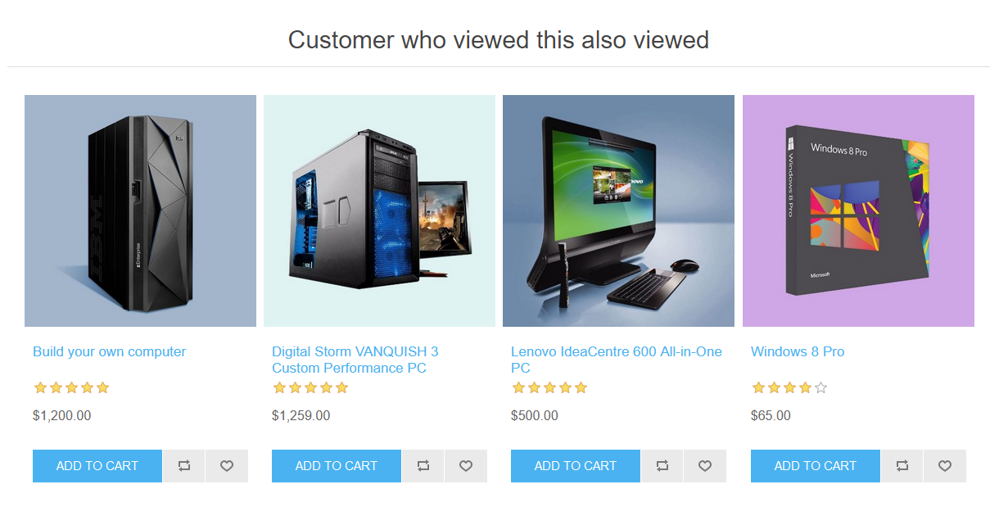
Customers who viewed this also viewed:
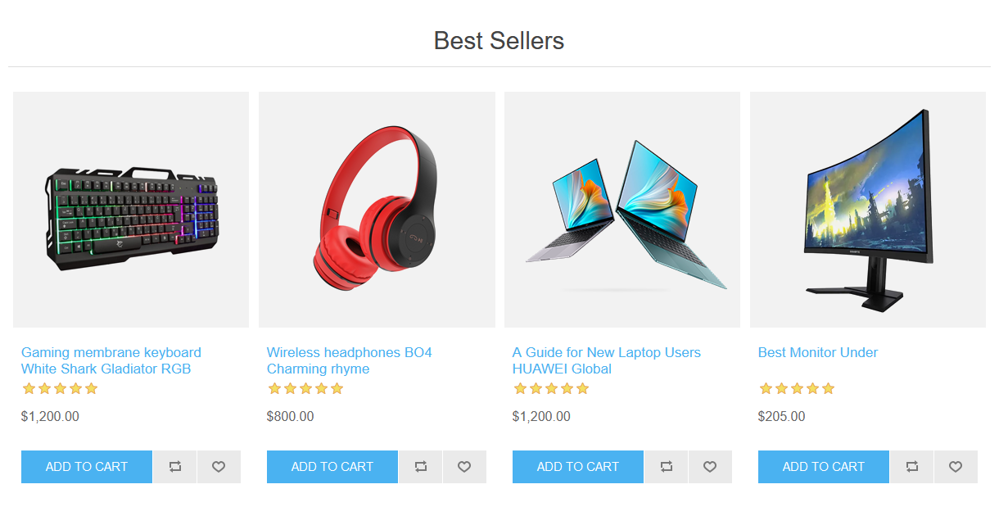
Best sellers:
Frequently bought together: