


Admin console
For your platform team. Sign in with email and password to run and support migrations across shops.

A practical walkthrough of the migration tool — how to connect WooCommerce, run a migration, check results, and (when needed) roll back or clean up a Shopify store.
Think of this as a guided move of your store data. The tool connects to WooCommerce using either a direct database connection (MySQL or MariaDB) or the WooCommerce REST API (consumer key and secret), then creates matching records in Shopify — products, customers, orders, images, and more.
It never writes back to WooCommerce, and it doesn’t convert themes or storefront design.
For your platform team. Sign in with email and password to run and support migrations across shops.
For the shop owner. Open it from Shopify Admin → Apps so it stays tied to that store.
Both share the same day-to-day screens: wizard, dashboard, reports, rollback, and cleanup. Users, email queue, logs, maintenance, and settings stay in the admin console only.
Open the admin login page, enter your email and password, then tap Sign in.
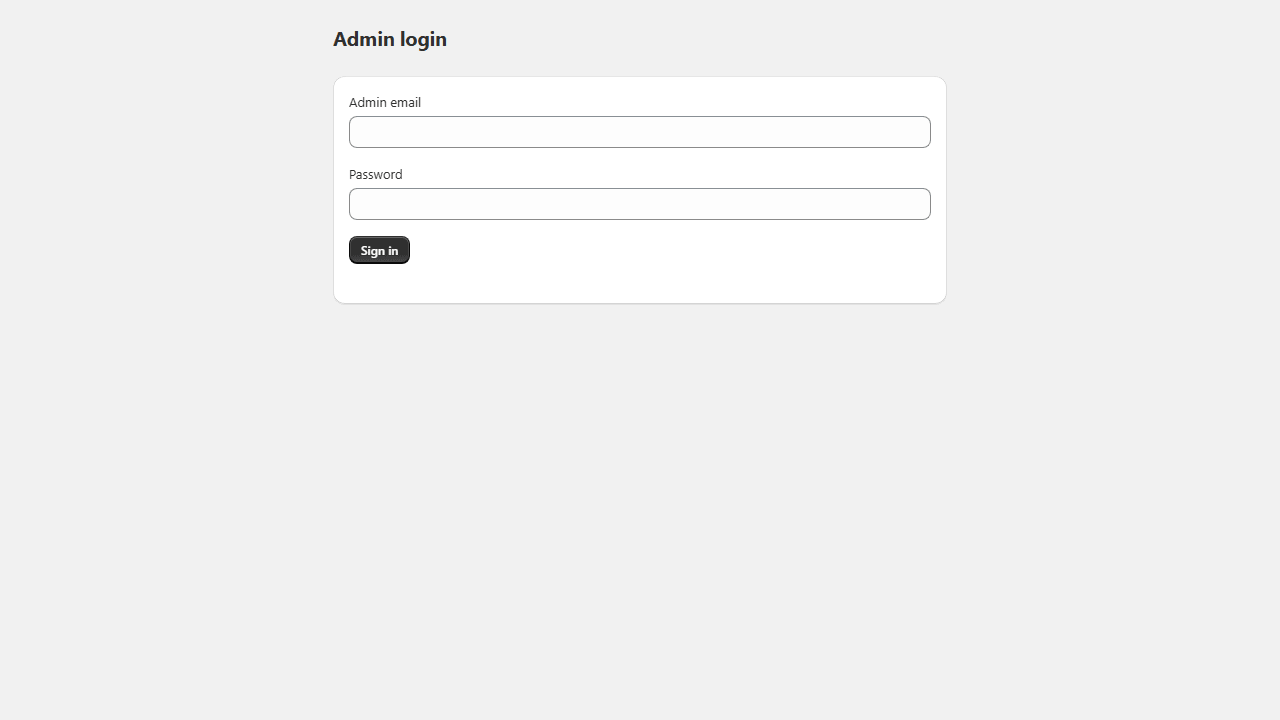
You’ll land on the Dashboard after a successful sign-in.
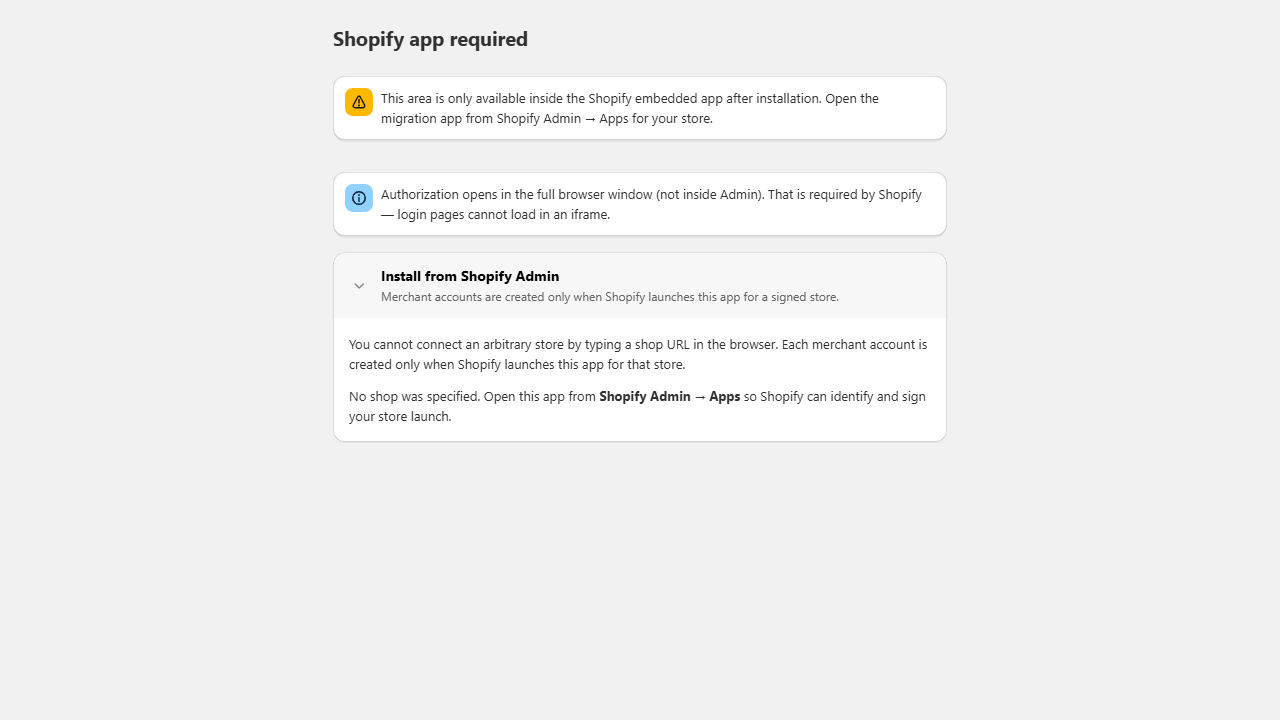
Always open the merchant experience from Shopify Admin. If you visit the app URL in a normal browser without an install session, you’ll see this screen instead:
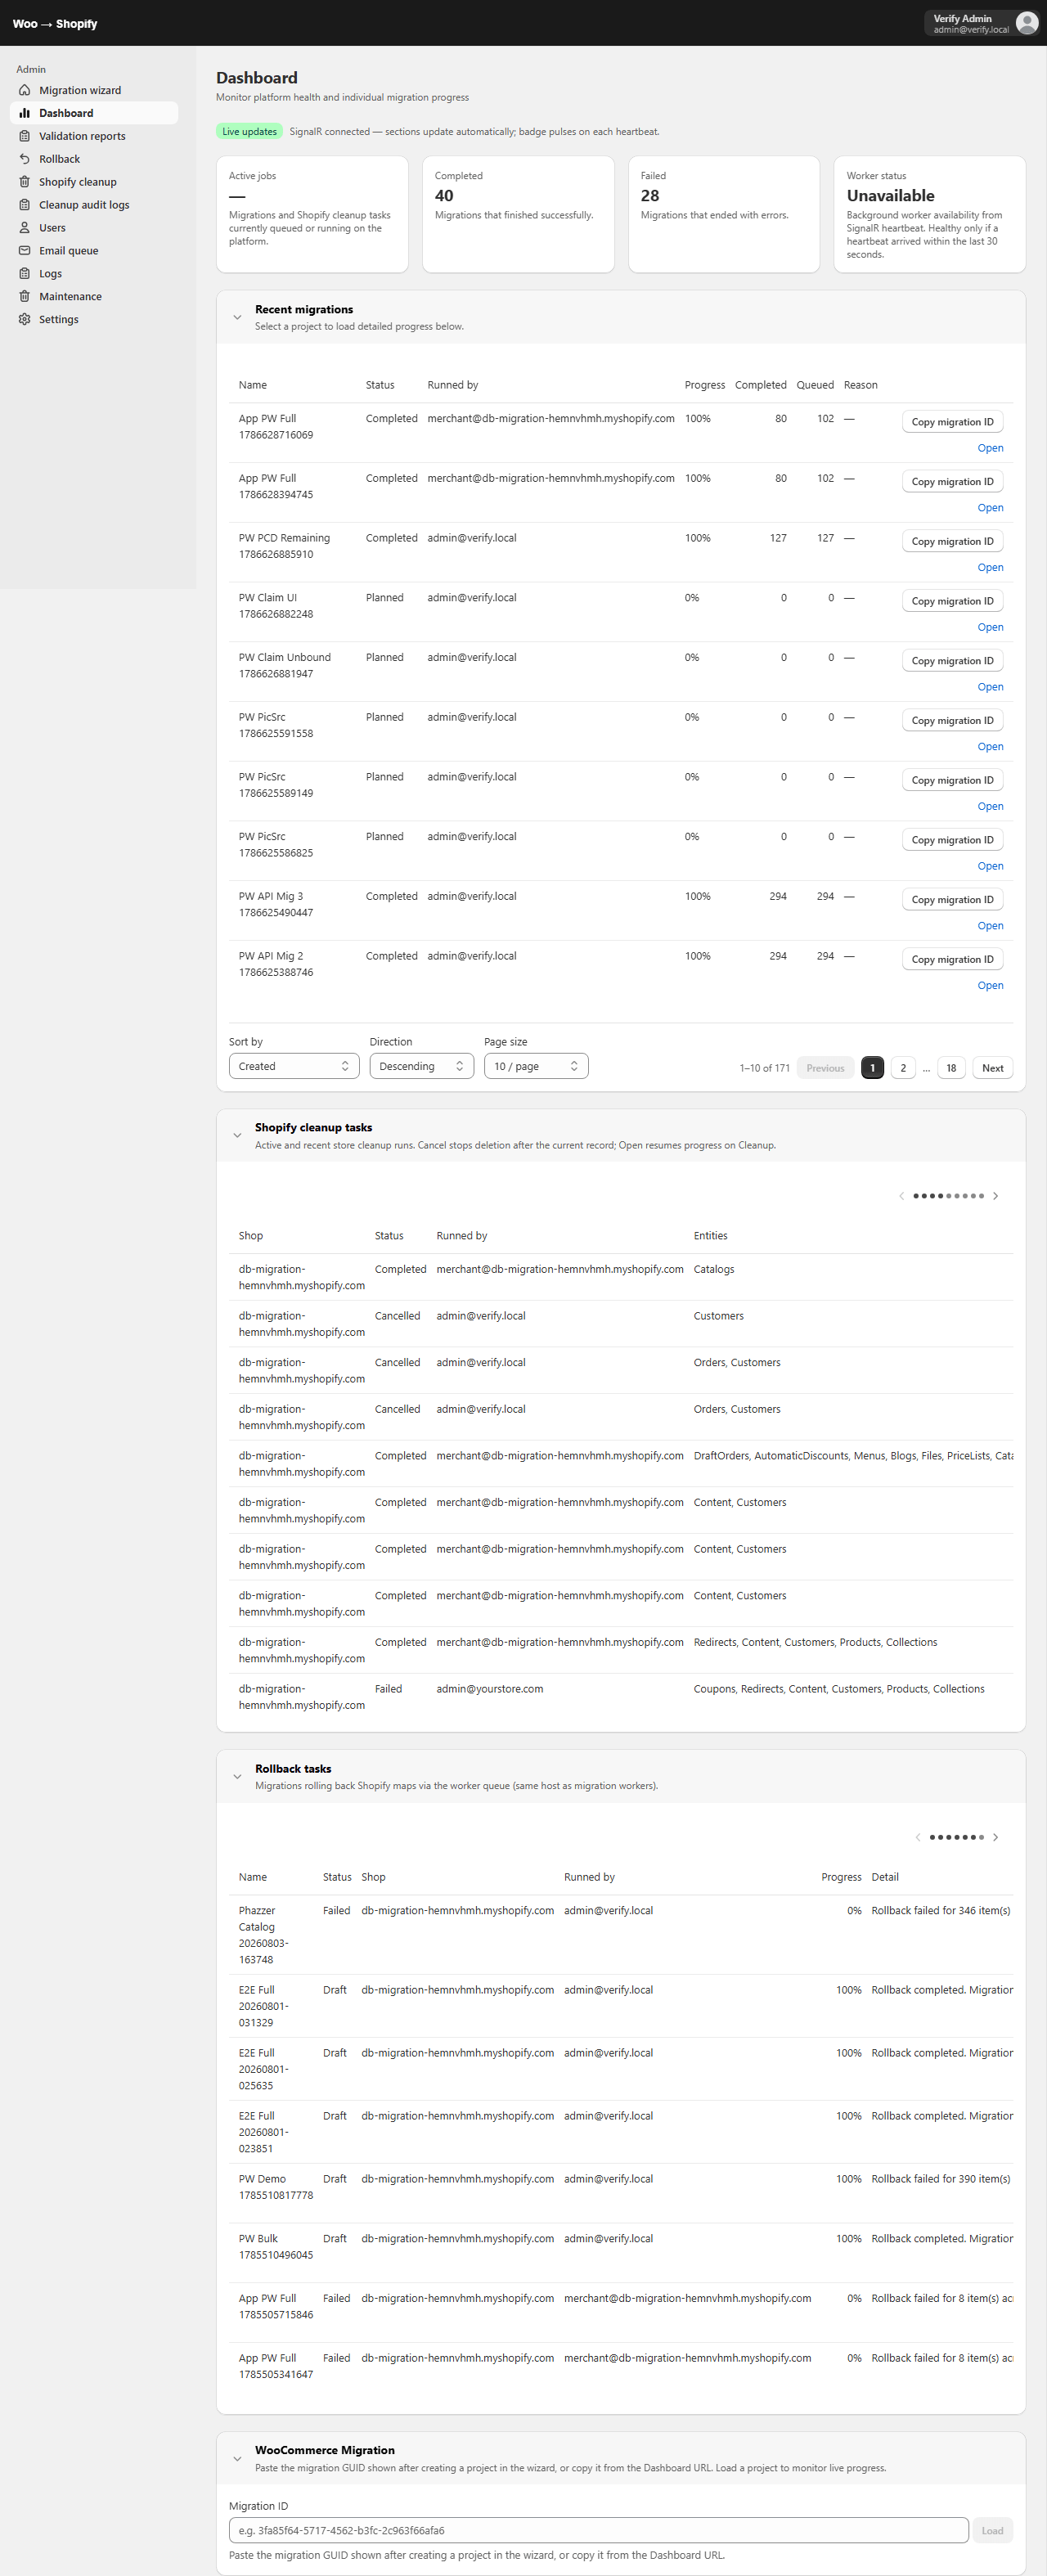
This is your home base while a migration is running. Cards and job lists refresh live when the connection badge shows you’re online.
The wizard walks you through the move in six short steps:
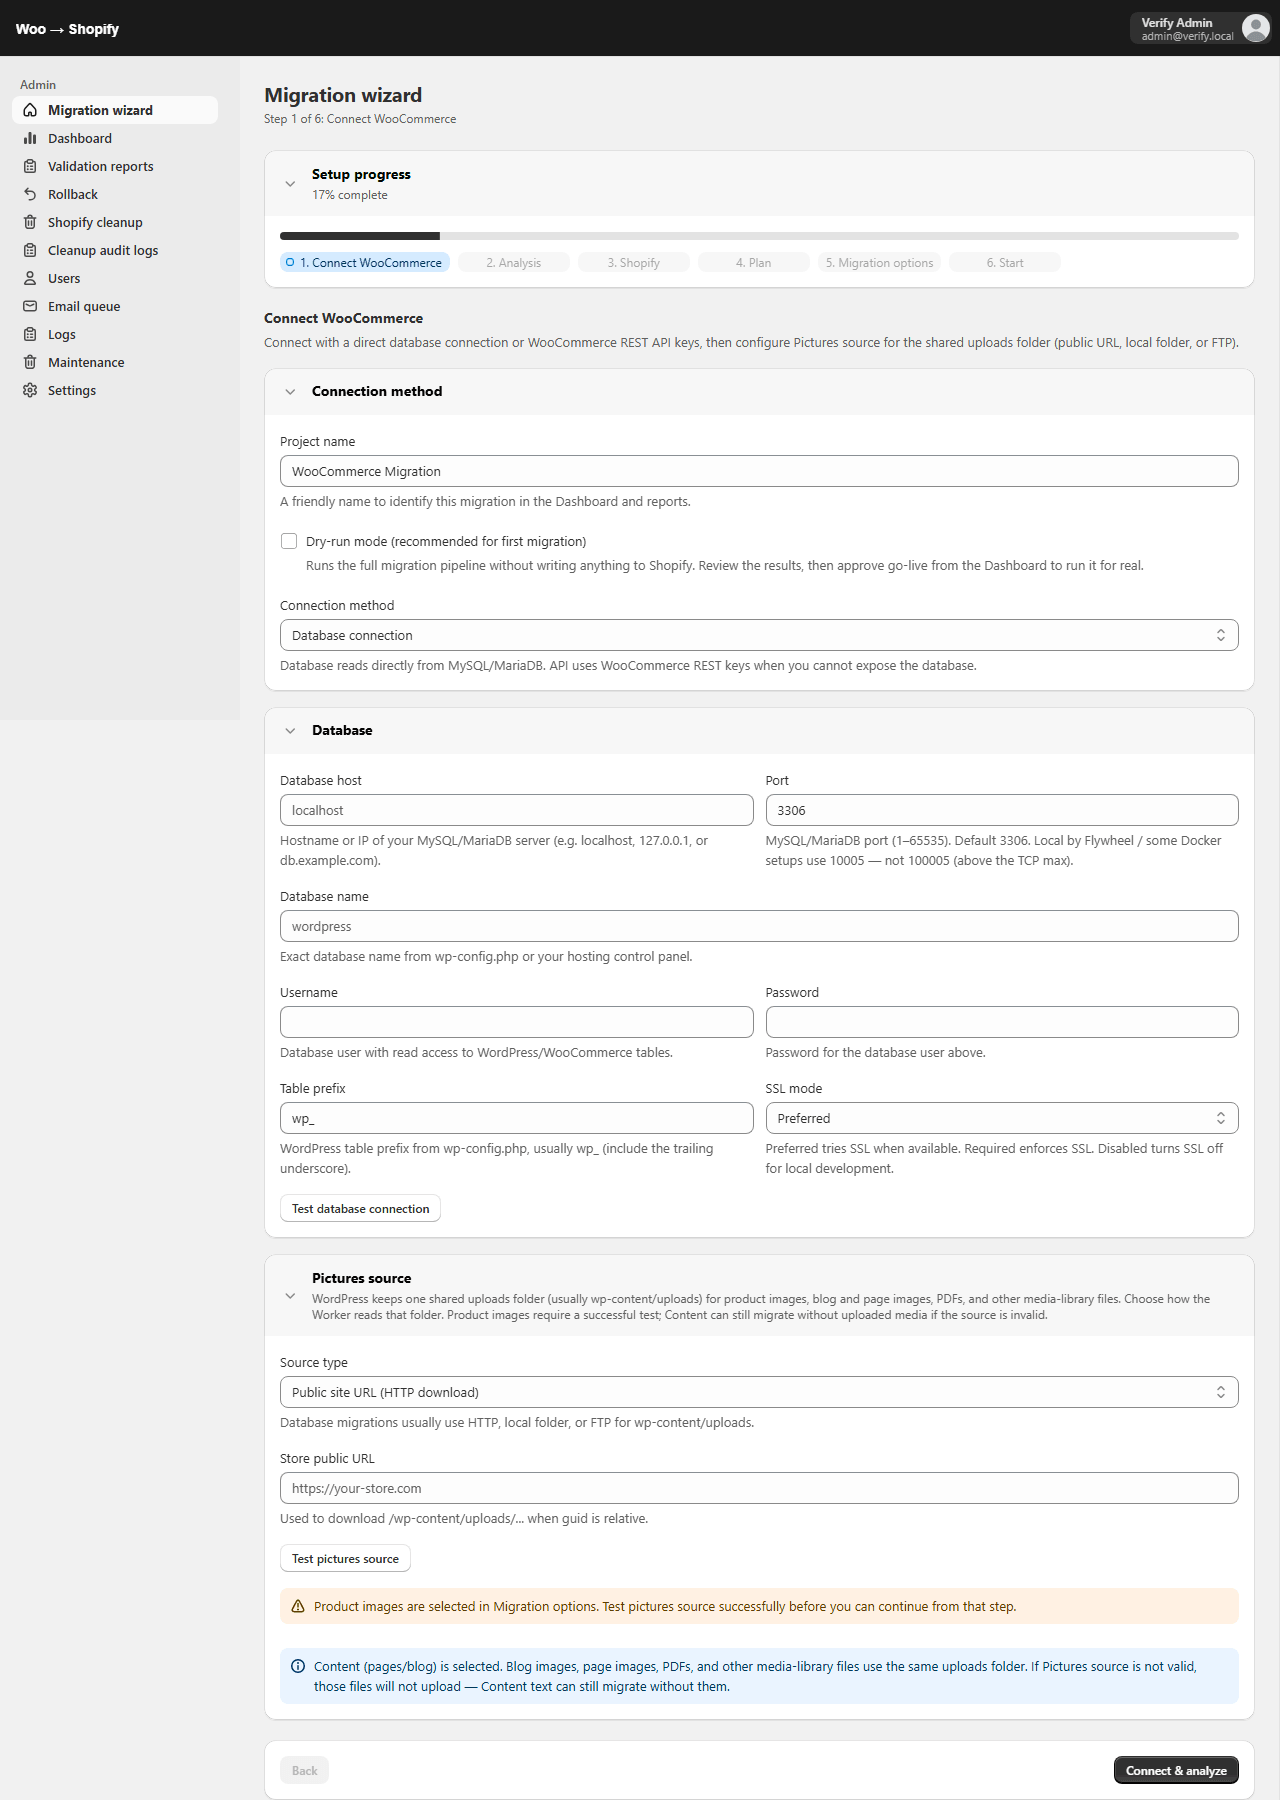
Give the job a clear name, optionally enable Dry-run mode (recommended for the first pass — the pipeline runs without writing to Shopify), then choose how we reach WooCommerce:
| Connection method | When to use it |
|---|---|
| Database connection | Direct MySQL/MariaDB access (fullest coverage for store config, redirects, and some metadata) |
| API connection | When you cannot expose the database — use WooCommerce REST consumer key and secret |
Switching methods keeps the fields you already entered for each mode.
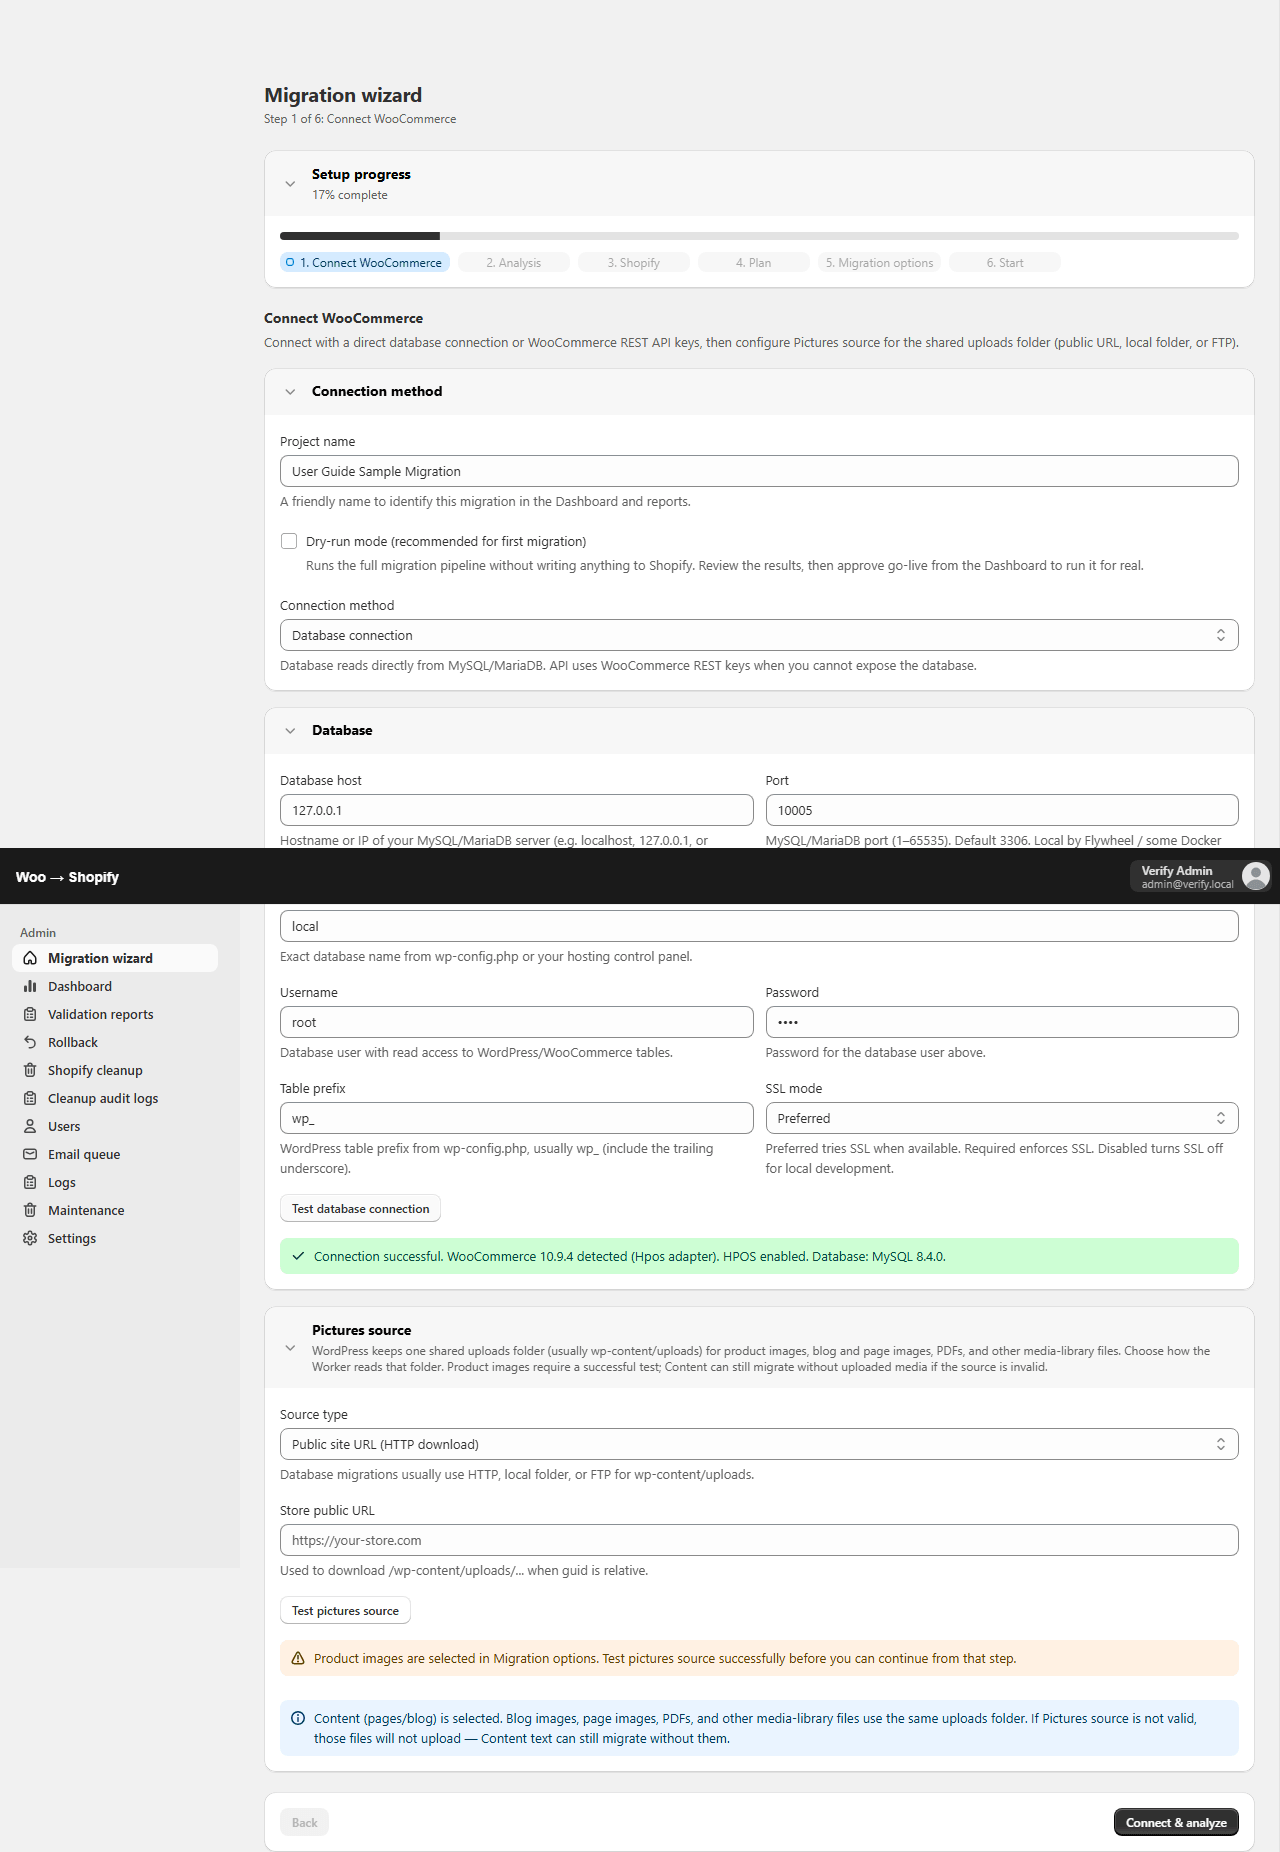
Fill in how we reach your database:
| Field | What to enter |
|---|---|
| Project name | Something you’ll recognize later (store + date works well) |
| Database host, port, and name | Your WooCommerce MySQL or MariaDB details |
| Username and password | Prefer a read-only database user in production |
| Table prefix | Usually wp_ |
| SSL mode | Try Preferred first; use Disabled only if your server needs it |
Click Test database connection and wait for a success message before moving on.
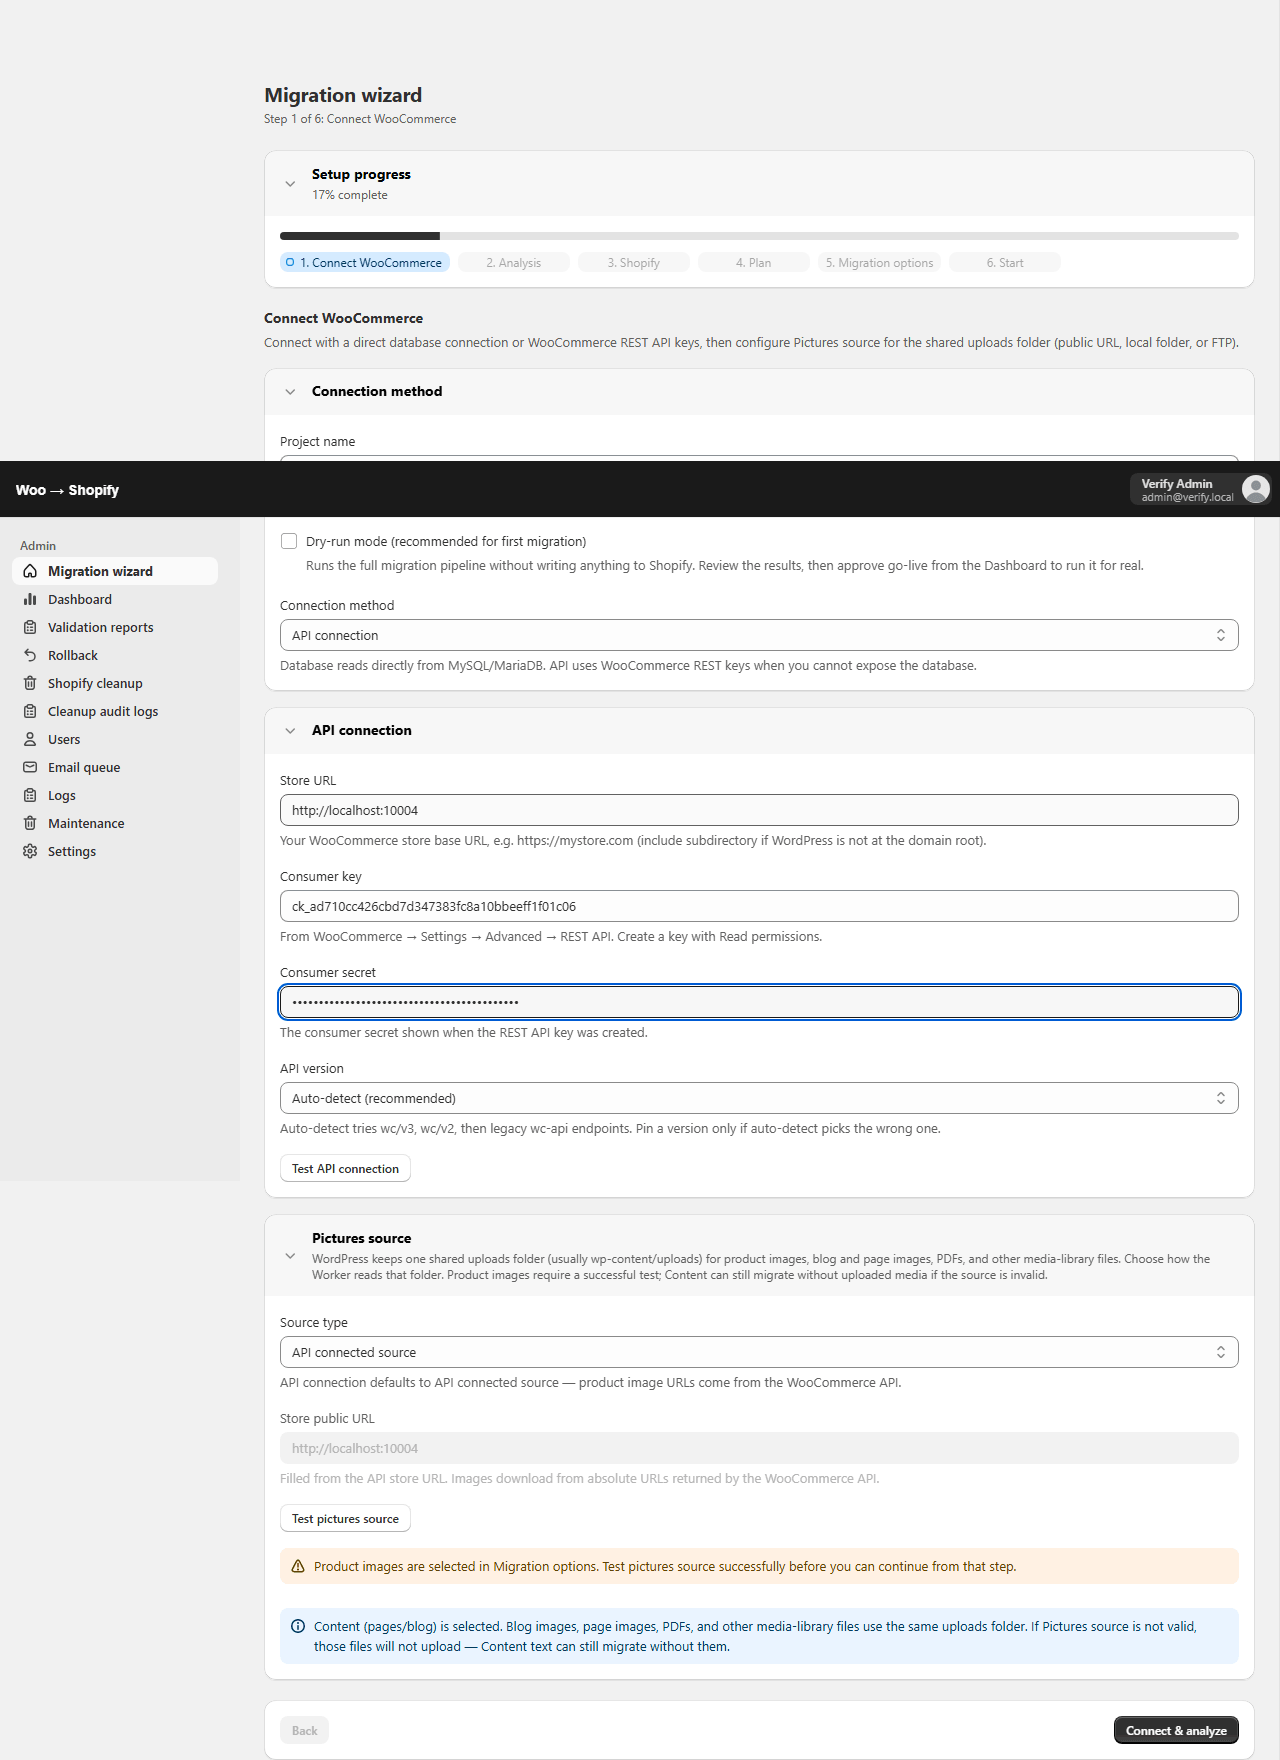
Choose API connection, then enter the store URL and REST keys from WooCommerce → Settings → Advanced → REST API (Read permission is enough). Prefer Auto-detect for API version unless you know you need a specific namespace.
| Field | What to enter |
|---|---|
| Store URL | Store base URL (include a subdirectory if WordPress is not at the domain root) |
| Consumer key / secret | REST API credentials from WooCommerce |
| API version | Auto-detect (recommended), or a fixed wc/v3 / legacy namespace |
Click Test API connection. A success banner shows the detected WooCommerce REST version.
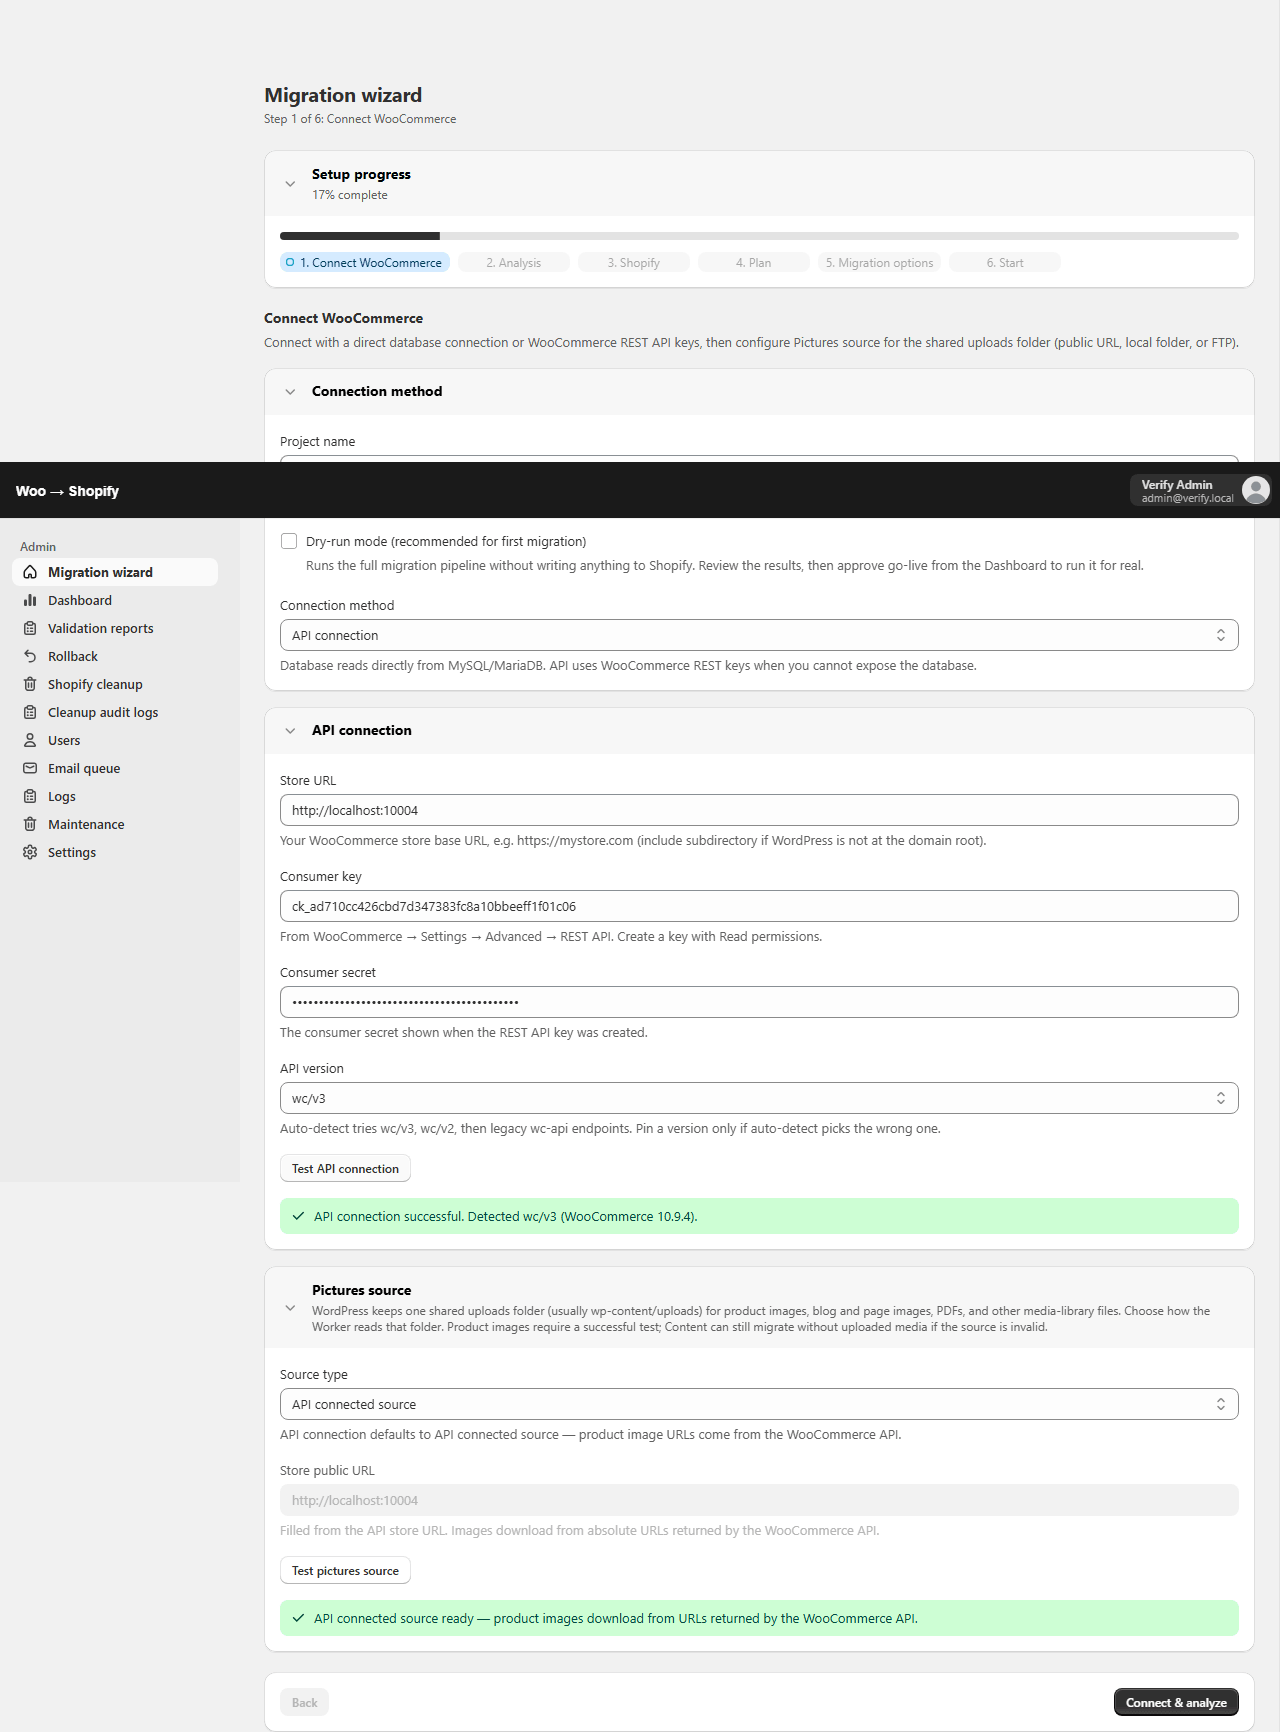
Product galleries and media-library files share WordPress wp-content/uploads. Configure Pictures source after the connection test:
| Source type | Notes |
|---|---|
| Public site URL (HTTP download) | Use a publicly reachable store URL (not only localhost if workers or remote hosts must fetch images) |
| API connected source | Default when using API connection — image URLs come from the WooCommerce API |
| Local folder | Point at the WordPress uploads directory on a path the worker can read |
| FTP | Remote uploads folder when HTTP and local paths are not available |
Click Test pictures source when product images are selected — the wizard requires a successful pictures test before you can continue from Migration options. Content (pages/blog) can still proceed with a warning if binaries cannot upload.
| Step | What you’ll do |
|---|---|
| Analysis | Run discovery and skim readiness notes |
| Shopify | Confirm the shop (merchants are usually already linked) |
| Plan | Check counts and what’s mapped |
| Migration options | Choose products, customers, orders, and conflict rules |
| Start | Confirm and start — then follow progress on the Dashboard |
Once it starts, you can close the browser. Workers keep going in the background. Pause, resume, or cancel from the job actions when those controls are available. After a dry-run, approve go-live from the Dashboard when you are ready to write to Shopify.
When you want proof the numbers look right, open Validation reports. Compare WooCommerce vs Shopify and export a spreadsheet for review or go-live sign-off.
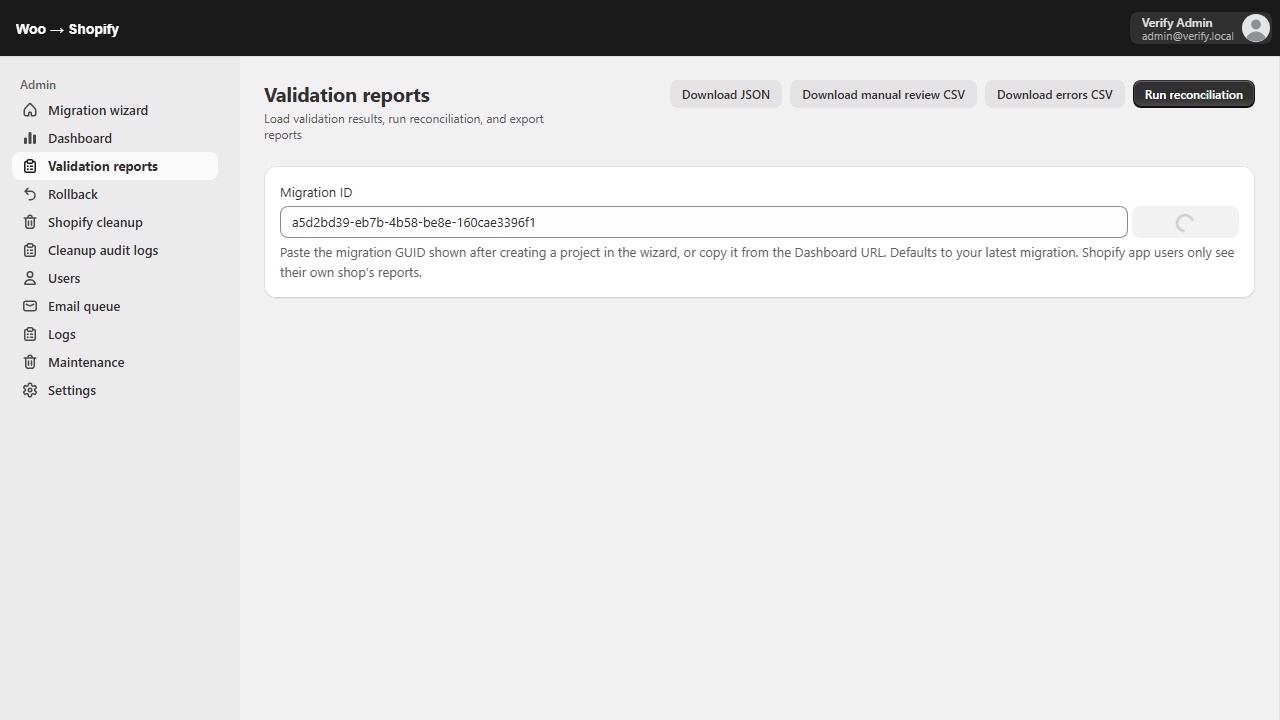
Pick a migration here, or open one from the Dashboard with Open.
Rollback removes selected migrated data from Shopify only. Your WooCommerce store stays untouched.
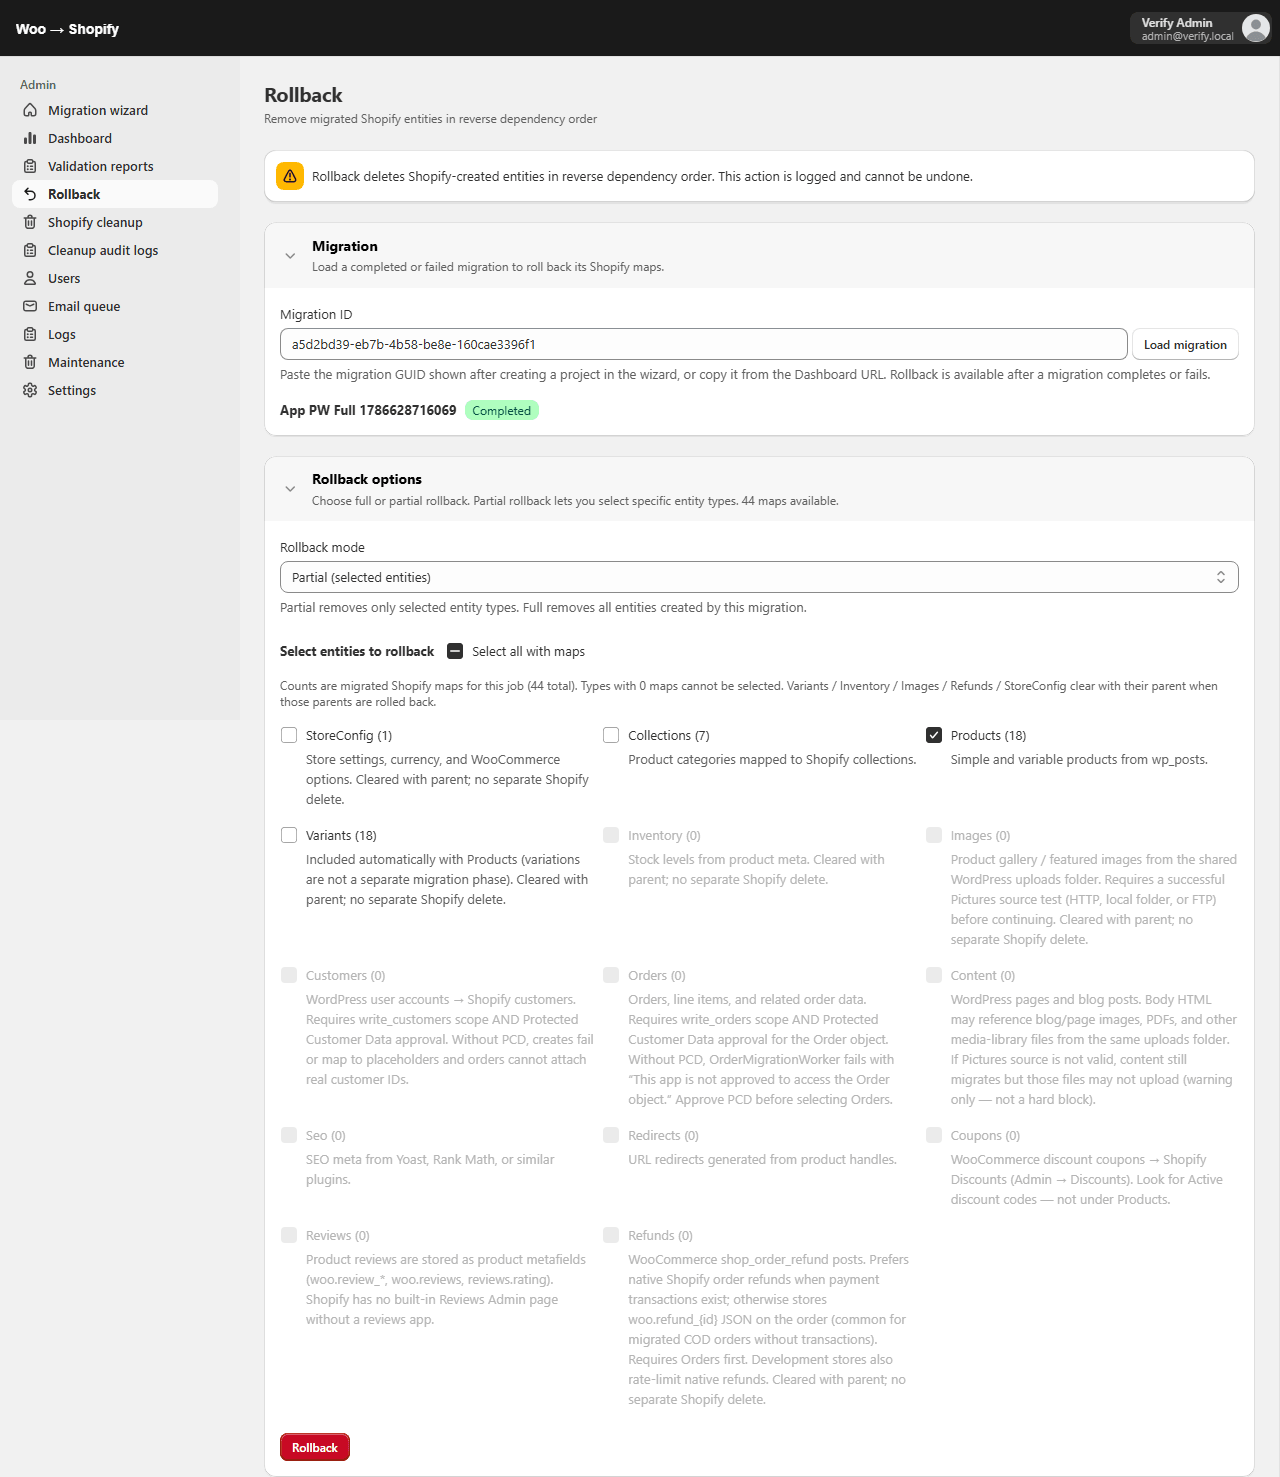
Choose the migration and entities, then start. You’ll also see progress under Rollback tasks on the Dashboard.
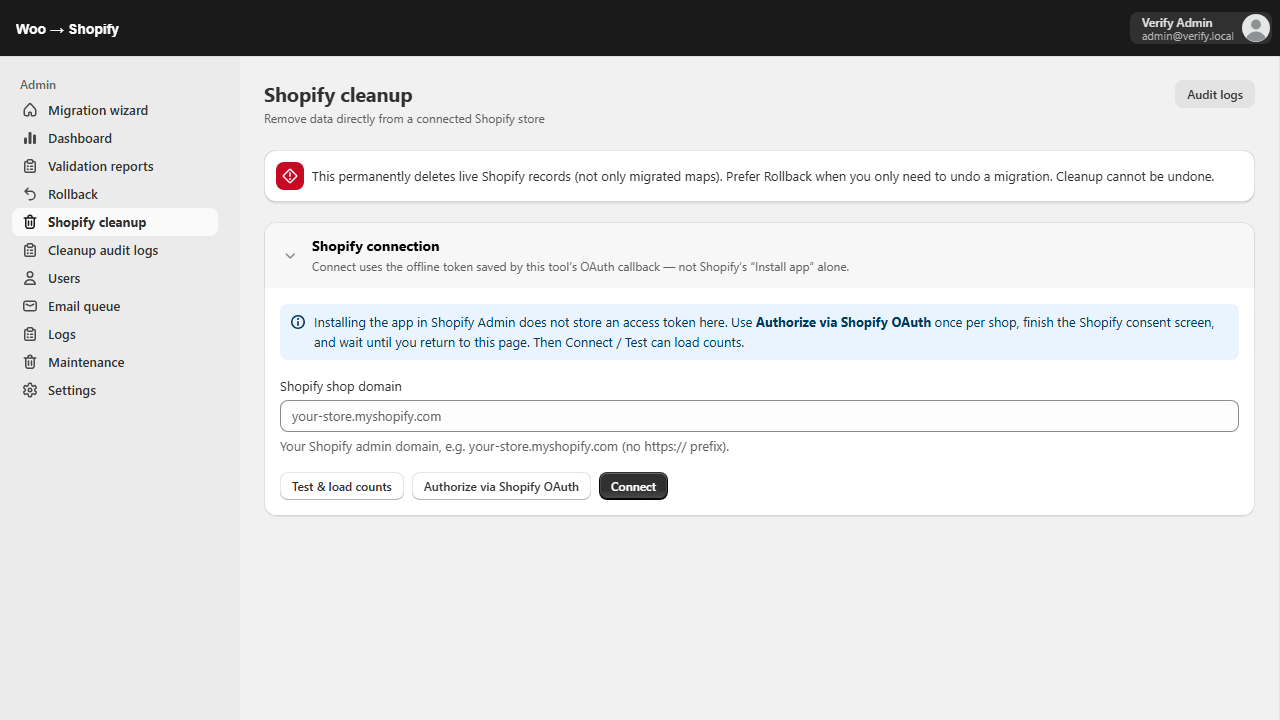
Cleanup permanently deletes selected resources from Shopify. It’s meant for staging resets or a clean re-run. Prefer a preset when you’re unsure — deletes follow a safe order.
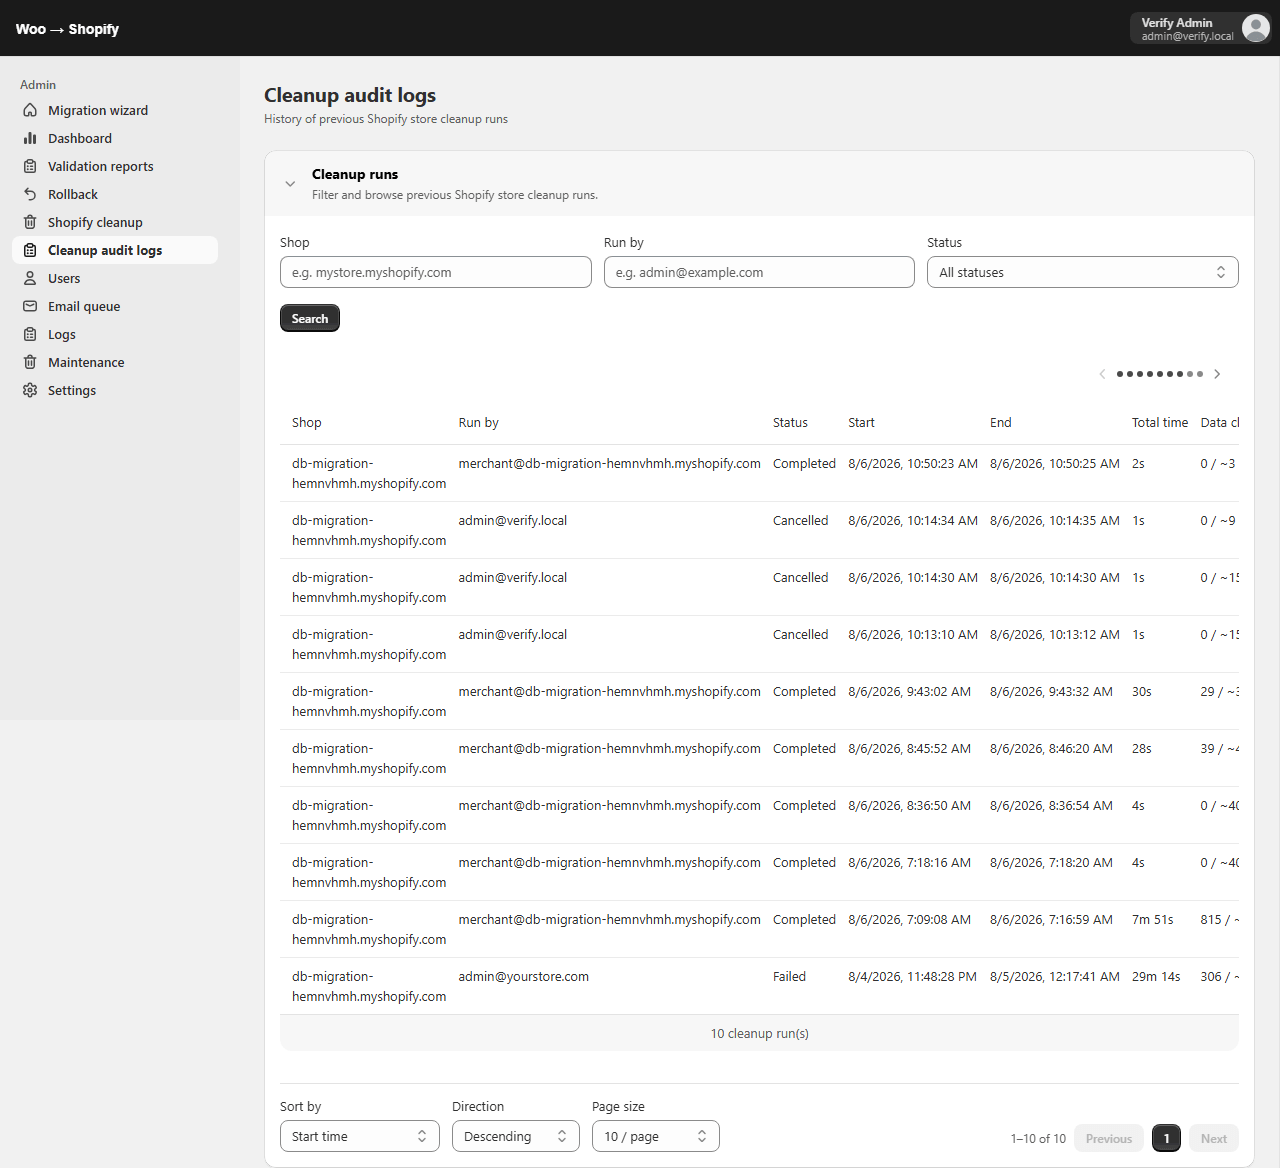
Past runs stay in cleanup history so you have an audit trail:
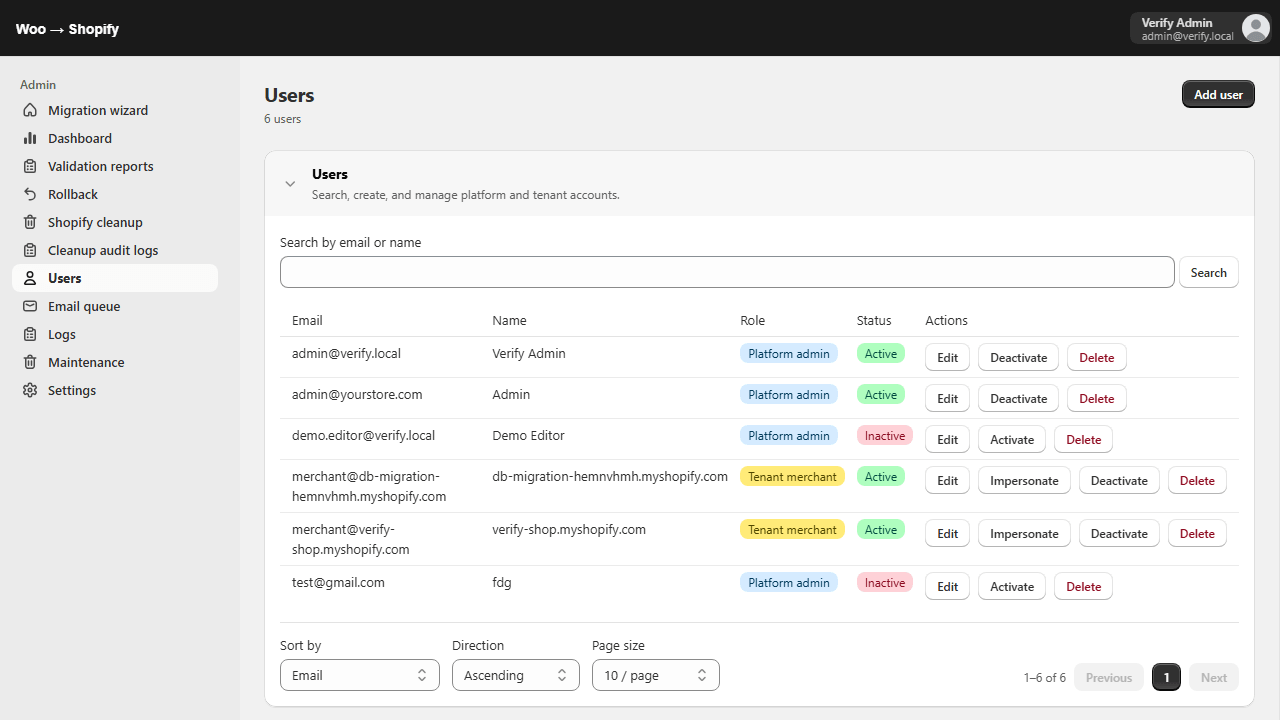
Invite teammates, search by email, and manage roles. Admins can temporarily work as a merchant and end that session from the top bar.
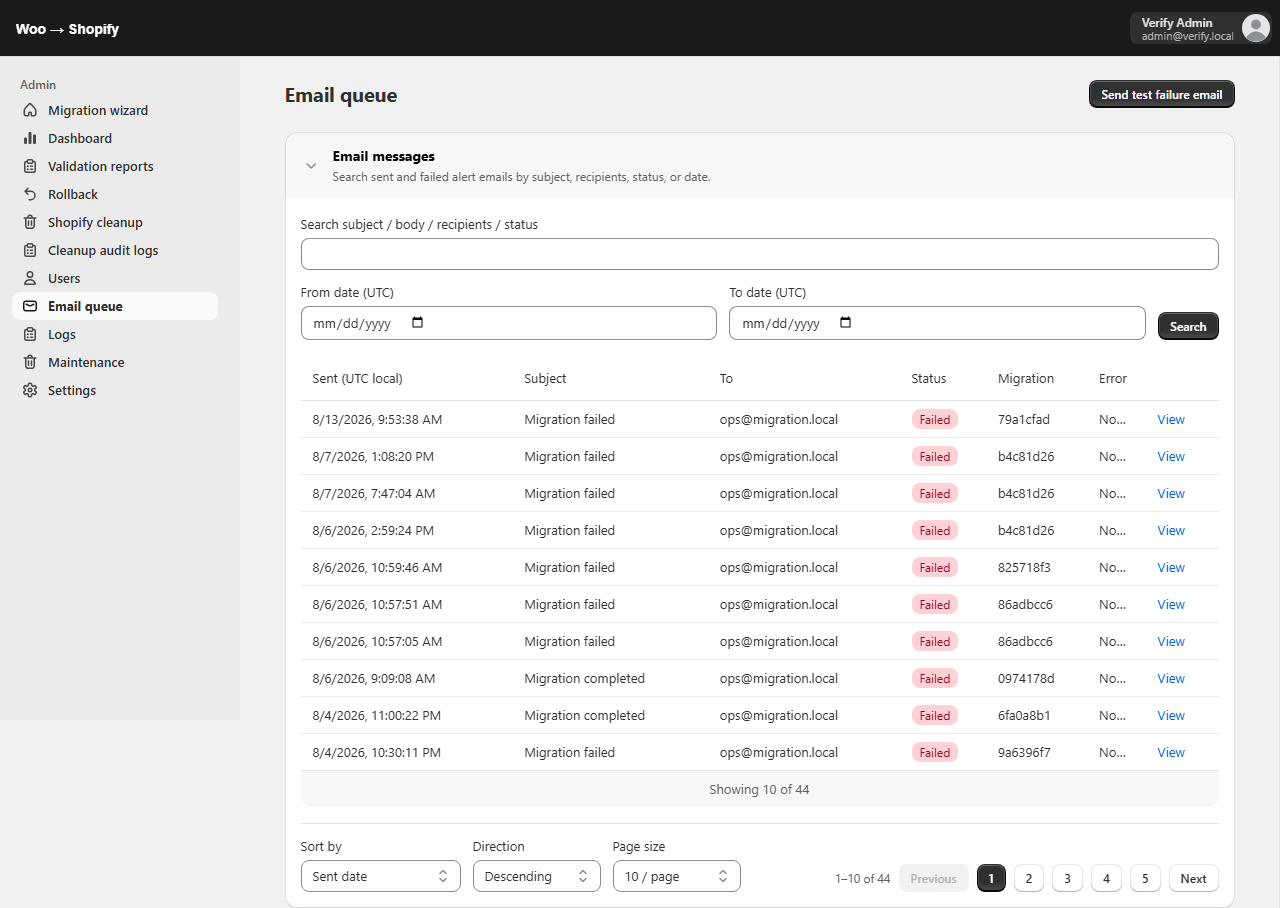
See which alert emails were queued or sent — handy when you’re checking whether a failure notice went out.
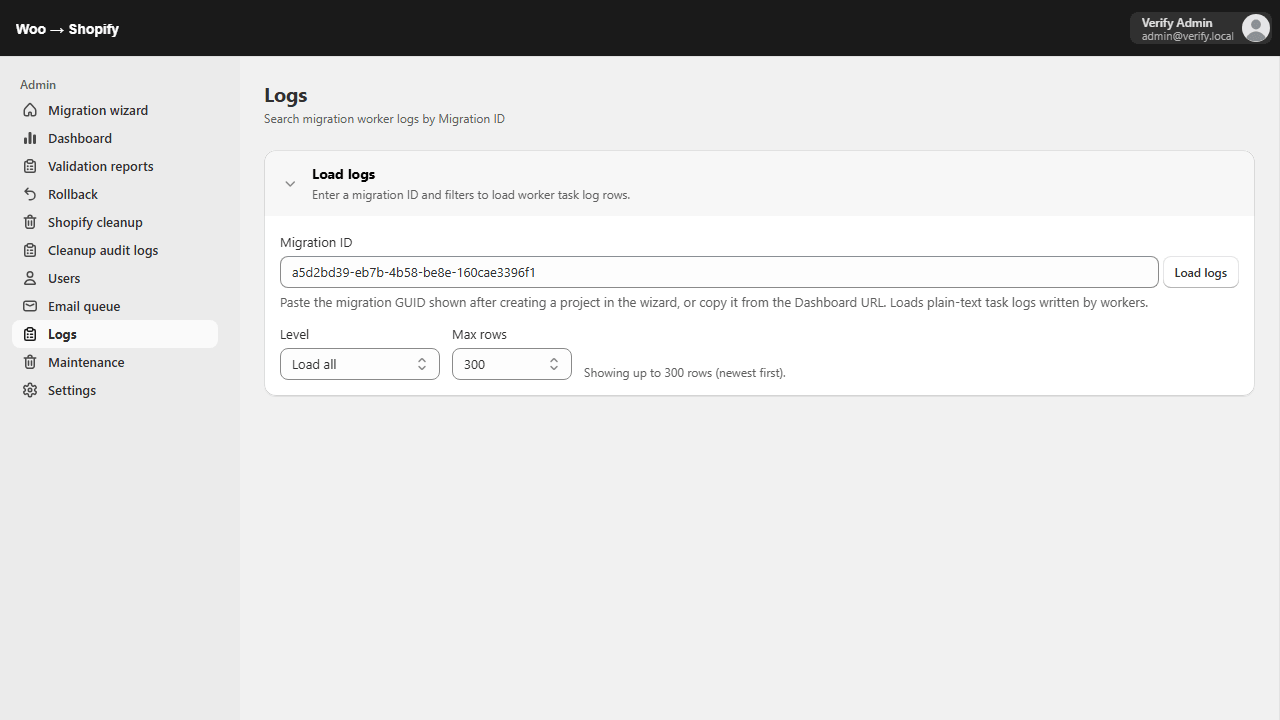
When a job stalls, open Logs and look at the recent worker messages for that task.
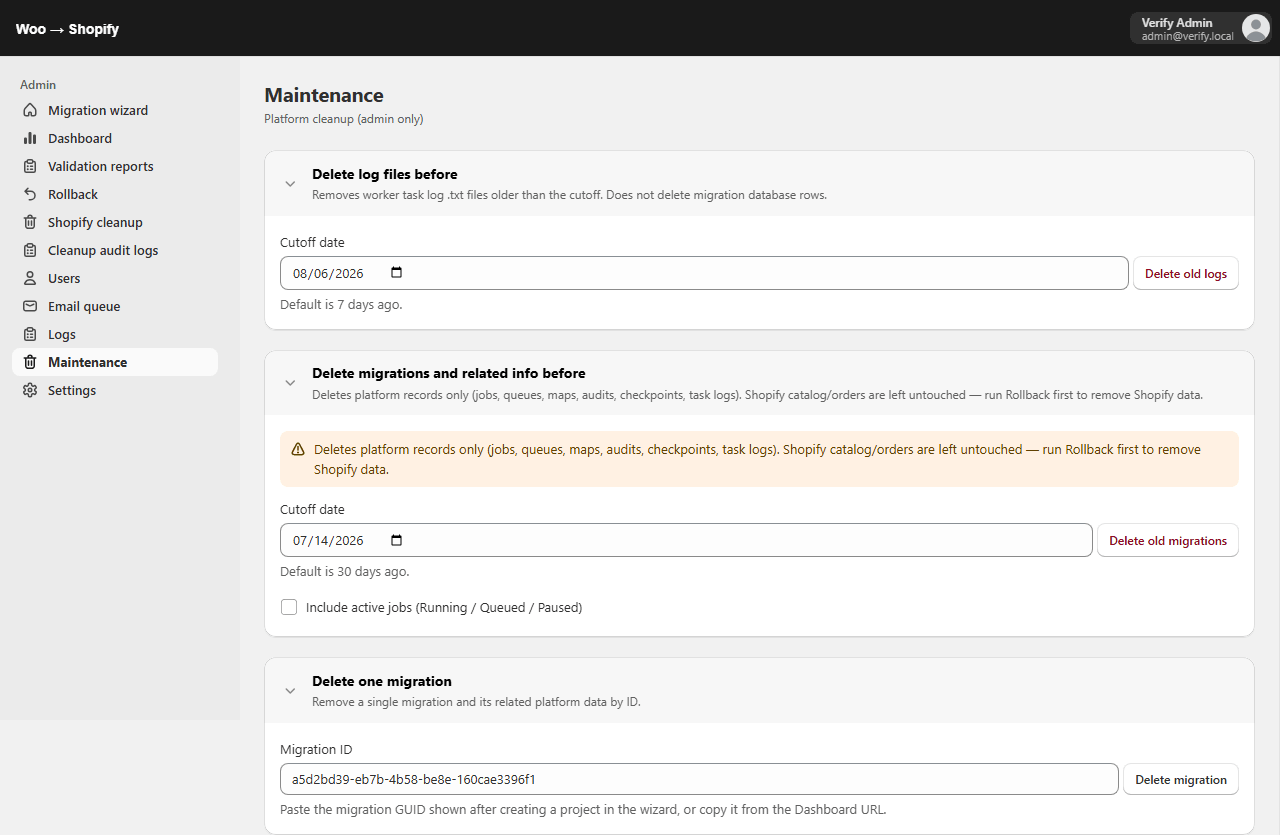
Housekeeping tools such as purging old logs. Use these only when you mean to — they affect shared platform data.
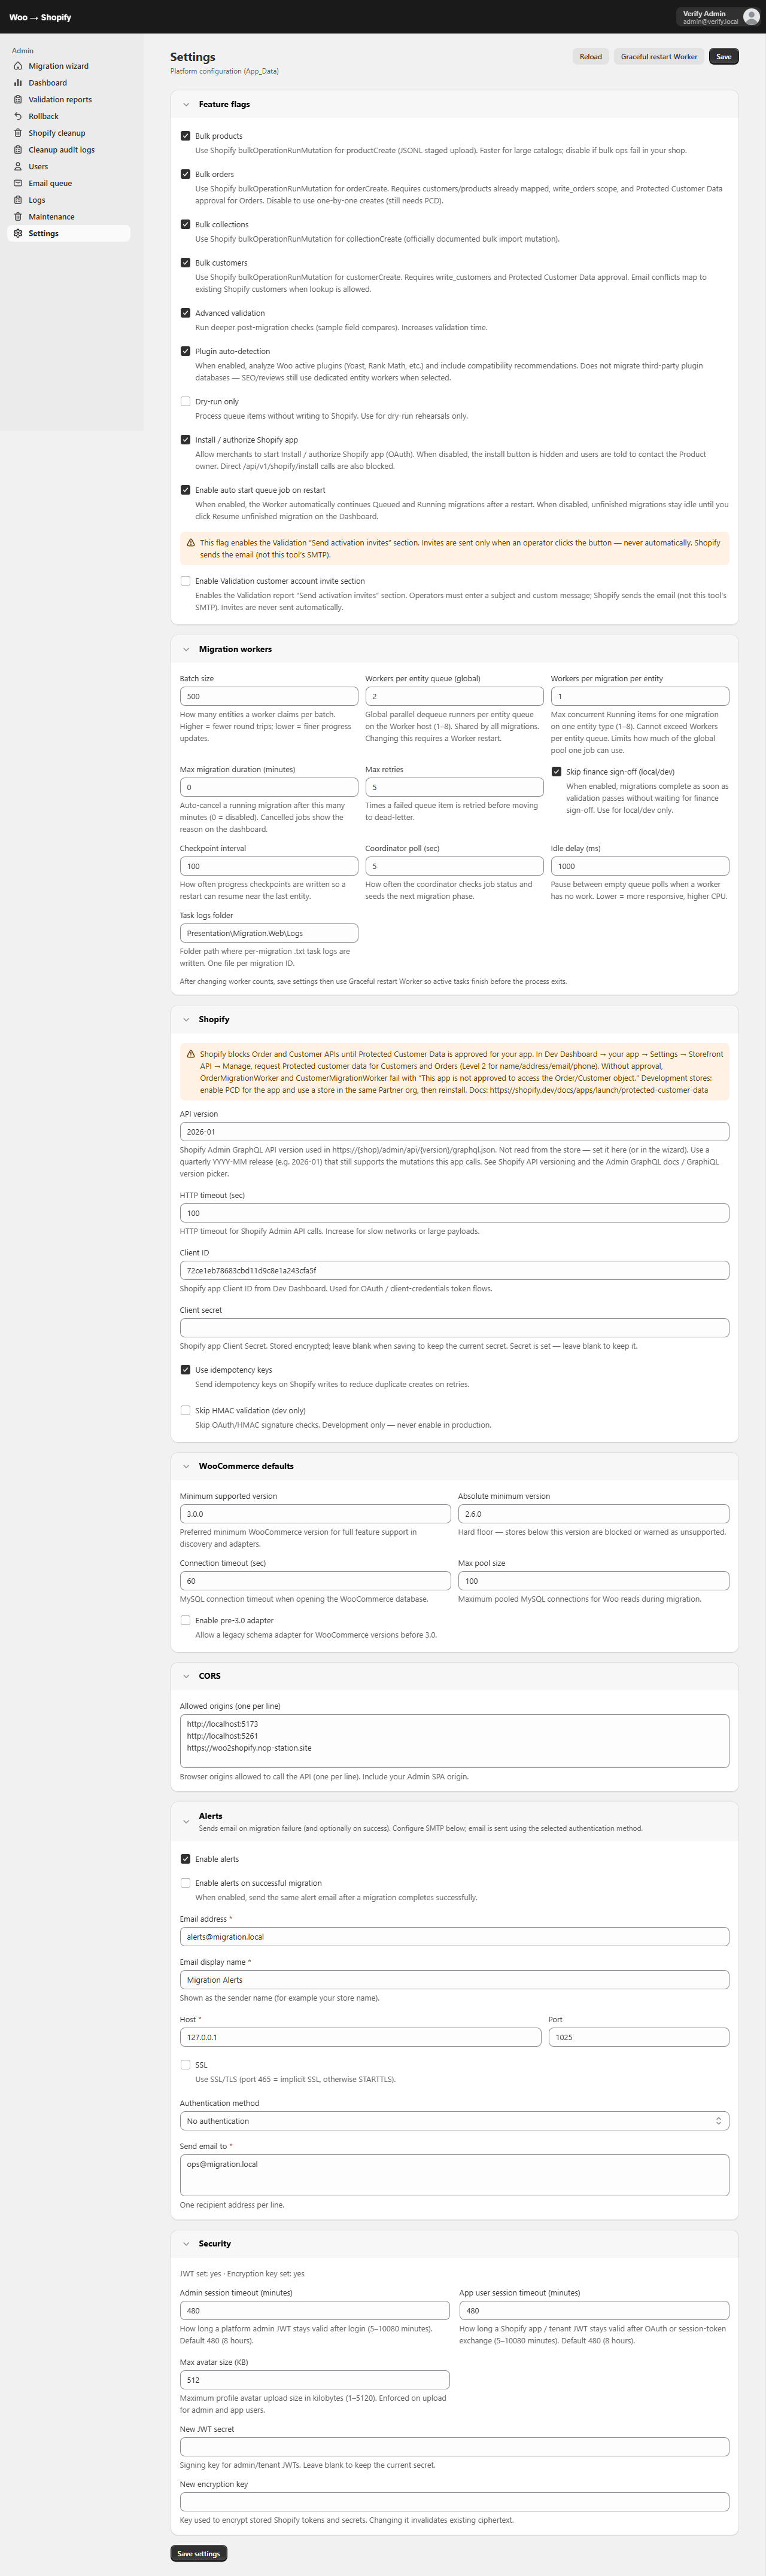
Tune feature flags, workers, Shopify app credentials, WooCommerce defaults, and related options. After changing credentials or allowed origins, restart the host so the new values load.
| Menu item | What it’s for |
|---|---|
| Migration wizard | Connect (database or API), analyze, plan, and start |
| Dashboard | Live jobs, workers, cleanup, and rollback |
| Validation reports | Compare results and export |
| Rollback | Undo selected Shopify entities |
| Shopify cleanup | Wipe Shopify resources |
| Cleanup audit logs | History of cleanup runs |
| Users | People and impersonation (admin) |
| Email queue | Alert email history (admin) |
| Logs | Operational logs (admin) |
| Maintenance | Purge tools (admin) |
| Settings | Platform configuration (admin) |



 Users
Users Email queue
 Logs
Logs Maintenance
 Settings